The first time I unscrewed a moka pot at a friend’s tiny apartment in Portland, I was sure the little metal contraption on her stove was too old-fashioned to matter. Then she poured out a shot of dark, syrupy coffee that rivaled my neighborhood café, and I realized I had been overpaying for something I could make at home for pennies.
Moka pot coffee is the closest thing to espresso you can brew on a stovetop, and a solid pot costs under $30. This guide walks you through choosing a pot, dialing in your grind and ratio, and pulling a rich, balanced cup every single morning.
Why moka pot coffee is worth your counter space
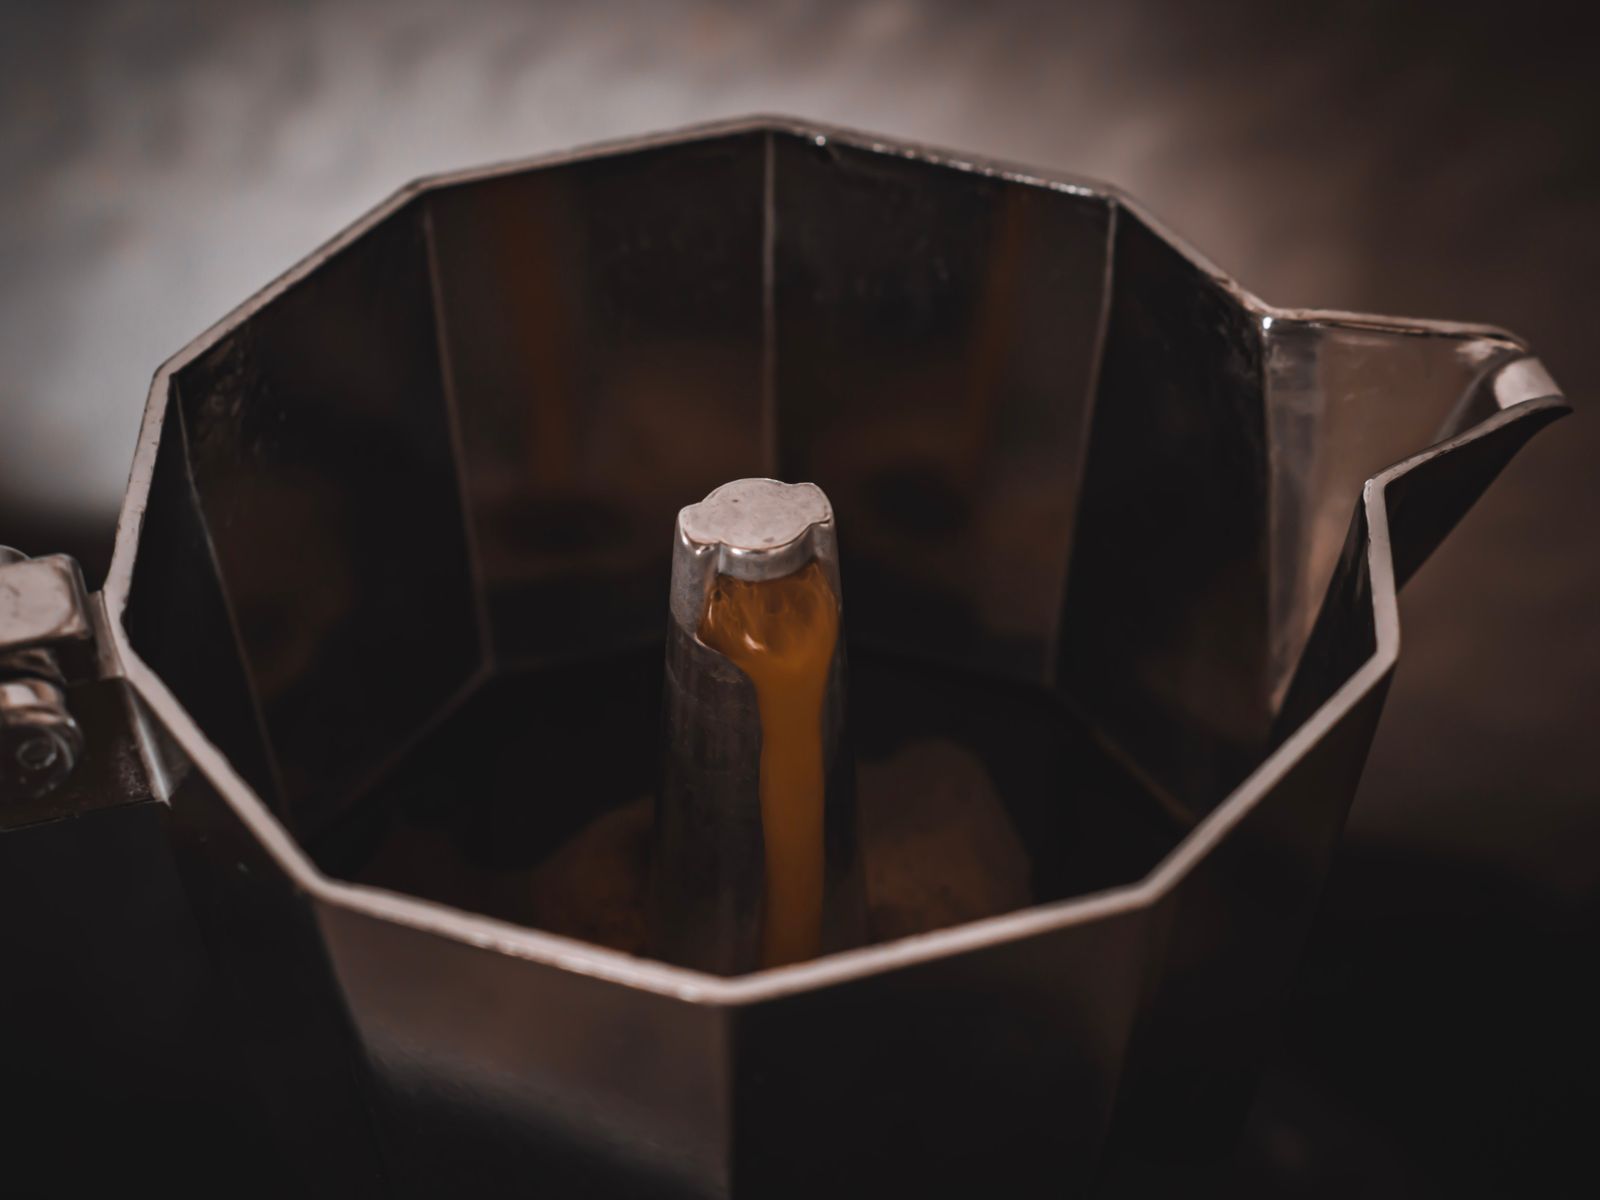
The moka pot was invented in Italy in 1933, and the design has barely changed because it simply works. Water in the bottom chamber heats up, builds pressure, and pushes through a puck of ground coffee into the top chamber. The result is bold, concentrated, and far stronger than drip coffee.
It is not technically espresso, since a real espresso machine uses around nine bars of pressure while a moka pot uses roughly one to two. But the flavor lands in the same neighborhood: intense, slightly bitter, and perfect as a base for milk drinks. For a budget-conscious home brewer, it is one of the best values in coffee gear.
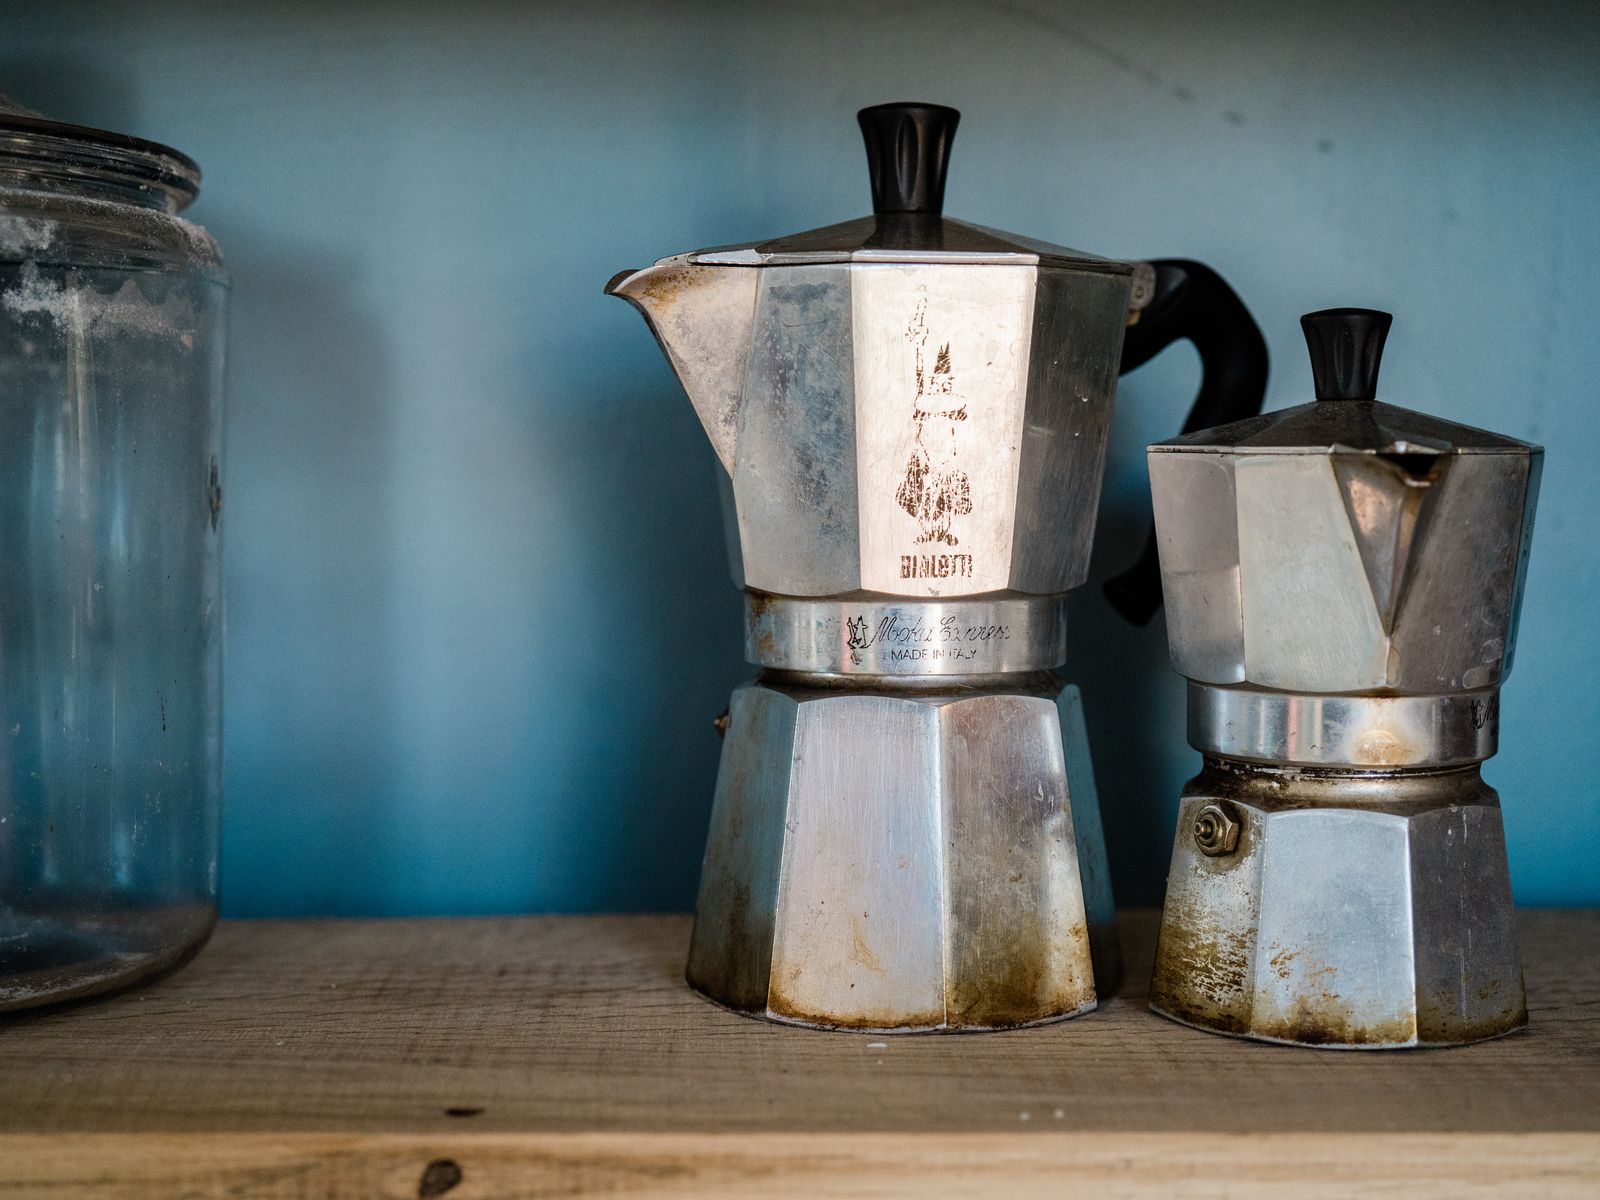
Choosing a moka pot under $30
The classic aluminum moka pot is inexpensive, heats quickly, and is what most Italian households use. Stainless steel versions cost a little more but work on induction stoves and are easier to clean. Either type will serve you well for years.
Size matters more than brand. Moka pots are measured in “cups,” but these are small espresso-sized cups, not mugs. Here is a quick guide to picking a size:
- 1-cup: makes about 2 oz, ideal for a single strong shot.
- 3-cup: makes about 6 oz, good for one large mug or two small cups.
- 6-cup: makes about 10 oz, enough for two people or one big milk drink.
- 9-cup: makes about 15 oz, best for households of coffee drinkers.
Buy the size you will actually fill. A moka pot works best when its basket is full, so a giant pot brewing a small batch will taste weak and uneven.
The grind and ratio that make the difference
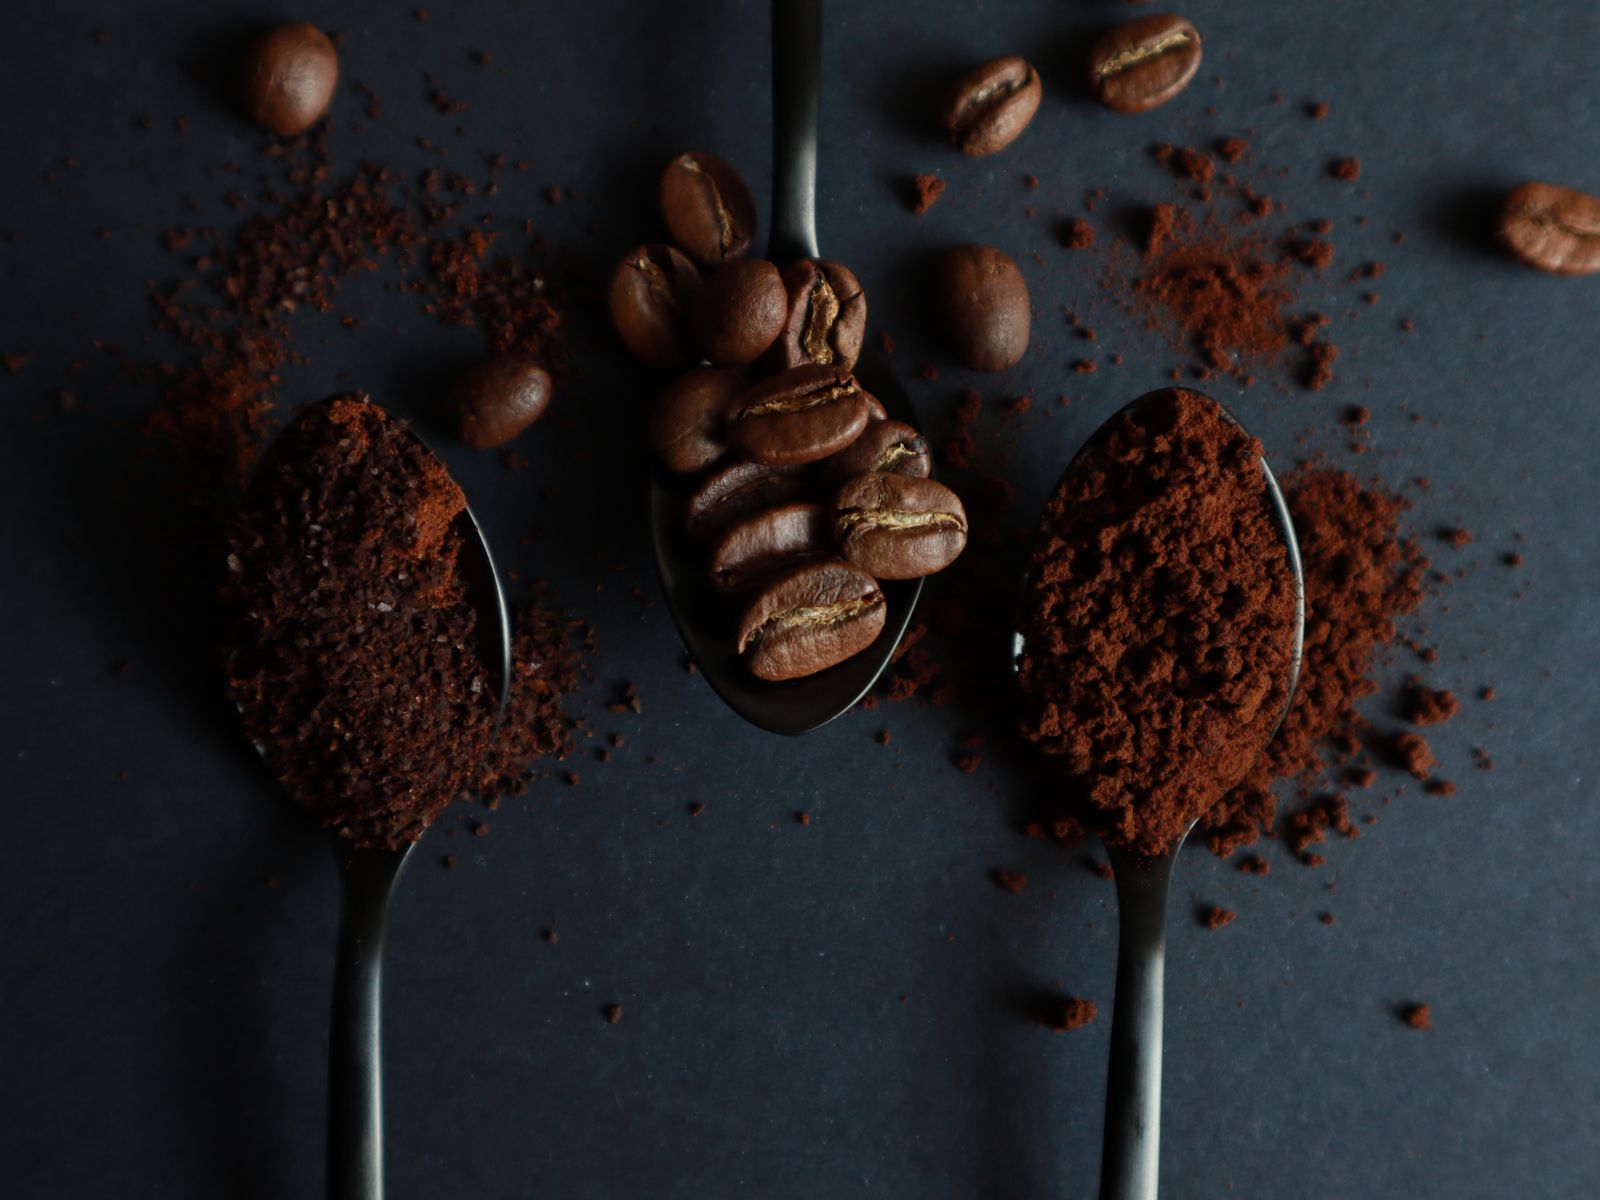
Grind size is where most beginners go wrong. You want a texture finer than drip coffee but coarser than true espresso, roughly like table salt. Too fine and the pot can clog or turn bitter; too coarse and the coffee tastes thin and watery.
A burr grinder gives you the consistency you need for this. For ratio, fill the basket level with grounds without tamping, and fill the base with water up to just below the safety valve. That works out to roughly a 1:7 to 1:10 coffee-to-water ratio, far stronger than the 1:16 you would use for pour over.
Step-by-step: brewing the perfect cup
Start with pre-heated water. Boiling your water in a kettle first and pouring it into the base means the grounds spend less time cooking on the hot stove, which reduces bitterness. Use a towel to hold the warm base as you assemble.
- Fill the base with hot water to just below the valve.
- Add the funnel-shaped basket and fill it level with medium-fine grounds.
- Screw the top on firmly and place on medium-low heat.
- Keep the lid open so you can watch the coffee rise.
- When you hear a gurgling, sputtering sound, remove it from the heat.
- Run the base under cool tap water to stop extraction, then pour.
Medium-low heat is the secret most people miss. High heat rushes the process and scorches the coffee, producing that harsh, metallic taste people wrongly blame on the pot itself.
Common mistakes and easy fixes
If your coffee tastes burnt or overly bitter, your heat is probably too high or your grind too fine. Drop the burner and coarsen the grind slightly. If it tastes weak and sour, your grind is likely too coarse or you removed it from the heat too early.
Never tamp the grounds in a moka pot. Unlike an espresso machine, packing the coffee tightly here creates too much pressure and a bitter, clogged brew. A gentle level fill is all you need.
Cleaning and caring for your pot
Rinse your moka pot with warm water after every use and let it air dry fully. Skip the soap on aluminum pots, since it strips the seasoned coating that improves flavor over time. Stainless steel is more forgiving and can handle mild soap.
Replace the rubber gasket and check the filter plate every few months. These cheap parts are the most common cause of a leaky or weak pot, and a fresh gasket makes a tired moka pot feel new again.
Turning your brew into café drinks
Because moka pot coffee is concentrated, it makes an excellent base for milk drinks. Pull a shot into a mug, then add steamed or frothed milk for a homemade latte or cappuccino at a fraction of café prices.
You can also stretch it with hot water for an Americano-style cup, or pour it over ice with cold milk for a quick iced coffee. One inexpensive pot unlocks a whole menu of drinks from your own kitchen.
Choosing the right beans for stovetop brewing
Because moka pot coffee is so concentrated, the beans you choose show up loudly in the cup. A medium to dark roast is the traditional match, giving you the chocolatey, caramel notes that stand up to the intense extraction. Lighter roasts can taste sharp and acidic when brewed this strong.
Freshness matters as much as roast level. Beans that were roasted within the last three to four weeks will give you a fuller crema and a sweeter cup. Buy whole beans in small batches and grind right before brewing, since pre-ground coffee goes stale within days and dulls the rich flavor a moka pot is capable of producing.
If you drink a lot of milk drinks, look for a blend labeled as espresso roast. These are built to cut through steamed milk, and they work beautifully in a moka pot even though no actual espresso machine is involved.
How moka pot cost compares to café habits
Let us talk real numbers, because the savings are the whole point for a budget brewer. A daily café latte at roughly five dollars adds up to about $1,825 a year. A moka pot costs a one-time $20 to $30, and a bag of quality beans that makes dozens of cups runs $12 to $18.
Even factoring in milk and the occasional new gasket, brewing at home lands well under fifty cents per cup. Within the first two weeks, your pot has usually paid for itself, and everything after that is money that stays in your pocket while you sip something you made yourself.
That value is exactly why the humble moka pot has stayed on Italian stovetops for nearly a century. It asks for very little and rewards you every morning.
The bottom line
A moka pot delivers rich, espresso-style coffee for a tiny investment and a little practice. Start with medium-low heat, a medium-fine grind, and a full basket, and adjust from there until it suits your taste.
Your practical next step: buy a 3-cup or 6-cup pot this week, grab fresh beans, and brew a cup tomorrow morning using the steps above. For more on dialing in grind size, the coffee grind size guide is a helpful companion, and if you want to compare stovetop methods, see our take on French press coffee and the forgiving AeroPress method. For the history and standards behind espresso-style brewing, the Specialty Coffee Association is a trustworthy resource.

Maria Peixoto writes about making great coffee at home — no expensive machines, no barista jargon, just better cups every morning. Based in Portland, Oregon.