You can buy the freshest beans and the best water in town, but if your grind size is wrong, the cup will still disappoint. Grind size is the quiet variable that decides whether your coffee tastes balanced, bitter, or sour, and most home brewers never think about it.
This guide explains grind size in plain language and shows you how to match your grind to your brew method. Get this right and you will unlock better coffee at home without buying a single new gadget.
Why grind size matters so much
Grind size controls how fast water pulls flavor out of coffee, a process called extraction. Finer grinds have more surface area, so water extracts quickly; coarser grinds have less, so extraction is slower.
Think of it like brewing tea with whole leaves versus fine powder. The powder releases flavor almost instantly, while whole leaves take much longer. Coffee behaves the same way, and grind size is how you control that speed to fit each method.
When extraction is balanced, the cup tastes sweet and rounded. Push it too far and you get bitterness; stop too soon and you get sourness. Grind size is your main lever for landing in the sweet spot.
Once you understand this one relationship, a lot of coffee advice suddenly makes sense. Nearly every troubleshooting tip you will read comes back to nudging extraction up or down, and grind is the fastest way to do exactly that.
The link between grind and brew time
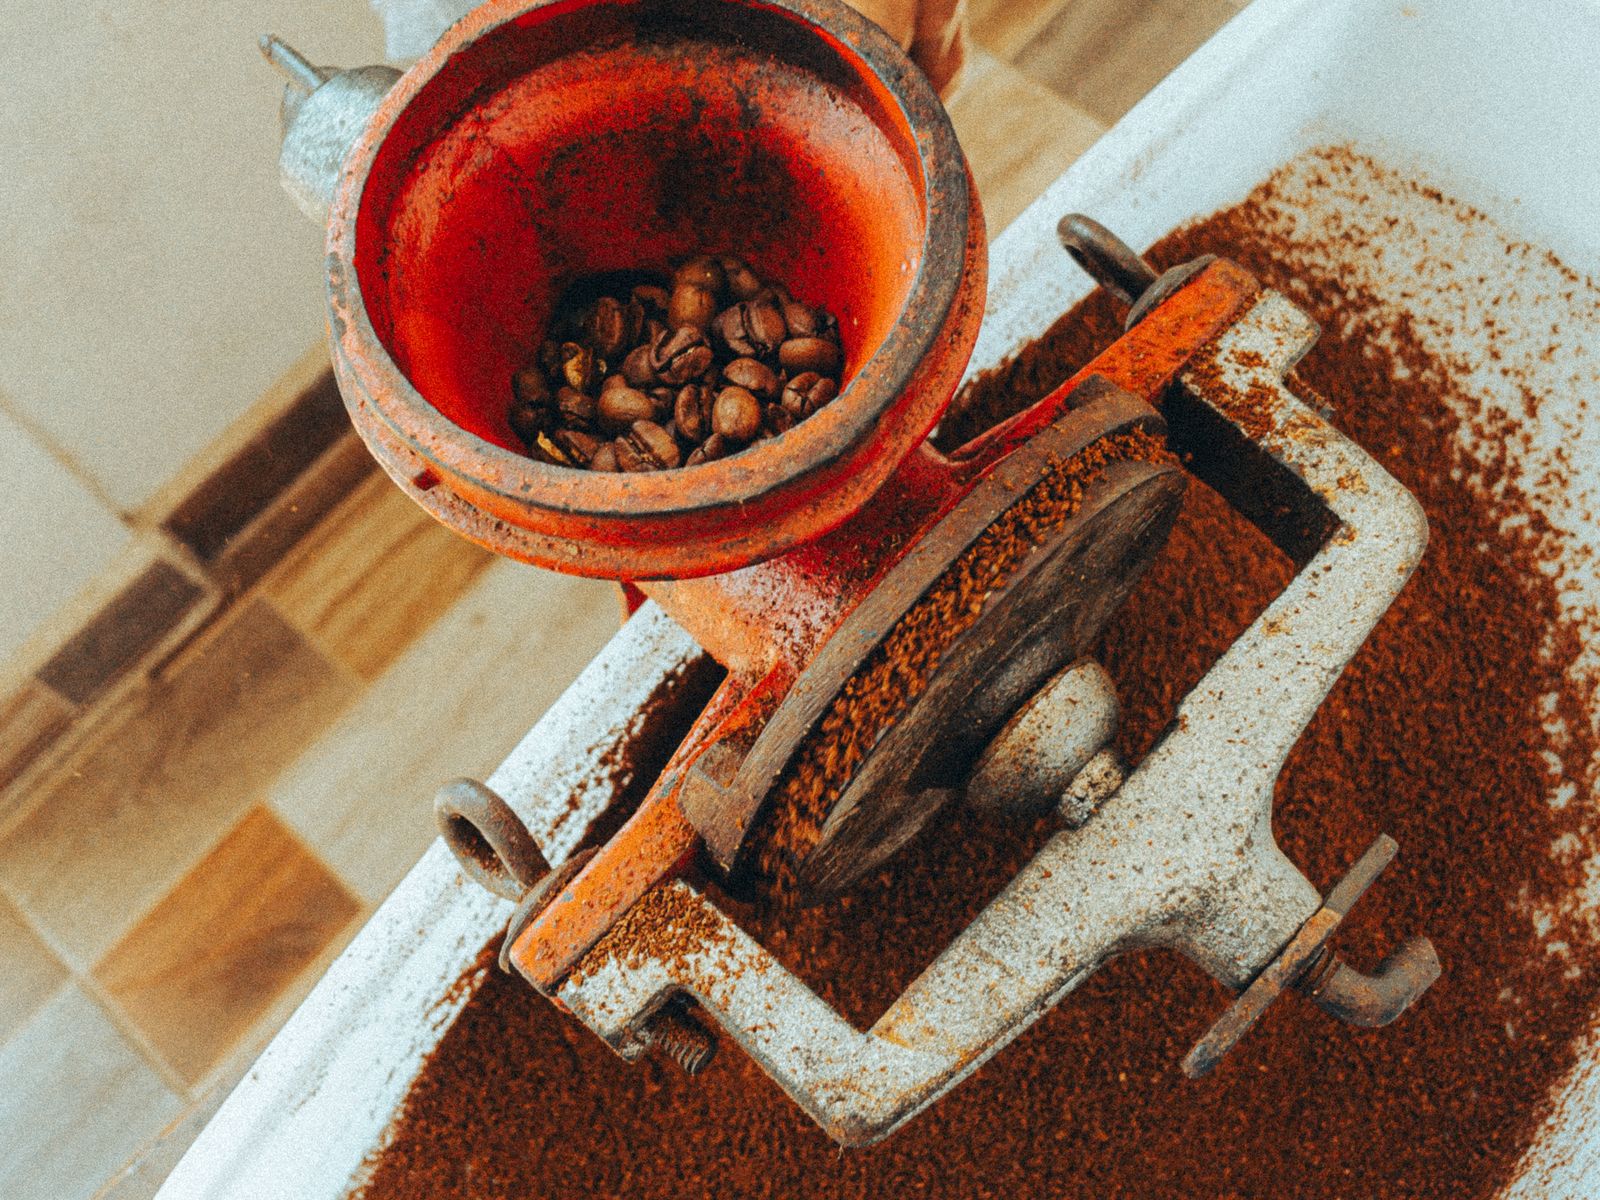
Each brew method gives water a different amount of contact time with the coffee. A quick method like espresso needs a fine grind to extract enough in seconds, while a long steep like cold brew needs a coarse grind so it does not over-extract over many hours.
This is why the same bag of coffee can taste completely different across methods. Matching grind to contact time is the single most reliable way to make any brewer perform at its best.
A simple grind size chart by method
Here is a practical reference you can keep in mind at the grinder. Think in terms of familiar textures rather than exact numbers.
- Extra coarse (peppercorns): cold brew, steeped 12 to 24 hours.
- Coarse (sea salt): French press.
- Medium-coarse (rough sand): Chemex and some drip machines.
- Medium (table salt): flat-bottom drip and most pour-over.
- Medium-fine (finer than table salt): cone pour-over and AeroPress.
- Fine (powdered sugar): espresso and moka pot.
How to tell if your grind is off
Your taste buds are the best grind gauge you own. A bitter, dry, harsh cup usually means the grind is too fine and the coffee is over-extracted.
A sour, thin, weak cup usually means the grind is too coarse and under-extracted. Adjust in one direction, brew again, and taste; two or three rounds will dial you in.
Keep other variables steady while you experiment. If you change the grind, the dose, and the water temperature all at once, you will never know which change fixed the cup. Move one lever at a time and let your palate lead.
Why a burr grinder beats a blade
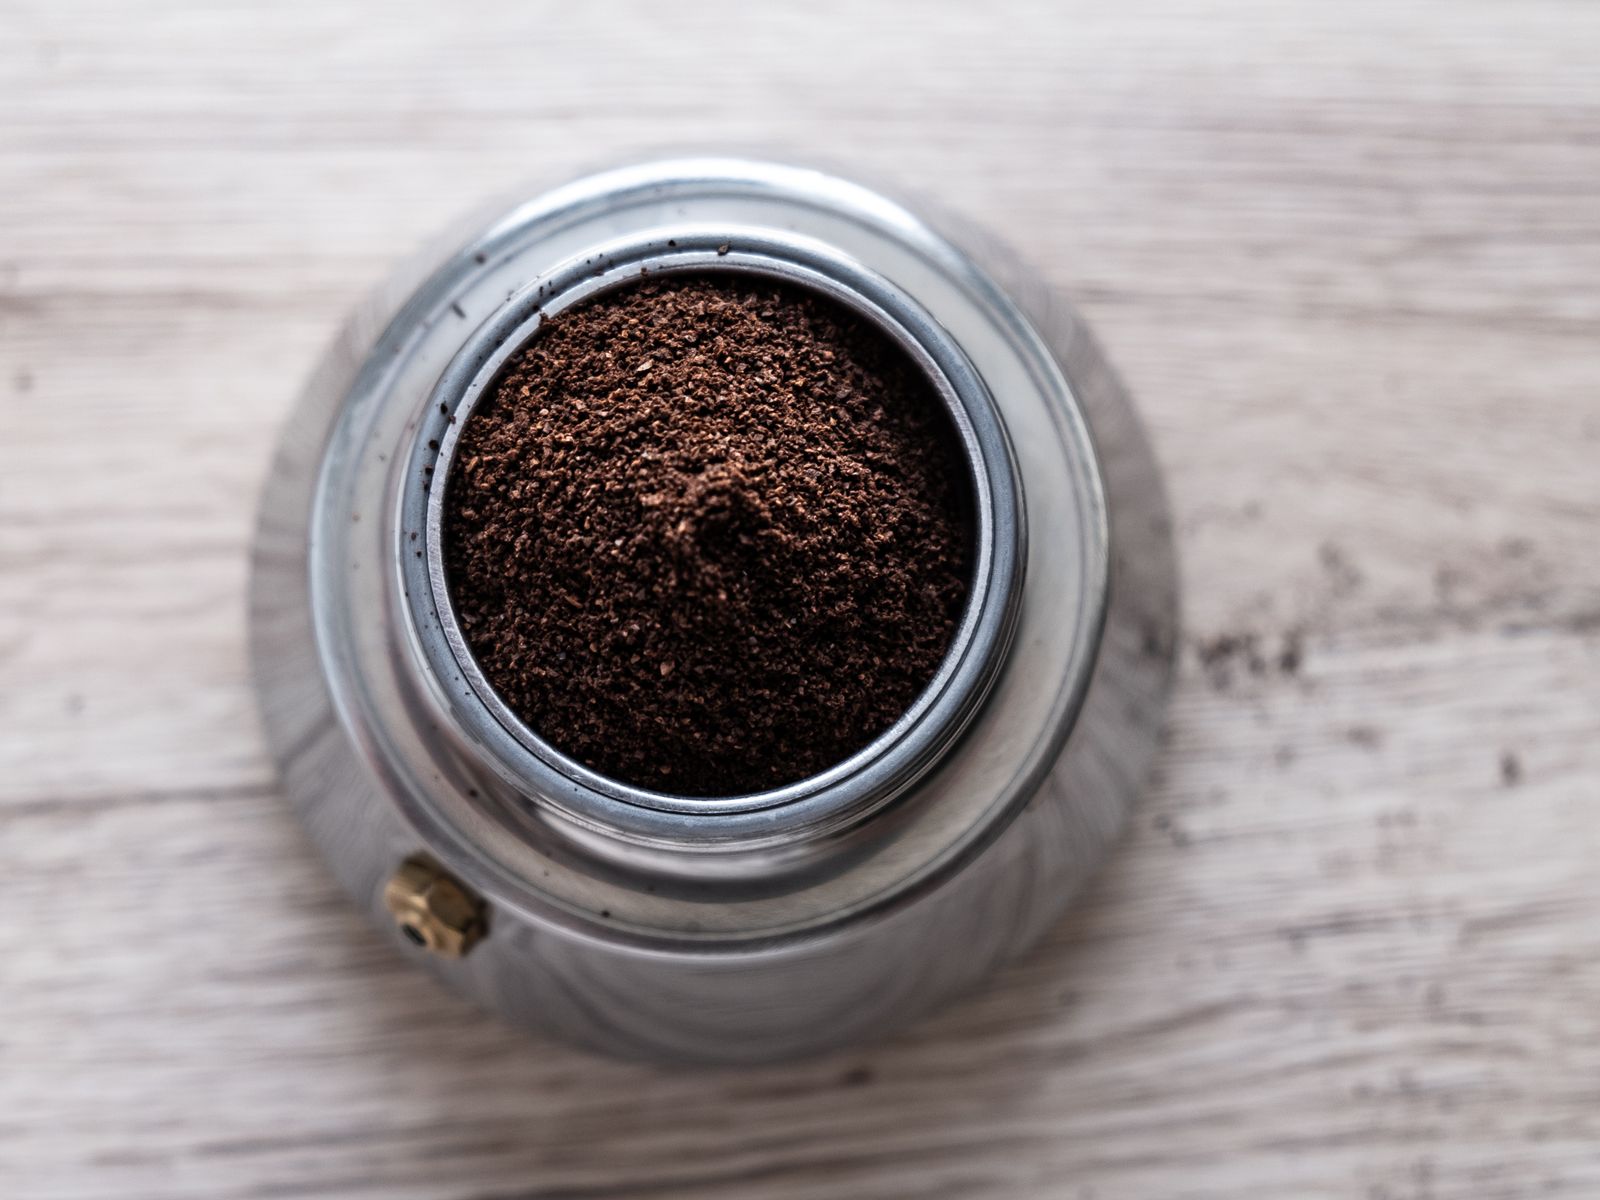
A blade grinder chops beans unevenly, producing a chaotic mix of fine dust and coarse chunks. That inconsistency means part of your coffee over-extracts while another part under-extracts, muddying every cup.
A burr grinder crushes beans between two abrasive surfaces set at a fixed distance, giving uniform particles and a repeatable grind. Even a manual burr grinder for $30 to $40 will noticeably improve your coffee, and it is the upgrade I recommend before almost anything else.
Dialing in your grind step by step
Changing grind is simple if you go slowly. Start at the recommended setting for your method, brew a normal cup, and taste it honestly.
If it is bitter, move one step coarser; if it is sour, move one step finer. Change only the grind, keep your ratio and water the same, and you will quickly learn how your grinder responds. This same patience pays off across pour-over brewing and every other method.
Grind freshness makes a difference too
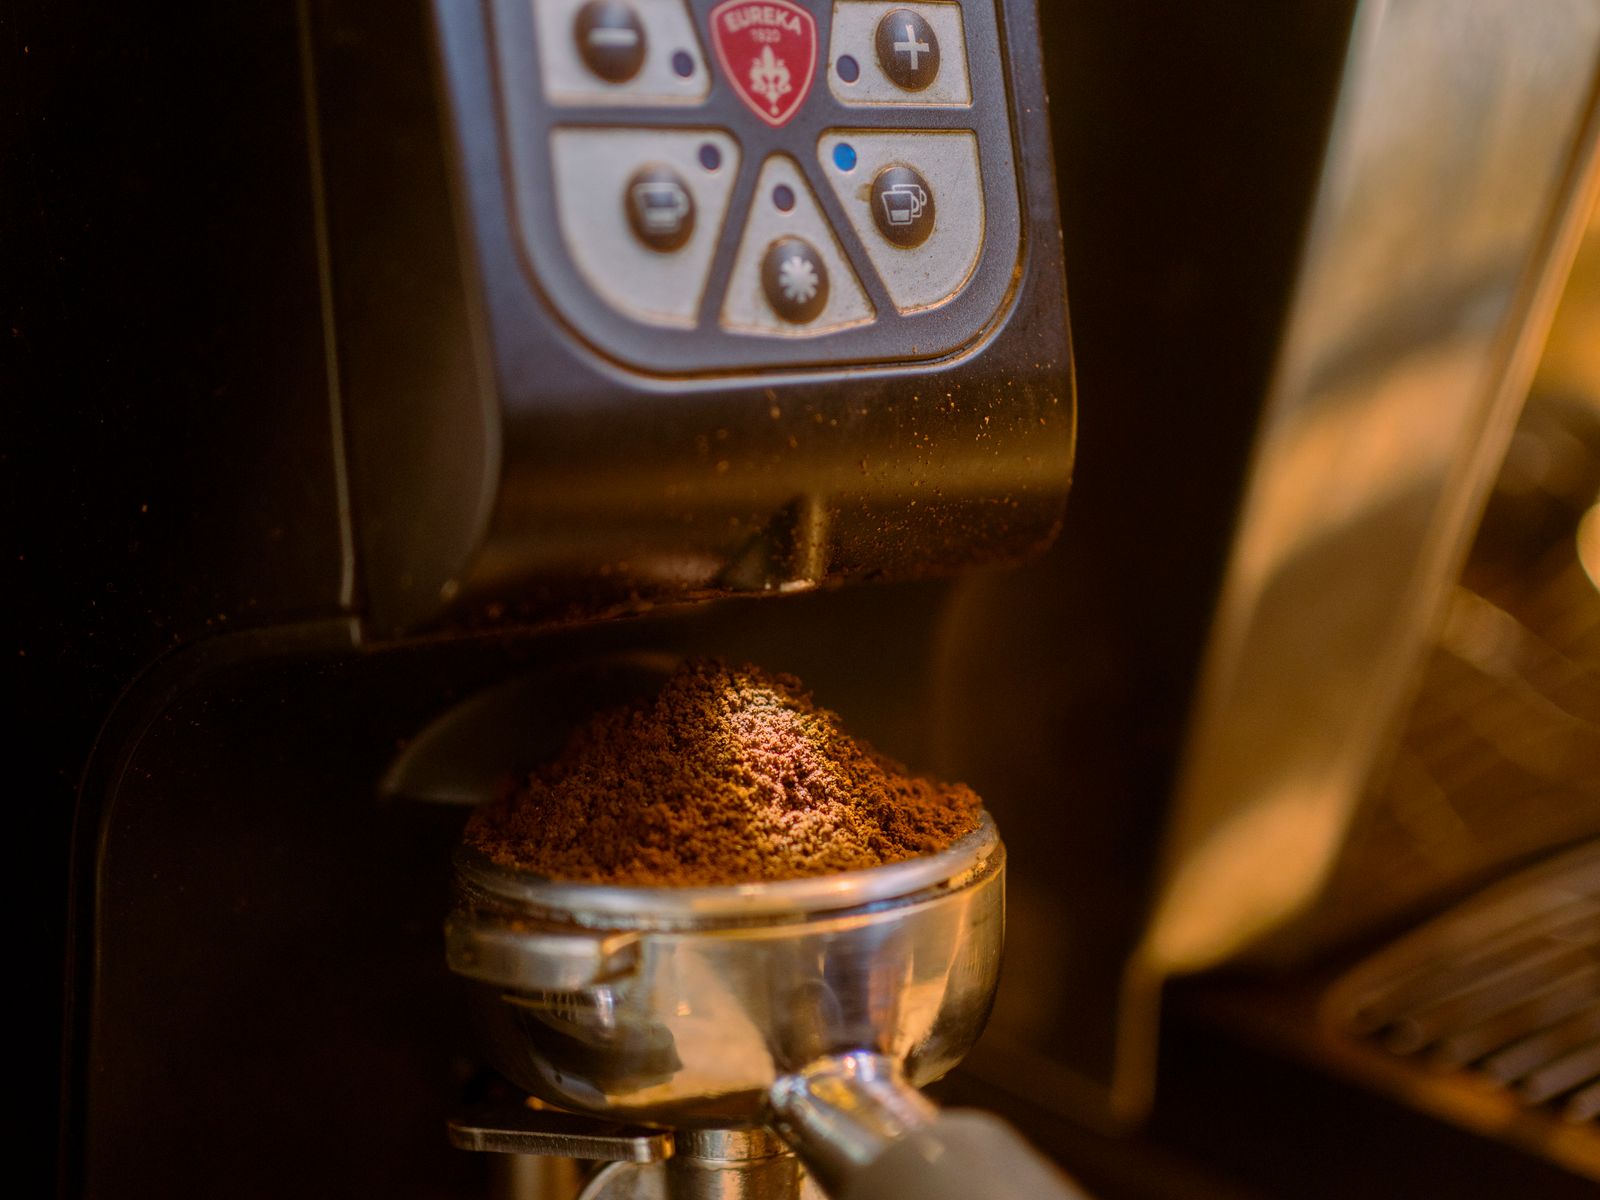
Ground coffee goes stale fast because grinding exposes far more surface area to air. Within 15 to 30 minutes, much of the aroma has faded, which is why grinding right before brewing matters so much.
If you must grind ahead, keep it to a day or two in an airtight container and expect some loss of brightness. Fresh grinding is one of the cheapest, biggest upgrades available to any home brewer.
Grind settings are not universal
One thing that surprises new grinders is that a “medium” setting on one machine is not the same as a “medium” on another. Grinder numbers are relative to that specific model, so the texture in your hand matters far more than the number on the dial.
This is why the sand-and-salt comparisons are so useful. Rub a pinch of your grounds between your fingers and compare them to those textures, and you will judge grind size accurately no matter which grinder you own.
Adjusting grind for taste, not just method
Once you can hit the right ballpark for a method, you can use grind to fine-tune flavor to your own preference. If your pour-over tastes a touch flat, a slightly finer grind can add sweetness and body. If it tastes aggressive, backing off one step can smooth it out.
Roast level plays a role too. Darker roasts are more brittle and grind slightly finer at the same setting, so you may need to nudge coarser when switching from a light roast to a dark one. Small awareness like this turns grind size from a mystery into a tool.
Static, clumping, and other grind headaches
As you grind more often, you may notice small annoyances like static making grounds cling to the grinder, or clumps forming in the bed. Static is worse with very dry beans and fine grinds, and a common home fix is to add a single drop of water to the beans before grinding to calm it down.
Clumping can cause water to channel around dense pockets during brewing, leading to uneven extraction. Giving your grounds a quick stir or a gentle shake to level the bed before you brew solves most of this and produces a noticeably more even cup.
How grind interacts with your ratio and water
Grind size does not work alone. It partners with your coffee-to-water ratio and your water temperature to shape the final cup. A finer grind with hotter water extracts aggressively, while a coarser grind with cooler water pulls back.
If you already brew at a steady 1:16 ratio and keep your water between 195°F and 205°F, then grind becomes your precision dial for the last bit of balance. Locking in the other two variables first is what makes grind adjustments feel predictable instead of random.
Putting it all together
Grind size may be invisible in the cup, but you taste it in every sip. Match the texture to your method, grind fresh, use a burr grinder if you can, and adjust one step at a time based on taste.
Do that consistently and you will get more out of your current beans and brewer than any expensive machine could promise. It is the definition of a high-value, low-cost coffee upgrade.
Your next step
Pick your usual brew method, check it against the grind chart above, and adjust your grinder one step toward the ideal texture tomorrow morning. Then taste the difference before changing anything else.
Grind size is a skill you build one cup at a time. According to the Specialty Coffee Association, consistent grind quality is central to even extraction, so a small adjustment here often does more than any new piece of gear.
Give yourself a week of small, single-step changes and pay attention to how each one tastes. By the end you will have a grind setting that fits your beans, your brewer, and your palate, and you will never look at that dial the same way again.

Maria Peixoto writes about making great coffee at home — no expensive machines, no barista jargon, just better cups every morning. Based in Portland, Oregon.