The difference between gas-station coffee and the cup you make at home usually comes down to three minutes and one small change. Most people assume better coffee at home requires an expensive machine or a barista course, when really it comes down to a handful of fundamentals you can learn in a single morning.
This guide walks you through everything a beginner needs to brew better coffee at home, from choosing beans to nailing your ratio, without spending a fortune or memorizing jargon. Master these basics and your daily cup will improve more than any single gadget ever could, and you will finally understand why your coffee tastes the way it does.
Start with fresh beans and the right grind
Everything begins with the beans, because no technique can rescue coffee that is already stale. Coffee is at its best within about two to four weeks of its roast date, so look for a printed roast date on the bag rather than a distant “best by” stamp. If you can only find the latter, you are probably buying coffee that has been sitting on a shelf for months.
Buy whole beans and grind them just before brewing. Ground coffee loses its aromatic oils within minutes of grinding, which is exactly why the pre-ground coffee in most pantries tastes flat and papery. Whole beans protect those aromatics until the moment you need them.
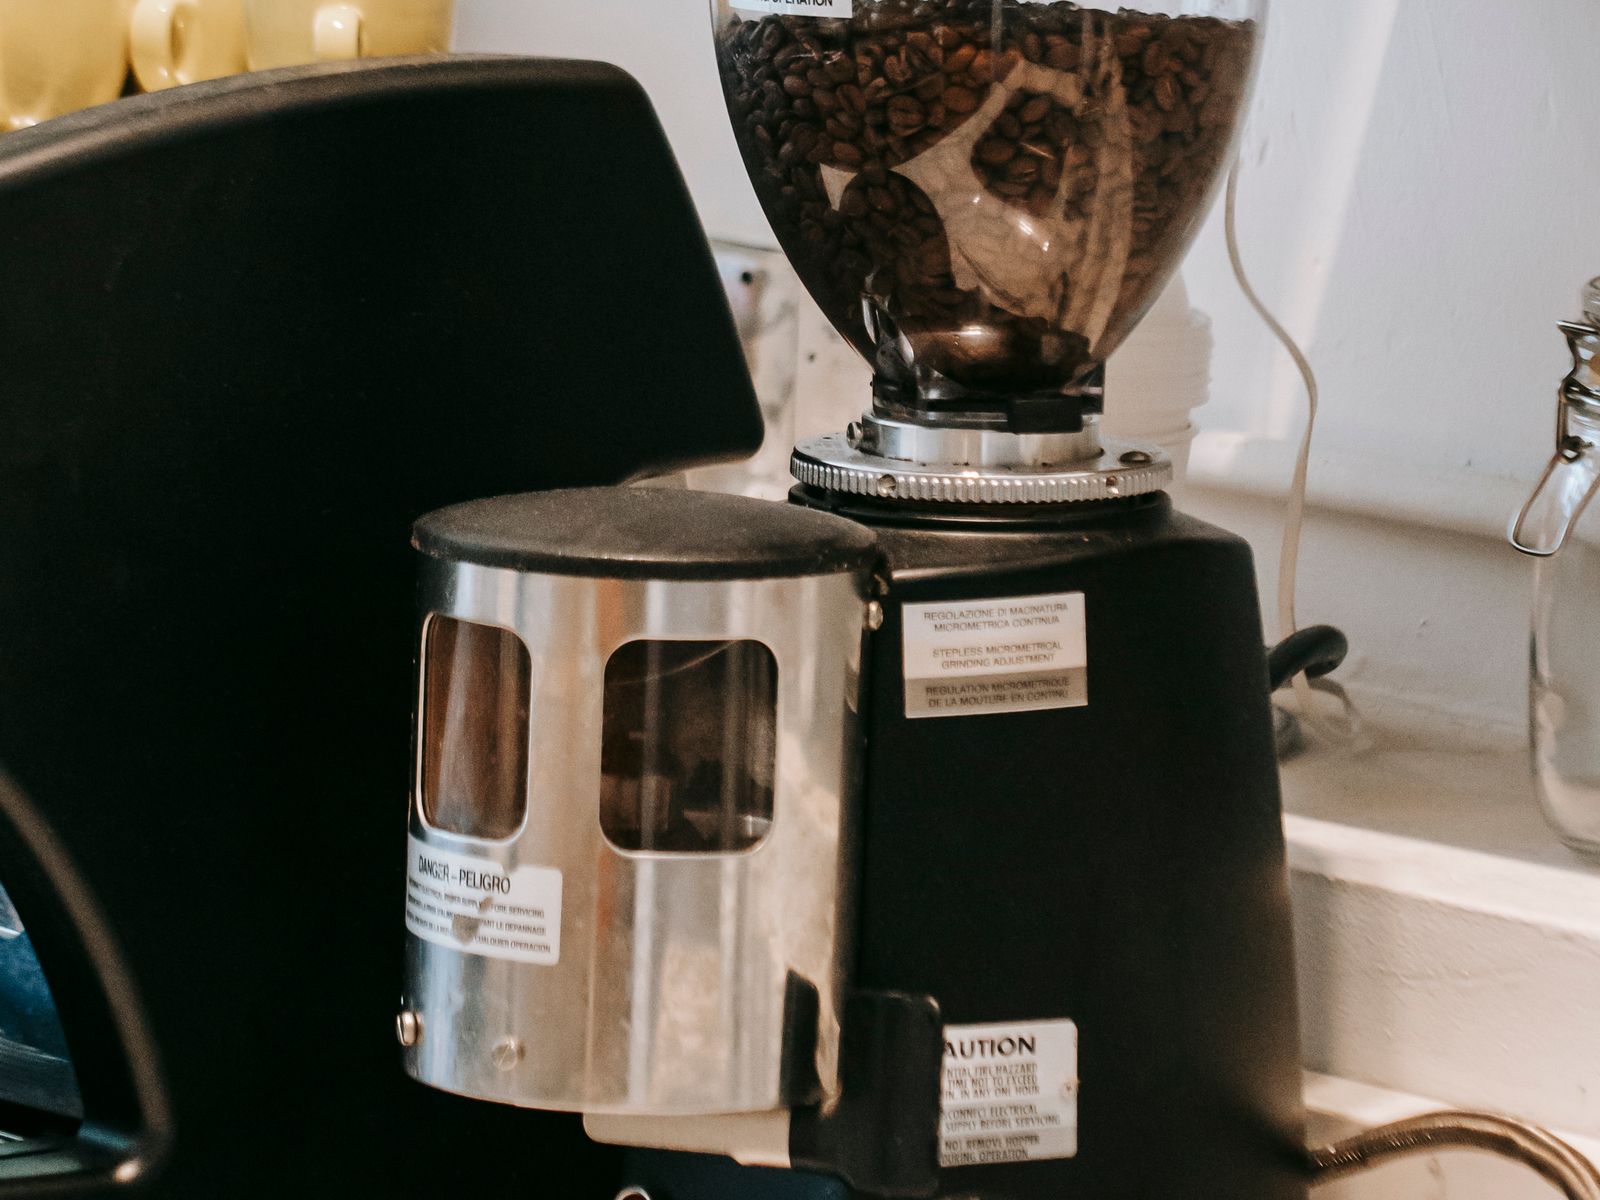
A burr grinder, even an inexpensive manual model in the $30 to $40 range, produces an even, consistent grind that a spinning blade grinder simply cannot match. Blade grinders chop beans into a mix of dust and boulders, and that inconsistency is one of the most common hidden causes of bad home coffee.
Matching grind size to your method
Grind size controls how quickly water pulls flavor out of the coffee. A coarse, sea-salt-sized grind suits a French press, a medium grind that feels like table salt works for drip and pour-over, and a fine, powdery grind is meant for espresso.
Grind size is also your main troubleshooting tool. If your coffee tastes harsh and bitter, your grind is likely too fine and you are over-extracting. If it tastes sour, thin, and weak, it is probably too coarse and under-extracted. Adjusting the grind one step at a time will teach you more than almost anything else.
Get your coffee-to-water ratio right
The single biggest reason home coffee tastes weak is simply using too little coffee. A reliable starting point is a 1:16 ratio, meaning 1 gram of coffee for every 16 grams of water. For a standard mug that works out to roughly 22 grams of coffee to 350 grams of water.
A small kitchen scale, usually $15 to $25, takes the guesswork out of this and is the most underrated upgrade for better coffee at home. Scooping by volume is wildly inconsistent, because a tablespoon of dense beans weighs far more than a tablespoon of light, airy ones.
Once you can measure consistently, you can adjust to your own taste with confidence instead of luck. Here is a simple way to dial it in:
- Stronger cup: move toward a 1:15 ratio by adding a little more coffee.
- Milder cup: move toward a 1:17 ratio by using slightly less coffee.
- Weigh everything: measure both the coffee and the water so today’s great cup is repeatable tomorrow.
- Change one variable at a time: so you always know what caused the difference.
Mind your water temperature
Water temperature quietly makes or breaks a cup. Water that is too hot scorches the grounds and pulls out harsh bitterness, while water that is too cool leaves the coffee sour, flat, and underdeveloped. The sweet spot sits between 195°F and 205°F.
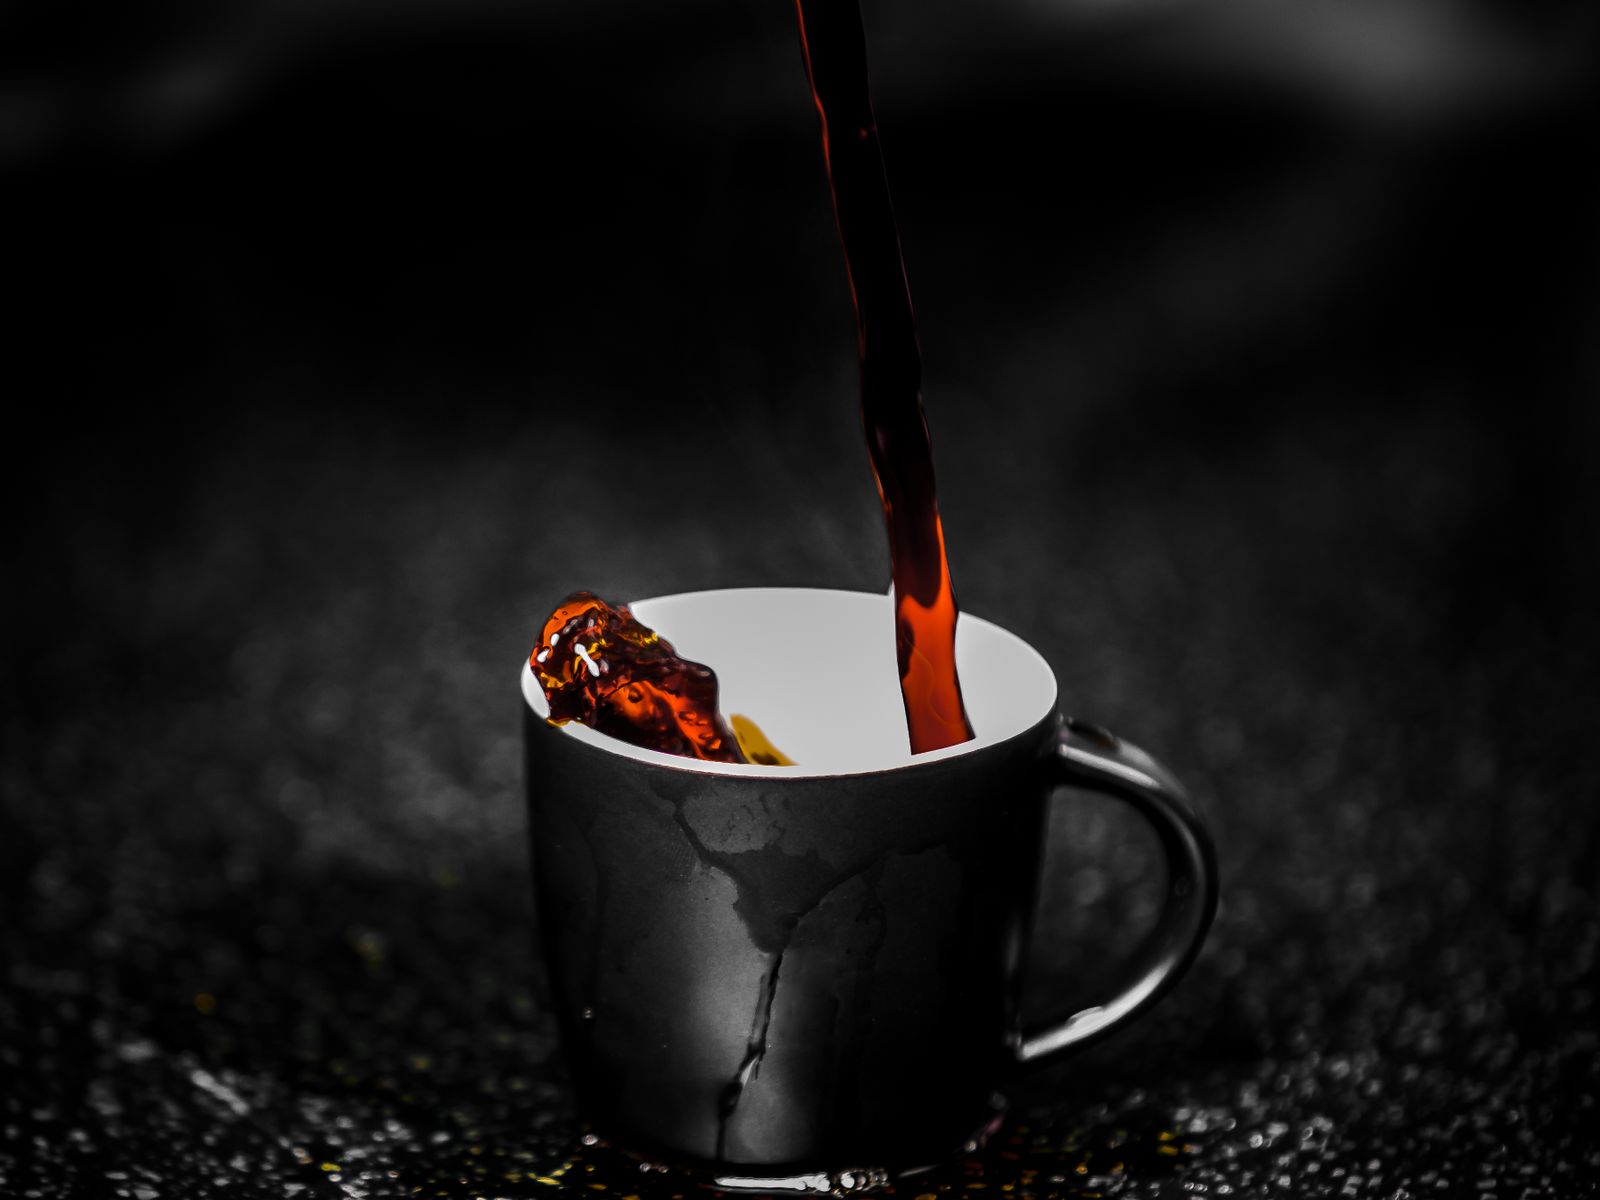
That range is easy to hit without any gear. Simply bring your kettle to a boil, then let it rest for about 30 seconds before you pour. That short pause drops the water into the ideal window and is often the difference between a bitter cup and a clean, sweet one.
If you brew often, an inexpensive variable-temperature kettle or a cheap instant-read thermometer removes the guesswork entirely, but neither is required to get started.
Water quality matters more than you think
A cup of coffee is roughly 98 percent water, so whatever your water tastes like ends up in your cup. If your tap water carries a strong chlorine smell or a heavy mineral tang, those flavors will muddy even the best beans.
Filtered water almost always makes an immediate, noticeable improvement, and a simple pitcher-style filter is more than enough for most homes. You do not need expensive bottled water; clean, filtered tap water in a moderate mineral range gives the coffee something to extract into without adding off-flavors of its own.
Pick a brew method that fits your morning
You do not need every gadget on the shelf. The smarter move is to choose one method that matches how much time and attention you realistically have on a weekday morning. A French press is forgiving and cheap, a pour-over rewards a little care with a cleaner, brighter cup, and an AeroPress is nearly foolproof and travels beautifully.
Whichever you pick, consistency beats complexity every time. Brewing the same method the same way each day teaches you the feel of good coffee far faster than owning five devices you rarely touch. You can always expand your setup later once the fundamentals are second nature.
Store your coffee properly
Four things stale your beans: air, heat, light, and moisture. Keep your coffee in an airtight, opaque container at room temperature, away from the heat of the stove and out of direct sunlight on the counter.
Skip the freezer for beans you use every day, since repeated temperature swings invite condensation that dulls the coffee. Instead, buy only what you will realistically drink within two to four weeks, and your beans will stay lively and aromatic right down to the last scoop.
Taste, adjust, and keep it simple
The final and most valuable skill is learning to taste your coffee and adjust just one thing at a time. If the cup is bitter, grind a little coarser or let your water cool slightly. If it is sour and weak, grind finer or add a touch more coffee.
According to the National Coffee Association, small changes in grind, ratio, and temperature have an outsized effect on the final flavor, which is precisely why these fundamentals matter more than any piece of equipment. Trust your own palate; it improves quickly once you start paying attention.
Common beginner mistakes to avoid
A few small habits quietly sabotage otherwise good coffee. The most common is letting brewed coffee sit on a hot plate, where it keeps cooking and turns bitter within 20 minutes. If you are not drinking it right away, pour it into an insulated carafe instead.
Another frequent mistake is skipping the cleaning step. Old coffee oils build up inside brewers, filters, and carafes, and they go rancid over time, adding a stale, sour edge to fresh coffee. A quick rinse after every brew and a deeper clean every week or two keeps every cup tasting clean.
Finally, resist the urge to change three things at once when a cup disappoints. Adjust a single variable, taste the result, and only then move on to the next. This patient approach is how you build real intuition rather than chasing random fixes.
What better coffee at home actually costs
You can transform your daily cup for well under $100 total. A basic kitchen scale runs $15 to $25, a manual burr grinder $30 to $40, a simple pour-over dripper or French press $15 to $30, and a pitcher water filter another $20 or so. None of it needs to be bought at once.
Compared with a few dollars per café drink, that modest kit pays for itself within a month or two, and then keeps rewarding you every morning. The point is not to spend more, but to spend on the few things that genuinely change the cup in front of you.
Your next step
Pick one change to make tomorrow morning, ideally weighing your coffee to a 1:16 ratio, and taste the difference before you adjust anything else. Making better coffee at home is really just a series of small, repeatable wins, and weighing your coffee is the easiest first one.
Once weighing feels natural, add a burr grinder next, then dial in your water temperature, and your cup will keep getting better with almost no added cost. The best home coffee routine is the simple one you will actually repeat every single day.
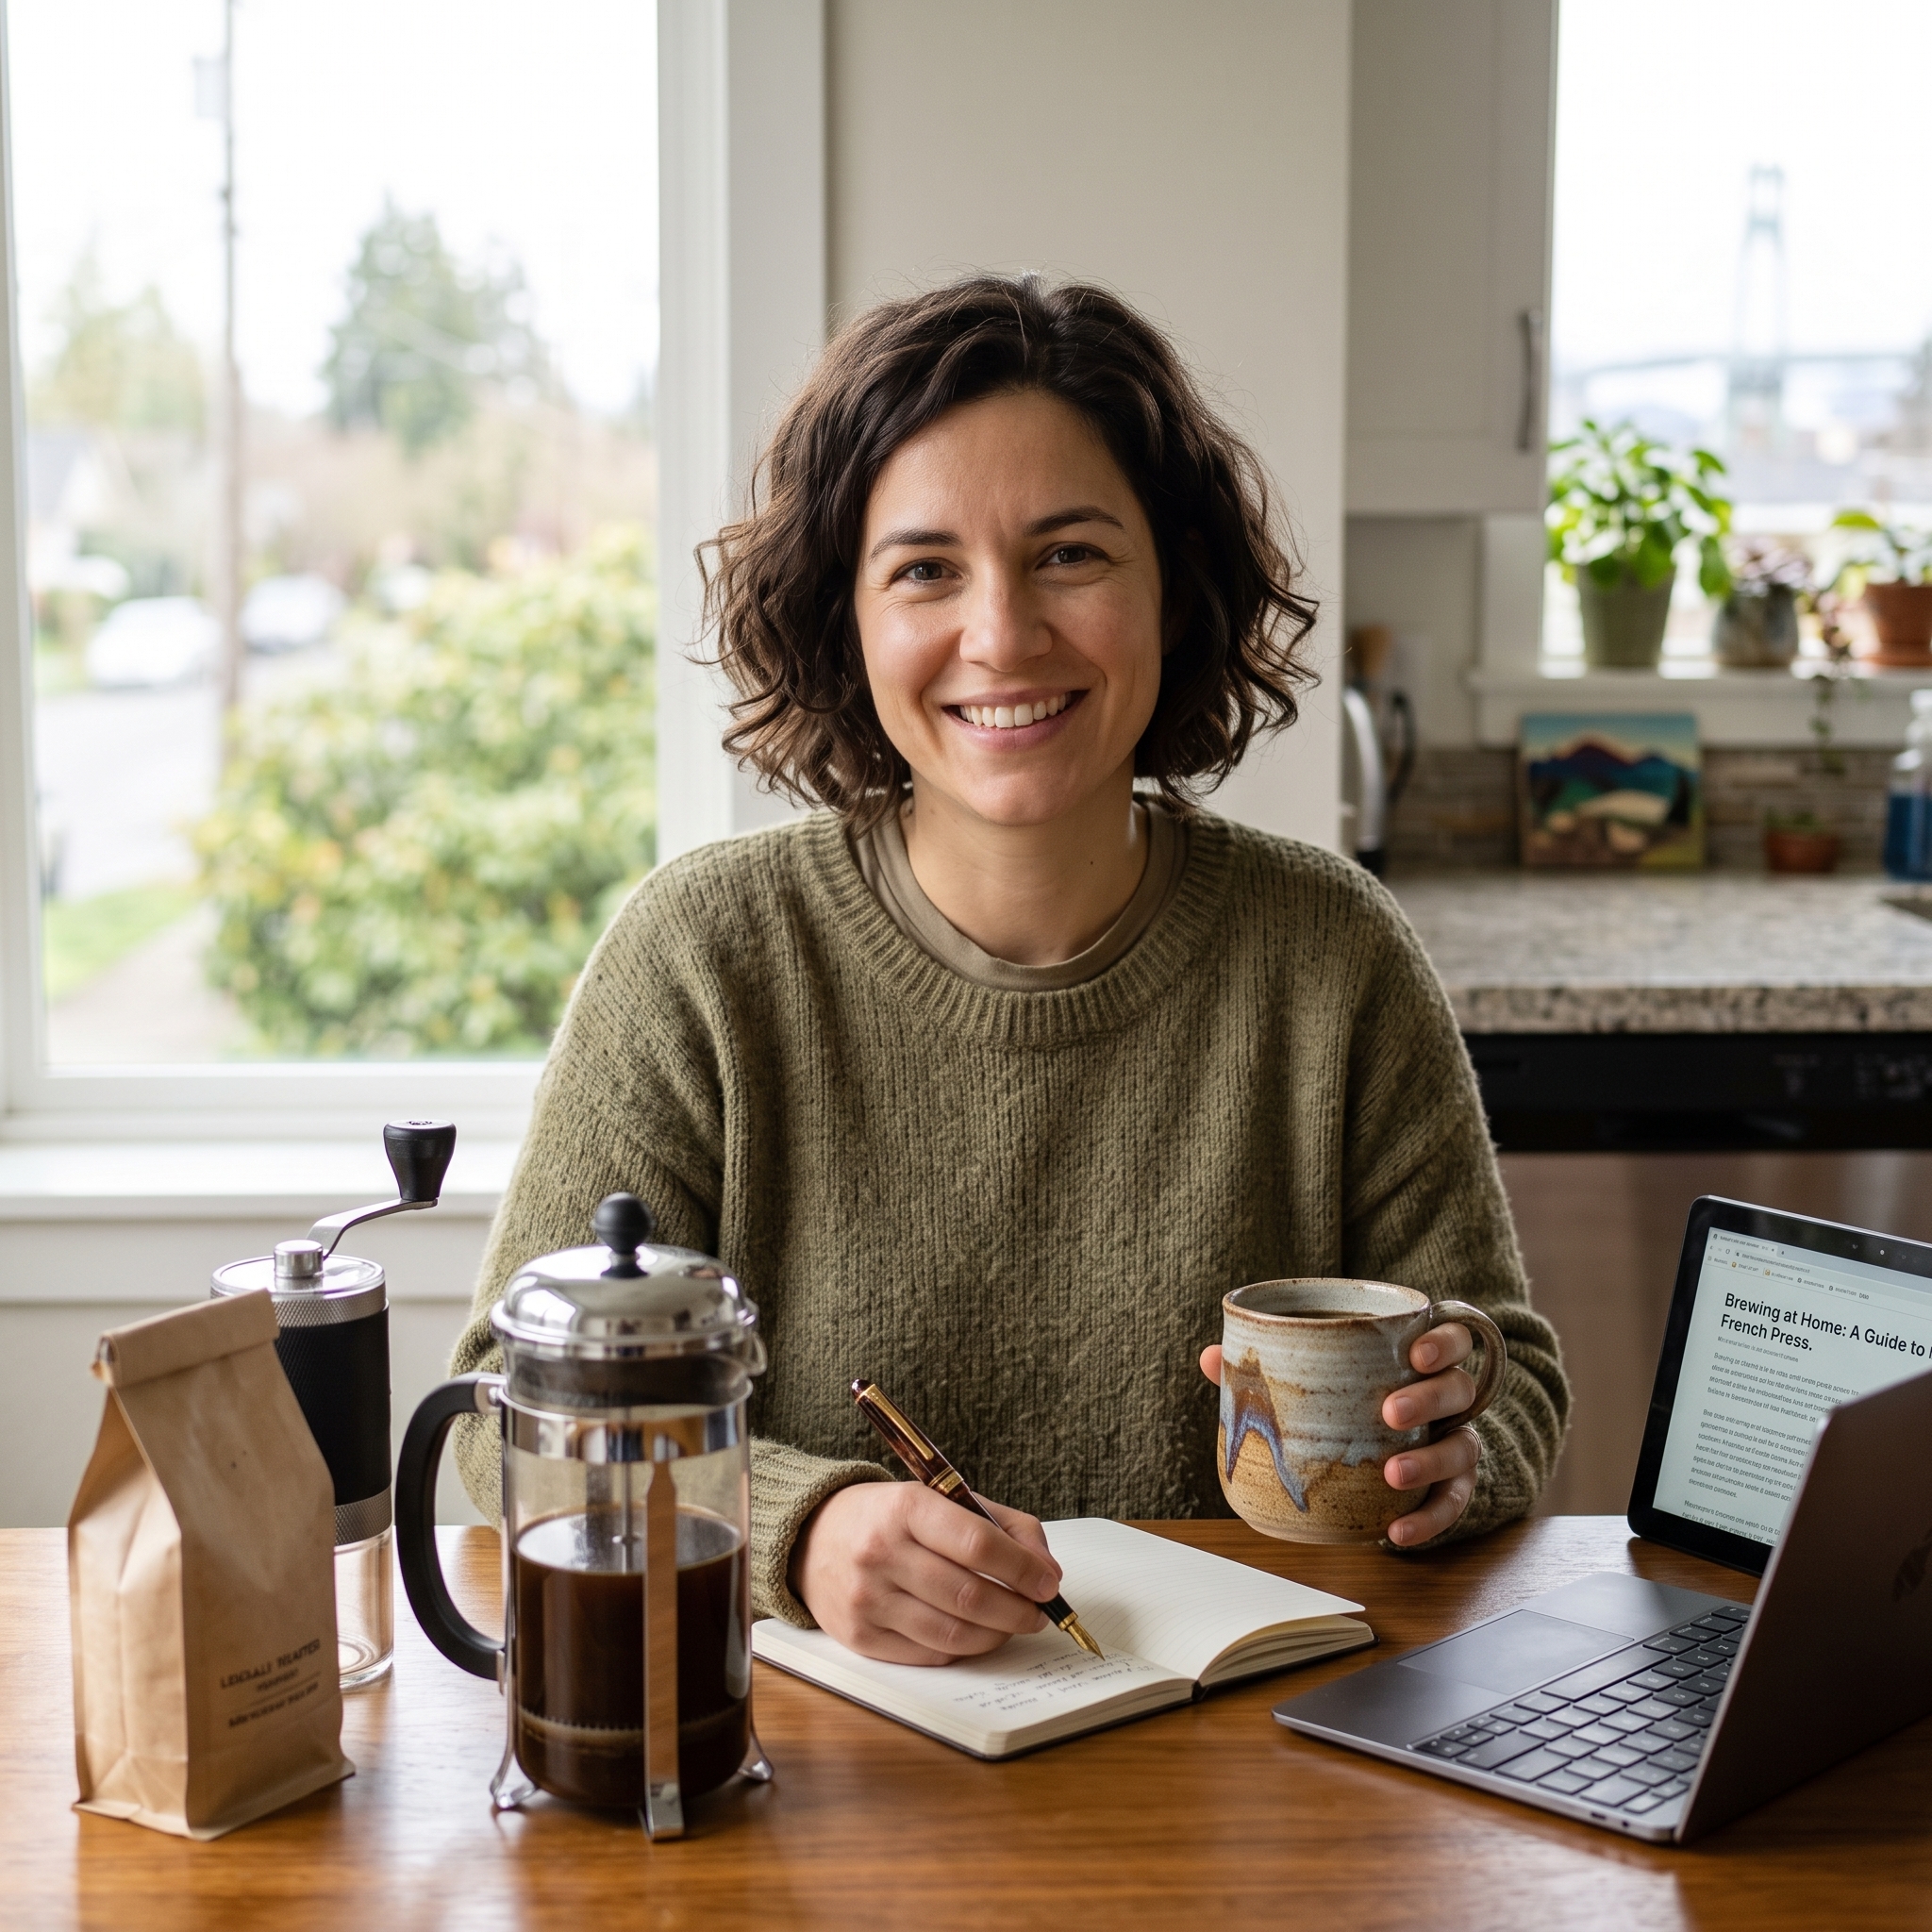
Maria Peixoto writes about making great coffee at home — no expensive machines, no barista jargon, just better cups every morning. Based in Portland, Oregon.