The first time you watch coffee bloom under a slow stream of water, brewing stops feeling like a chore and starts feeling like a small morning ritual. Pour-over coffee looks intimidating, but it is really just hot water, ground coffee, and a little patience working together.
This step-by-step guide shows you exactly how to make pour-over coffee at home, from gear and grind to the pour itself. It is one of the most rewarding steps in making better coffee at home, and it costs surprisingly little to get started. By the end, you will be able to brew a café-quality cup on your own kitchen counter for a fraction of the price.
Learning how to make pour-over coffee is less about perfection and more about paying attention. Once you understand what each step does, you can relax and let the process guide you.
What you need to make pour-over coffee
The beauty of pour-over is how little equipment it demands. A basic setup will cost you somewhere between $30 and $60, and most of it lasts for years.
You will want a dripper such as a plastic, ceramic, or glass cone, matching paper filters, freshly roasted whole-bean coffee, and a way to grind it. A gooseneck kettle helps enormously with pour control, though you can start with any kettle you own.
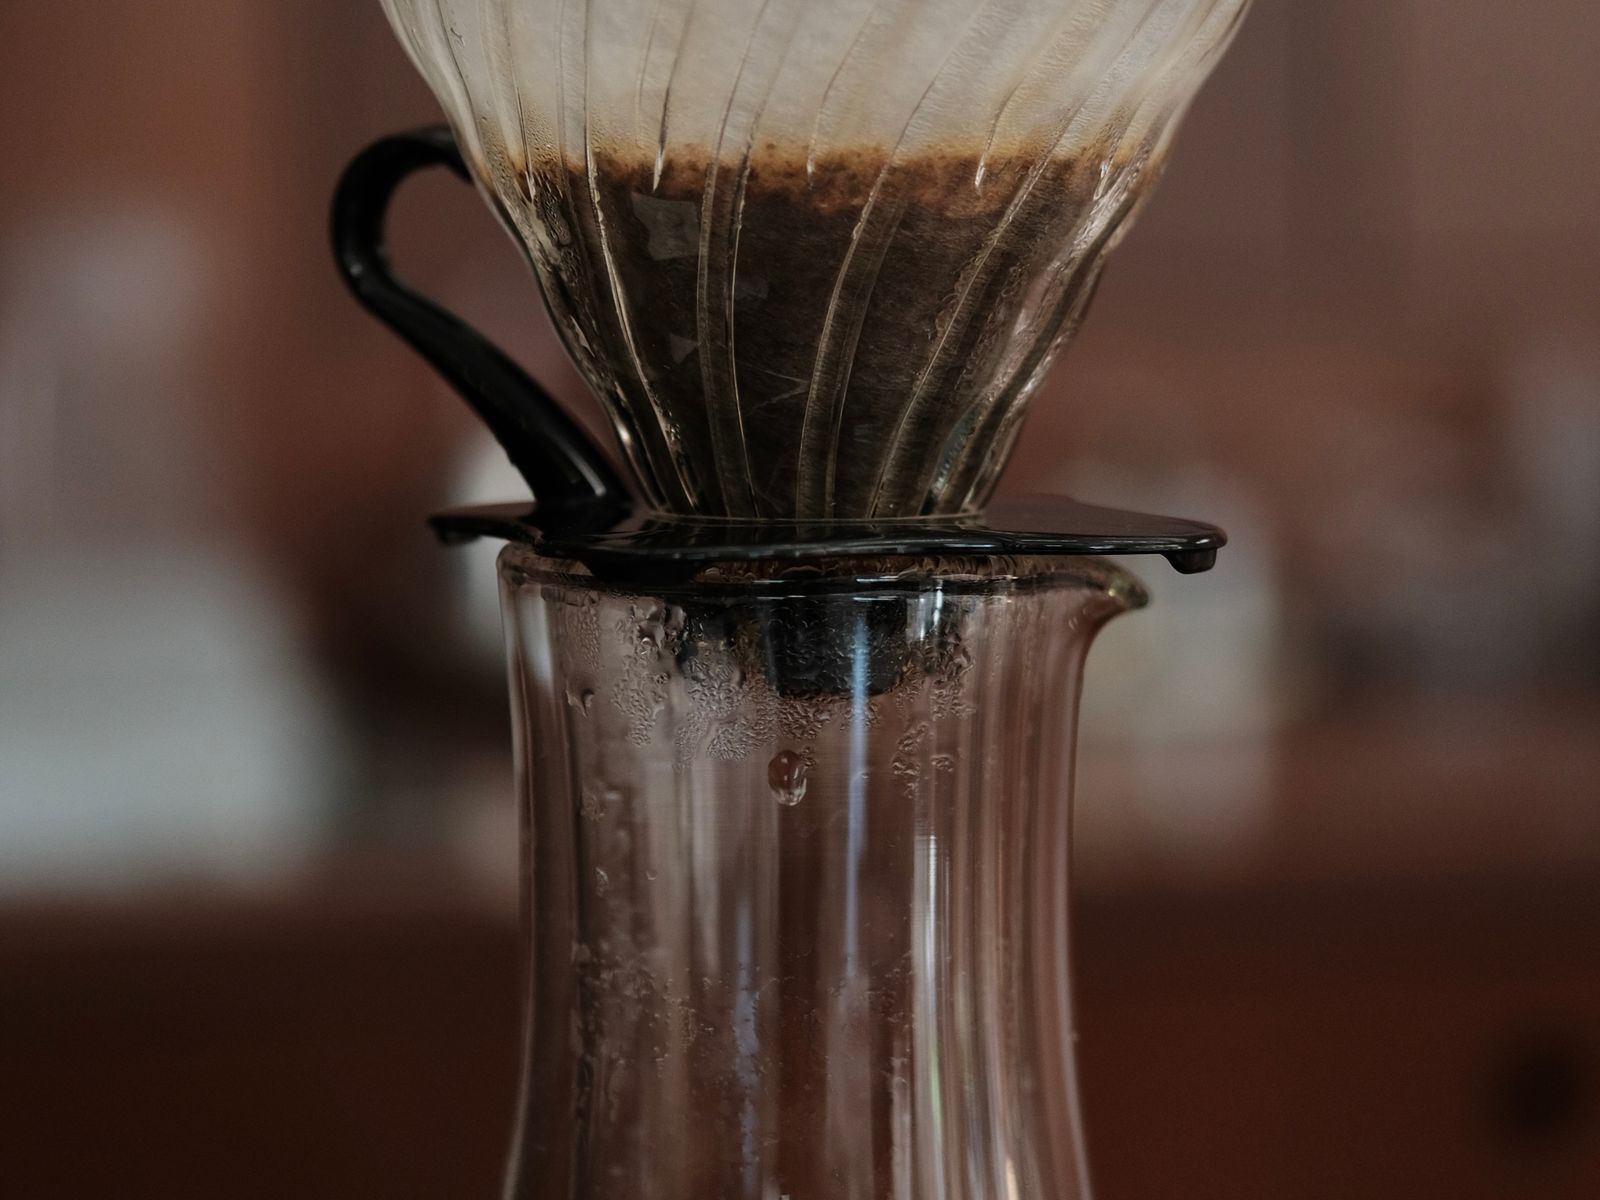
A kitchen scale is the one upgrade I recommend most, because pour-over is all about consistency. Weighing your coffee and water turns a lucky cup into a repeatable one, and a decent scale costs only $15 to $25.
Understand why pour-over tastes so clean
Pour-over uses a paper filter that traps most of the oils and fine particles, producing a cup that tastes bright, clean, and clear. That clarity is exactly why so many people fall for the method once they try it.
Because you control the water yourself, you also control extraction in real time. Speed up or slow down your pour and you can literally taste the result, which makes pour-over one of the best ways to actually learn how coffee works.
Choose the right beans and grind
Pour-over rewards fresh coffee more than almost any other method, so look for a bag with a roast date within the last two to four weeks. Grind the beans just before you brew to protect their aromatics.
The target grind is medium, roughly the texture of table salt or coarse sand. Too fine and the water drains slowly, over-extracting into bitterness; too coarse and it rushes through, leaving the cup sour and thin.
A burr grinder makes a real difference here, because it produces uniform particles that extract at the same rate. Even an affordable hand grinder in the $30 to $40 range will outperform a blade grinder and give you noticeably more even, sweeter results.
Get your ratio and water temperature right
Start with a 1:16 ratio, which is 1 gram of coffee for every 16 grams of water. For a single large mug that means about 22 grams of coffee to 350 grams of water, a balanced starting point you can adjust later.
Water temperature belongs in the 195°F to 205°F range. If you do not have a thermometer, bring the kettle to a boil and let it rest for about 30 seconds before pouring. That short wait keeps the coffee from tasting scorched.
Once you settle on a ratio you like, write it down. Repeating the same recipe day after day is what turns pour-over from a gamble into a dependable morning habit, and it makes troubleshooting far easier when something tastes off.
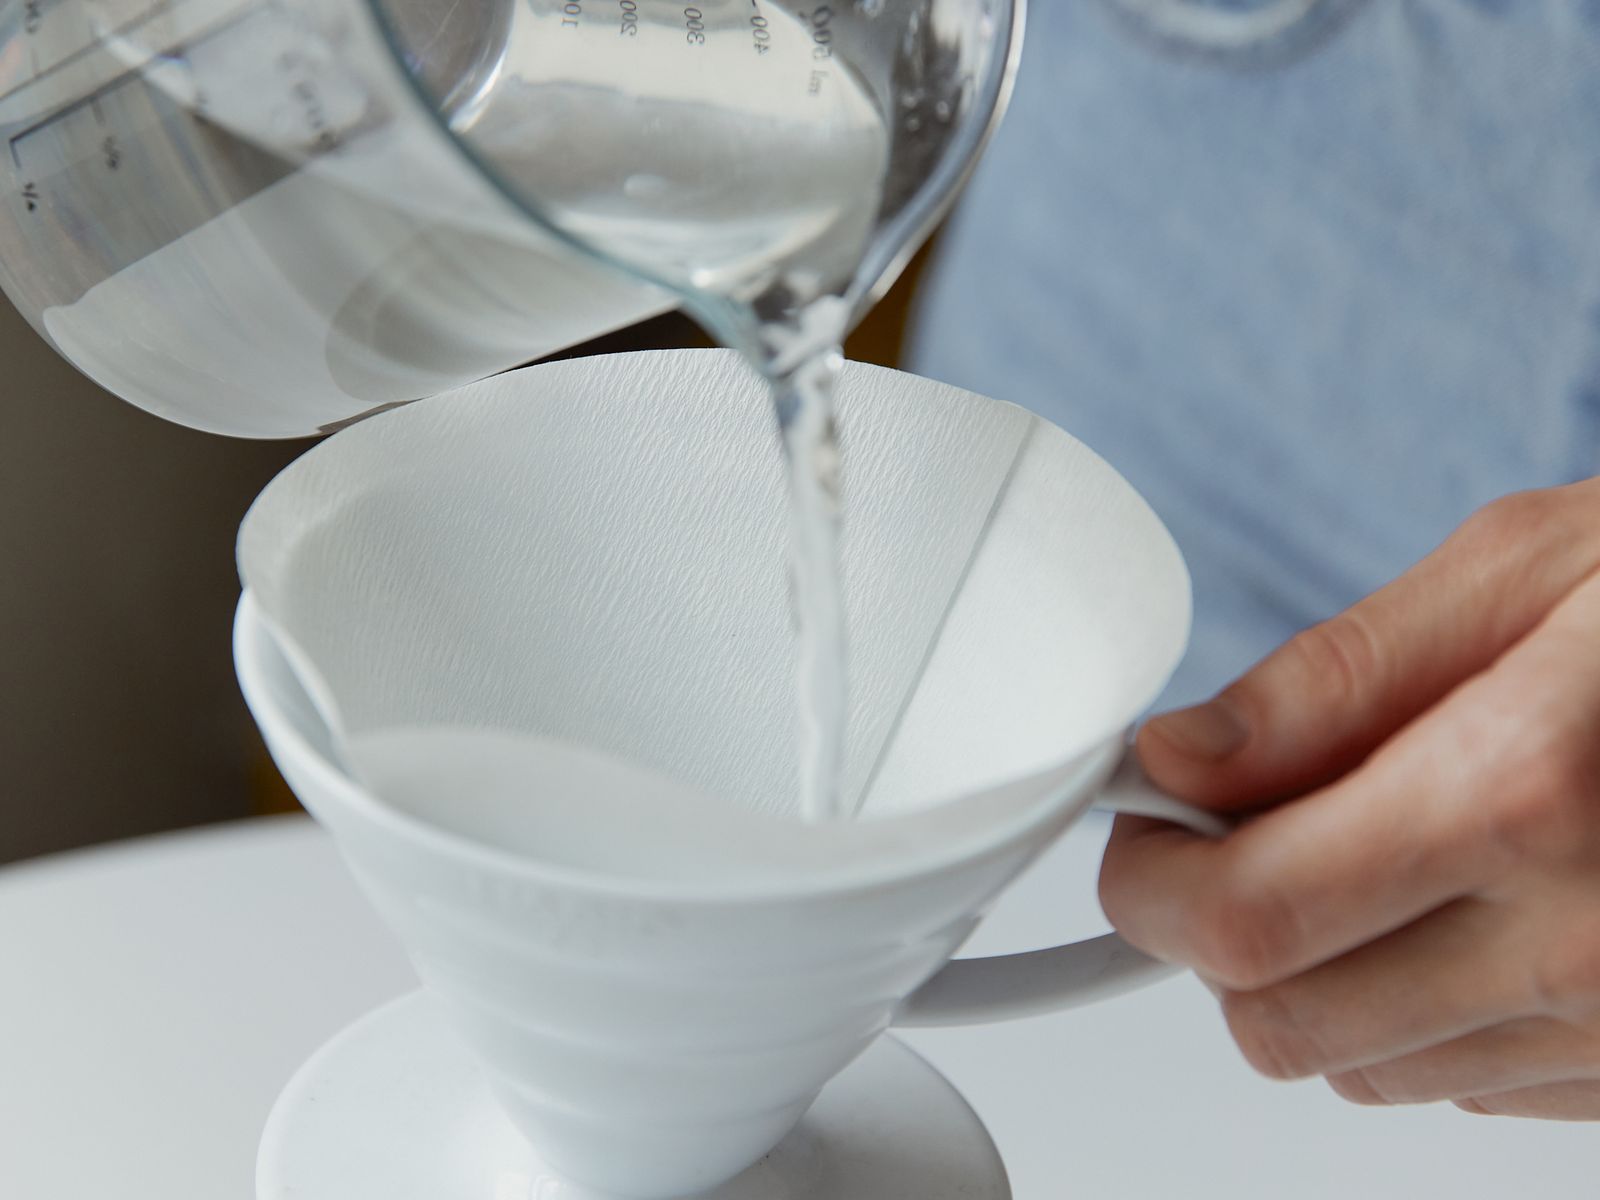
The step-by-step pour-over method
Here is the full sequence from dry filter to finished cup. Take it slowly the first few times, and it will soon become second nature.
- Rinse the filter. Place the filter in the dripper and pour hot water through it to remove papery flavors and warm your vessel. Discard that water.
- Add and level the coffee. Add your ground coffee and give the dripper a gentle shake so the bed sits flat.
- Bloom. Pour just enough water to saturate the grounds, about twice the weight of the coffee, and wait 30 to 45 seconds as it bubbles and swells.
- Pour in slow circles. Add the rest of the water in steady spirals from the center outward, keeping the water level below the rim.
- Let it draw down. Aim for a total brew time of 2.5 to 3.5 minutes from your first pour to the last drip.
Read your brew time to fix problems
Total brew time is your best diagnostic tool. If the brew finishes in under two minutes, your grind is likely too coarse, so grind a little finer next time.
If it drags on past four minutes and the cup tastes harsh, your grind is too fine or your pour is too aggressive. Small, single adjustments will dial you in within a couple of tries.
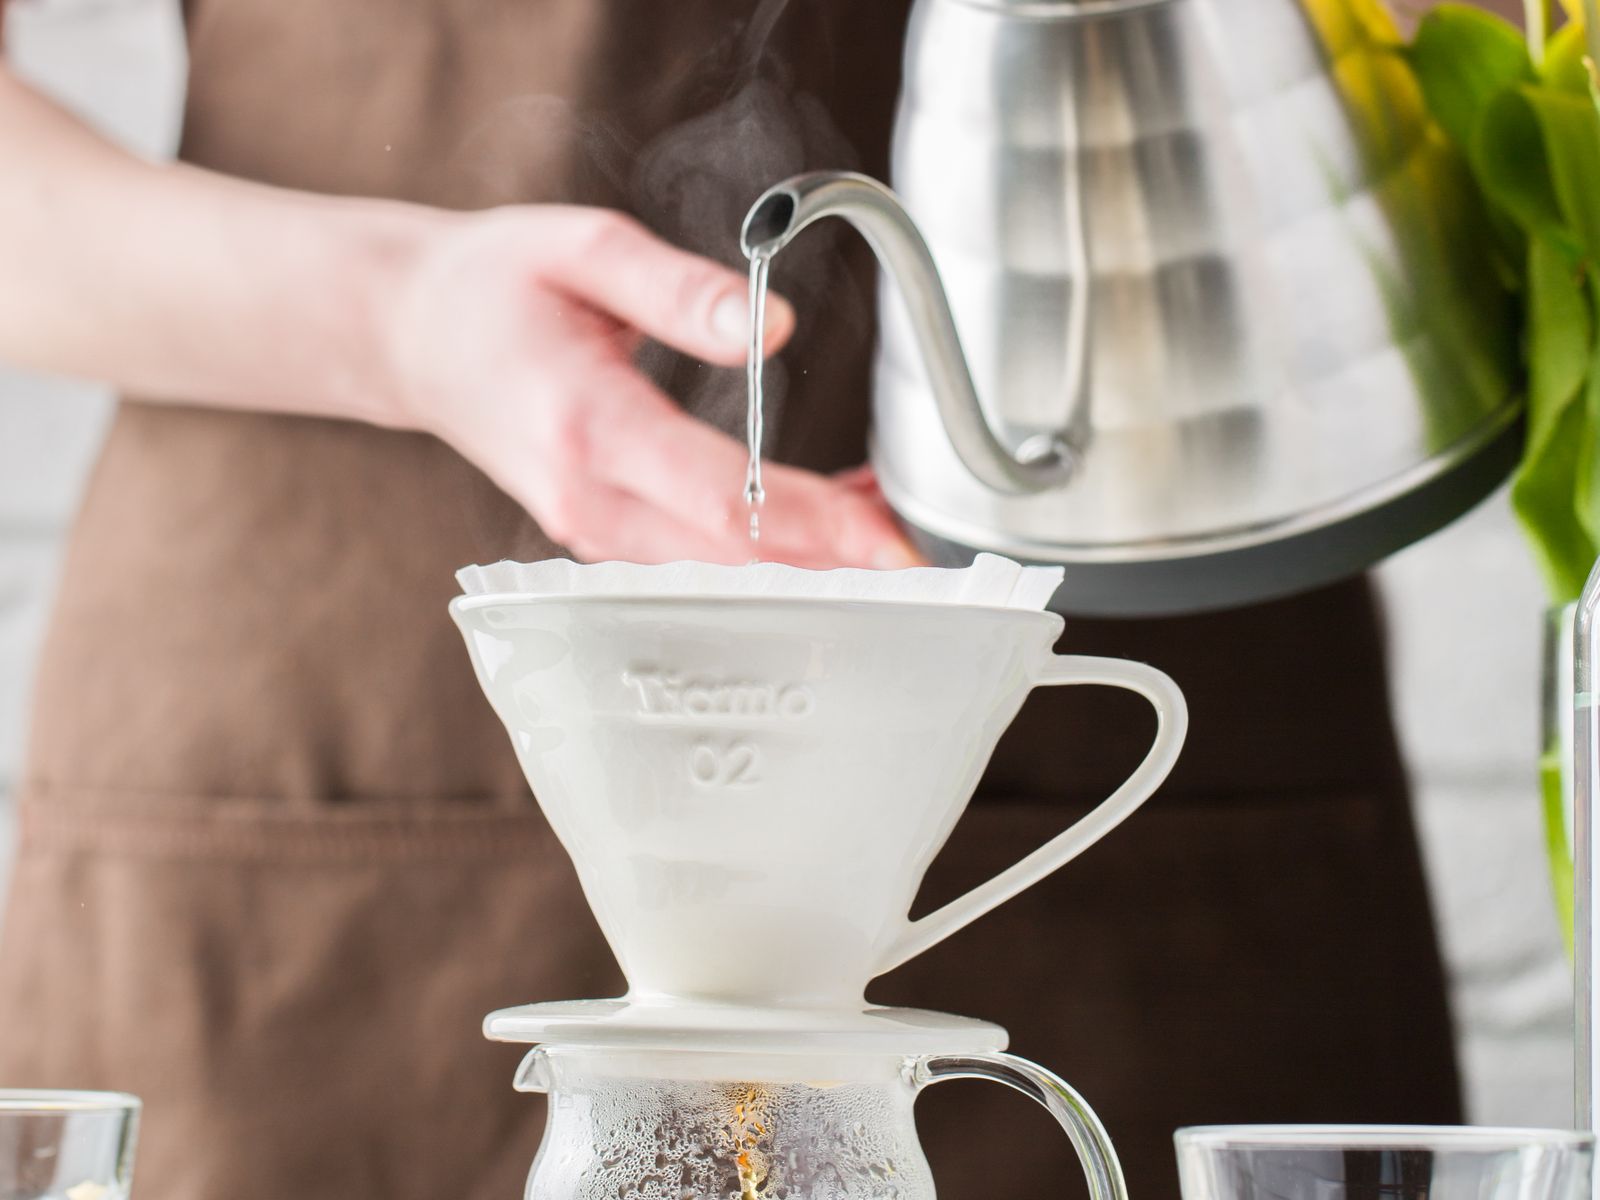
How to keep your pour steady
Pour control is a skill, not a talent, and it develops fast. Hold the kettle low and close to the coffee bed, and move in slow, deliberate circles rather than a single hard stream. A gooseneck spout makes this far easier, but a steady hand matters more than fancy gear.
Keep the water level roughly in the middle of the dripper, never letting it climb to the rim or drain completely dry between pours. A calm, even water level is the single biggest visual cue that your brew is going well.
Common pour-over mistakes to avoid
The most common mistake is pouring too fast and dumping all the water at once, which channels through the grounds unevenly. Slow, controlled spirals give you a far cleaner cup.
Another is skipping the bloom, which lets trapped carbon dioxide push water away from the grounds and mutes flavor. Never skip those first 30 seconds; they matter more than they look.
Taste, tweak, and make it yours
Once you can brew the same cup twice, start experimenting. Nudge the grind, the ratio, or the pour speed one variable at a time and taste what changes.
The Specialty Coffee Association emphasizes that even extraction is the heart of great coffee, and pour-over gives you direct, hands-on control over exactly that.
Cleaning and caring for your gear
Pour-over gear is refreshingly low maintenance, but a quick routine keeps every cup tasting clean. Compost or bin the used filter and grounds right after brewing, then rinse the dripper and carafe with hot water before old coffee oils have a chance to dry on.
Every week or two, wash everything with a little dish soap and let it dry fully. Rancid coffee oils are a hidden cause of stale, bitter cups, and 60 seconds of rinsing prevents them entirely.
Pour-over versus other easy methods
If you are choosing your first brewer, it helps to know where pour-over fits. Compared with a French press, pour-over gives a cleaner, lighter cup but asks for a bit more attention during the pour. Compared with a drip machine, it takes more hands-on effort but gives you total control and a better result for only a few dollars of gear.
None of these methods is wrong; they simply suit different mornings. Many home brewers keep a pour-over for slow weekends and something faster for hurried weekdays, and there is real wisdom in matching the method to the moment.
Your next step
Tomorrow morning, weigh out 22 grams of coffee and 350 grams of water, bloom for 30 seconds, and pour in slow circles. That single mindful brew will teach you more than any video, and it is the foundation every other method builds on.
Once the rhythm feels natural, try adjusting your grind by one setting and taste the difference. Pour-over coffee rewards curiosity, and each small tweak brings you a better cup. Keep notes on what you change, and within a week you will have a personal recipe that fits your beans and your taste perfectly.
Maria Peixoto writes about making great coffee at home — no expensive machines, no barista jargon, just better cups every morning. Based in Portland, Oregon.