The first time you spoon a cap of soft foam onto your morning coffee, your kitchen suddenly feels a little like a café. The best part is that you do not need an espresso machine, or any expensive equipment, to froth milk at home.
This guide walks through several ways to froth milk without a machine, from a jar you already own to an inexpensive handheld tool. Master any one of them and you add a whole new layer to your coffee routine and a whole new layer to better coffee at home.
What frothing milk actually does
Frothing forces air into milk while gently warming it, creating tiny bubbles that give body and a soft, sweet texture. That foam is what turns plain coffee into a latte-style drink.
Heating the milk also matters as much as the air. Gentle warmth releases the milk’s natural sweetness, which is why properly frothed milk tastes richer than the same milk served cold.
You do not need pressurized steam to do this. Agitation plus a little heat is enough, and there are several simple ways to create both in a home kitchen.
Which milk froths best
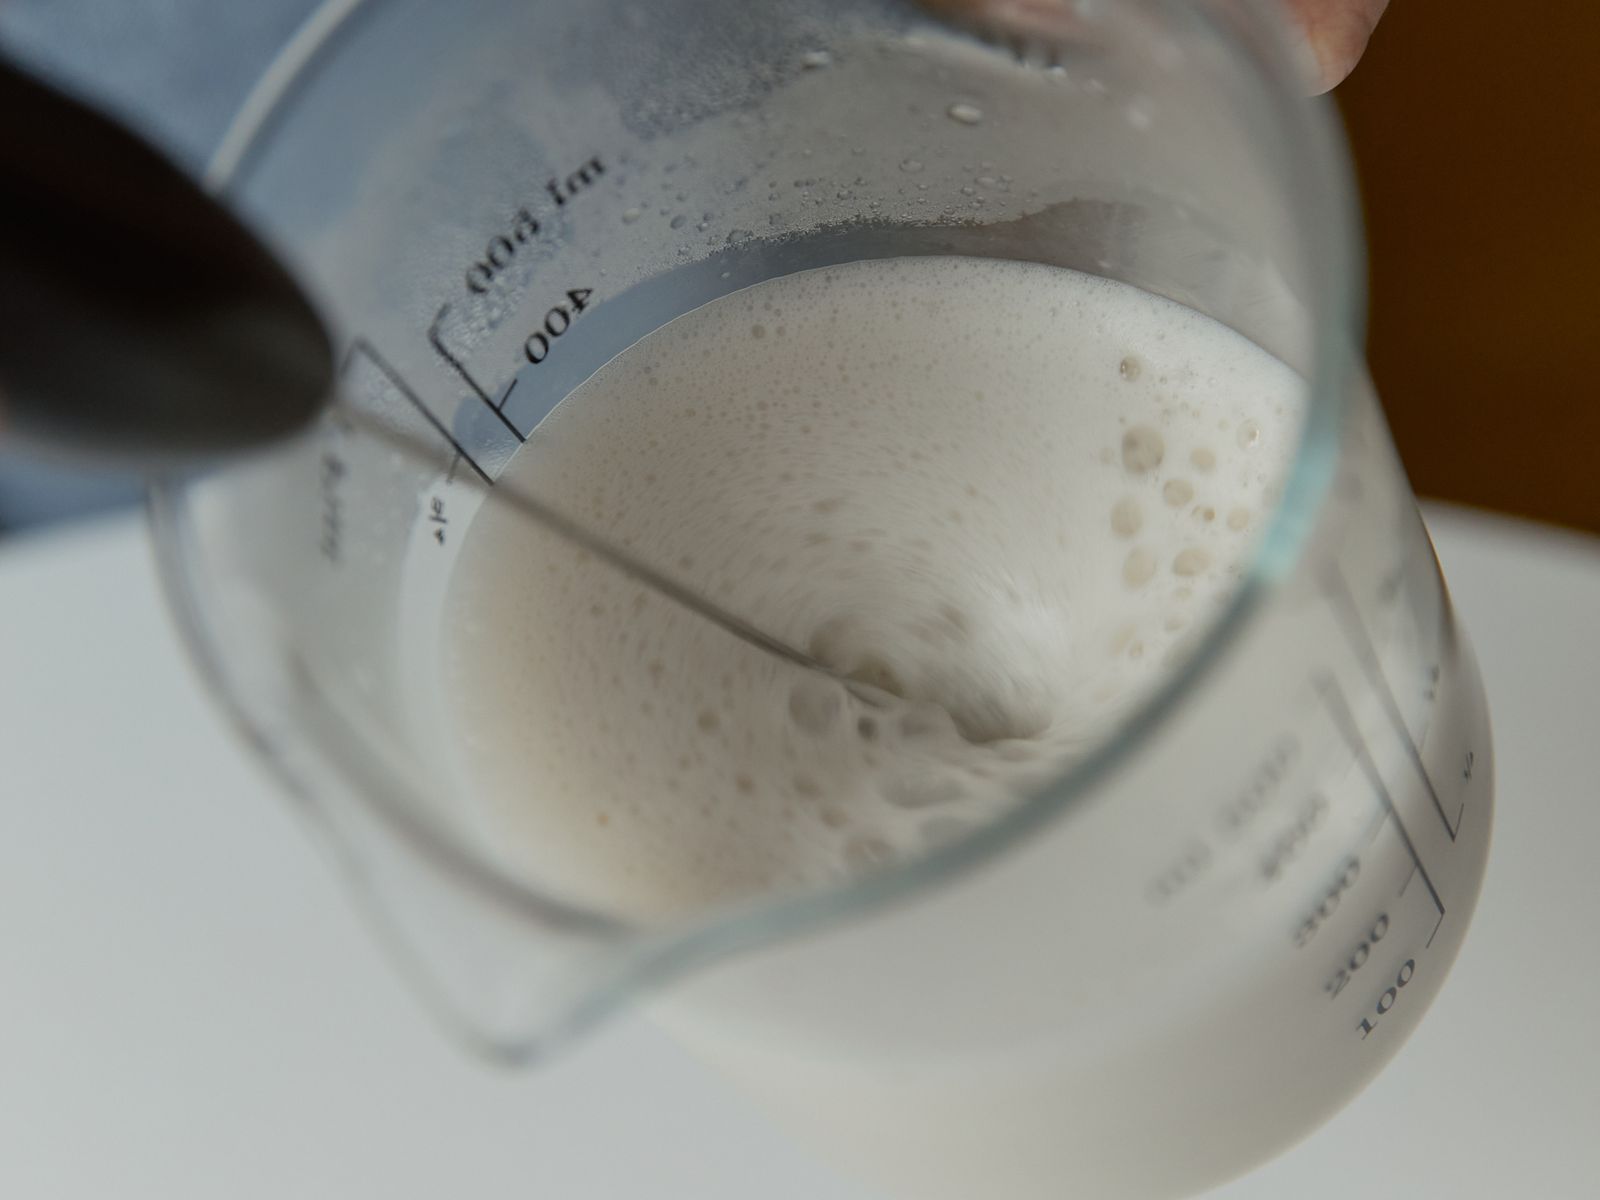
Whole dairy milk froths most easily because its fat and protein create stable, creamy foam. Two percent works well too, while skim produces airier, less stable bubbles.
Method 1: the jar shake
This is the cheapest method and uses only a jar with a tight lid. Fill the jar no more than a third full with cold milk, screw the lid on securely, and shake hard for 30 to 60 seconds until the volume roughly doubles.
Then remove the lid and microwave the jar for about 30 seconds. The heat sets the foam so it holds its shape when you pour, and you are done with zero special gear.
The jar method is ideal for beginners because it is nearly impossible to get wrong. The only common mistake is overfilling the jar, which leaves no room for the milk to expand, so keep it to a third full and let the air do its work.
Method 2: the handheld frother
A battery-powered handheld frother costs just $10 to $15 and is the most convenient no-machine option. Warm your milk first, then submerge the whisk head just below the surface and turn it on.
Move it slowly up and down for 15 to 30 seconds until you build a glossy foam. It is a tiny piece of budget coffee gear that punches well above its price for milk drinks.
Keep the whisk head just below the surface rather than plunging it deep. If you hear a loud slurping sound, you are pulling in too much air too fast and will get large, unstable bubbles instead of fine foam.
Method 3: the French press pump
Your French press is a surprisingly good frother. Pour warm milk into the empty press, filling it no more than a third, then pump the plunger up and down briskly for 30 to 60 seconds.
The mesh screen whips air into the milk and produces a thick, even foam. It is a great trick if you already own a press and want café-style foam without buying anything new.
Method 4: whisk on the stovetop
A plain hand whisk works in a pinch. Warm the milk gently in a small saucepan over low heat, stopping before it simmers, then whisk vigorously by hand until foam builds on top.
It takes a bit of arm work and the foam is looser, but it costs nothing extra and is perfect when you are traveling or camping with minimal gear.
Getting the temperature right
Milk foams and tastes sweetest when heated to about 140°F to 150°F, warm to the touch but not scalding. Overheating past 160°F breaks down the proteins, flattens the foam, and gives a cooked, off flavor.
If you do not have a thermometer, aim for milk that is hot enough to be uncomfortable to hold for more than a couple of seconds, but not steaming violently. A little practice makes this easy to judge.
Pouring your frothed milk
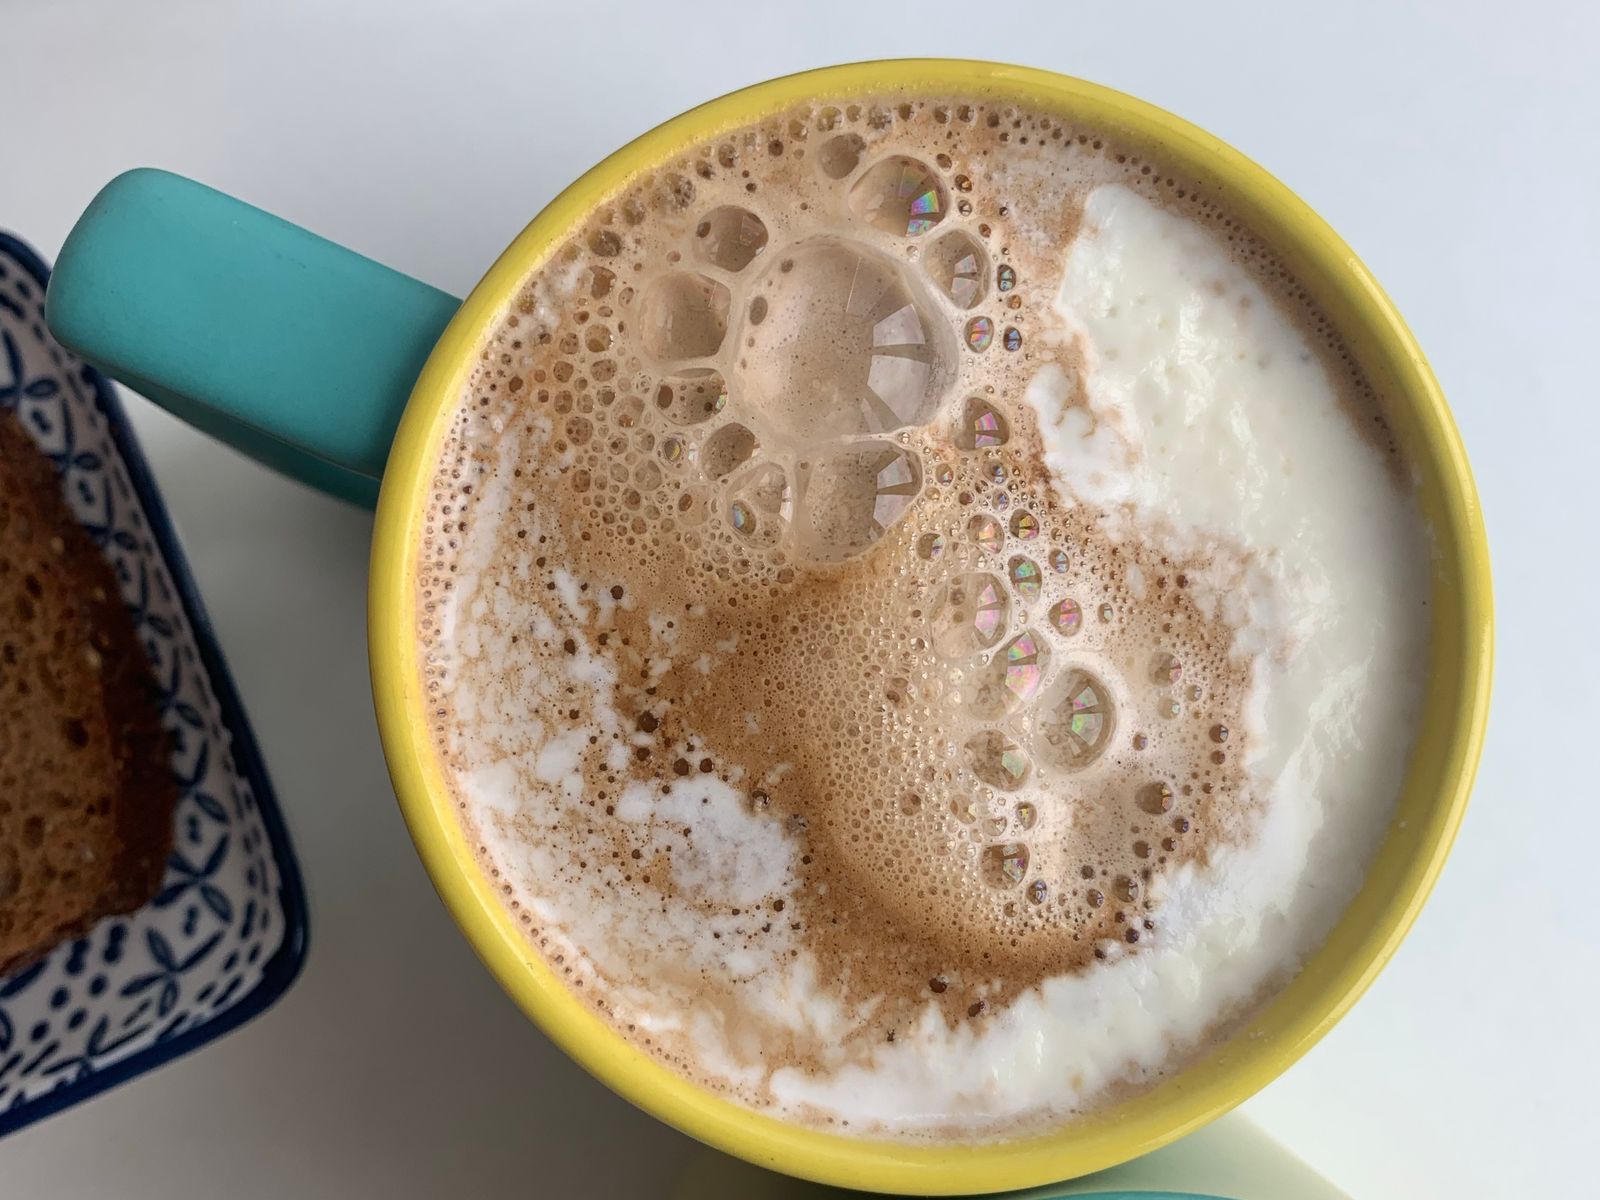
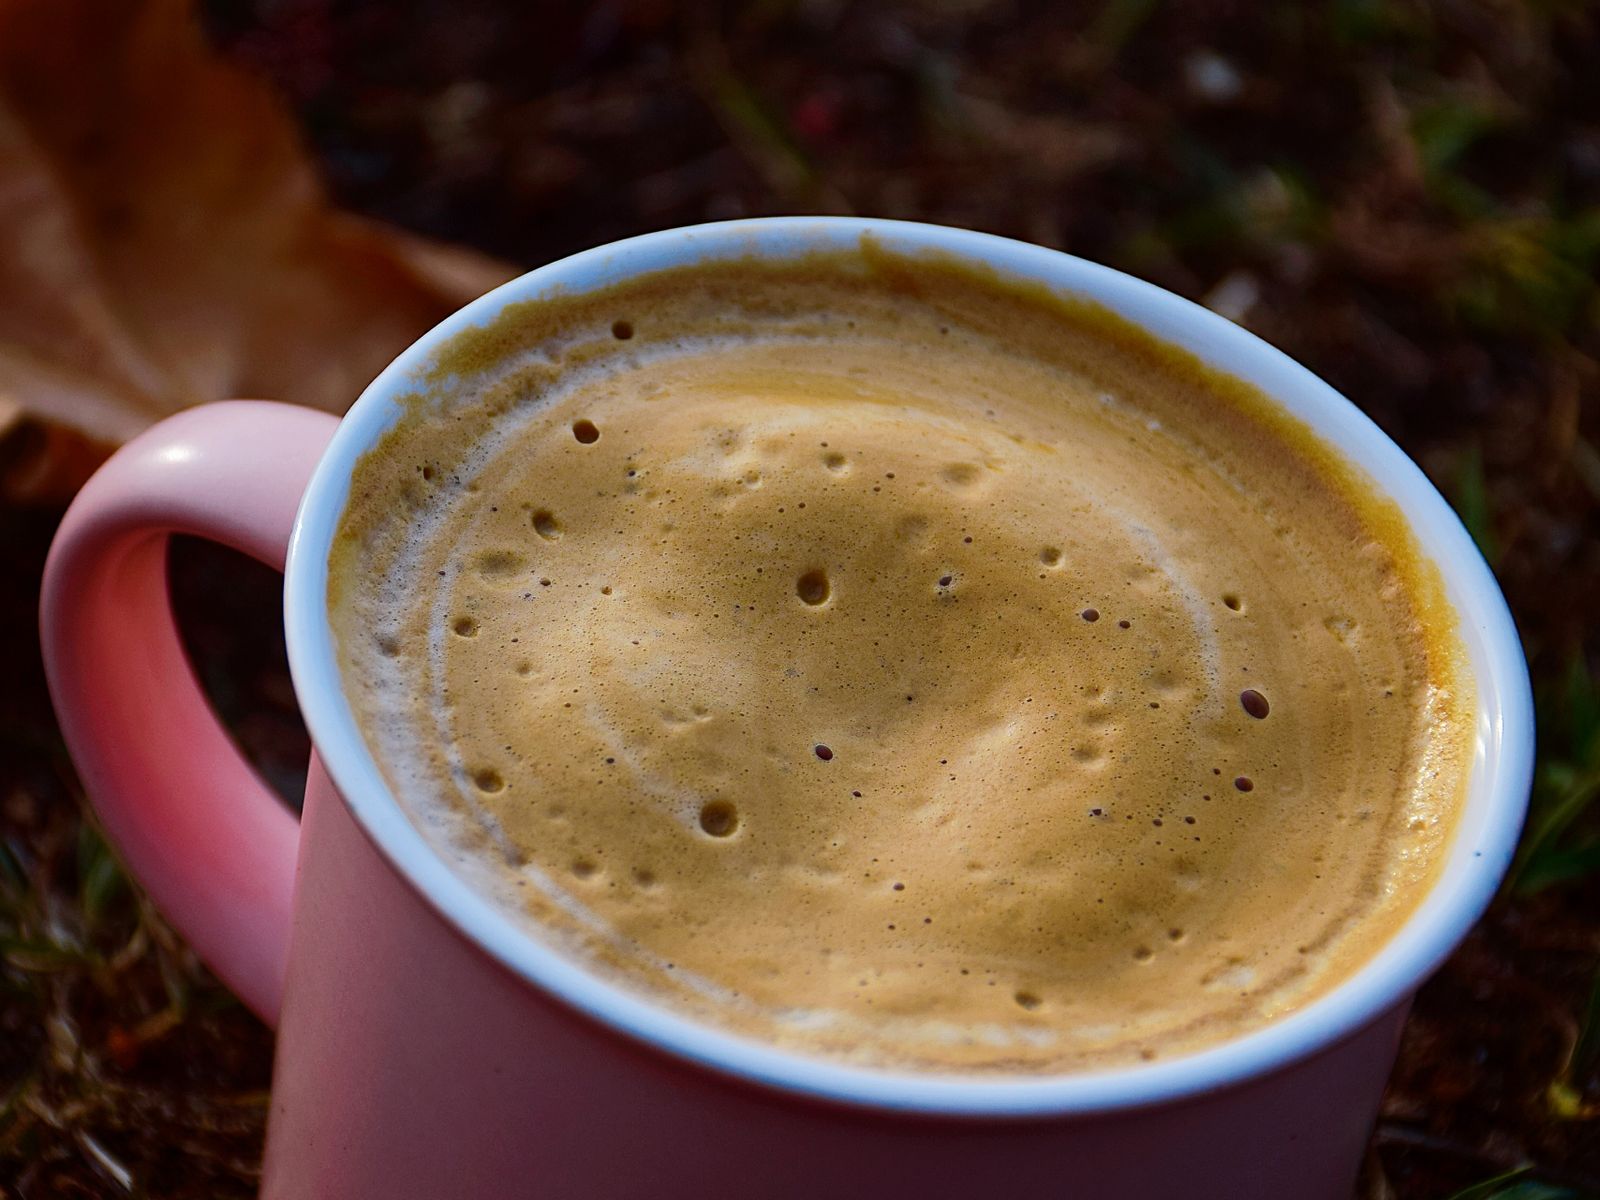
For a foamy, cappuccino-style drink, spoon the thicker foam on top of your coffee. For a smoother, latte-style drink, hold back the foam with a spoon and pour the warm milk first, then top with a little foam.
Give the container a gentle swirl and a light tap on the counter before pouring to fold the foam and milk together. That single step makes your foam glossy and much easier to pour.
Frothing plant-based milk
You can absolutely froth non-dairy milk, but results vary by type. Barista-style oat milk froths beautifully thanks to added stabilizers, and soy milk holds foam well too.
Almond and coconut milks are trickier and tend to make lighter, shorter-lived foam. If you drink plant-based, look for versions labeled “barista” on the carton, since they are formulated specifically to steam and froth like dairy.
Fixing common frothing problems
If your foam collapses quickly, the milk was probably too hot or too low in fat; try whole milk and stop heating sooner. If you get only big, soapy bubbles, you added air too aggressively, so slow down and keep your tool near the surface.
If there is barely any foam at all, your milk may be too cold to trap air well, or you stopped agitating too soon. A little more time and a touch more warmth usually solves it, and each attempt teaches your hands the right feel. Do not be discouraged by a flat first try; frothing is a quick skill to pick up, and by your third or fourth attempt it will feel effortless.
Comparing the methods at a glance
Each frothing method has a sweet spot, so it helps to match the tool to your morning and your budget. Here is how they stack up:
- Jar shake: free, foolproof, and great for beginners; makes thick foam but takes a spare 30 seconds of shaking.
- Handheld frother: $10 to $15, fast and consistent; the best all-around pick for daily lattes.
- French press: free if you own one, makes dense foam; requires a warm press and a bit of pumping.
- Hand whisk: free and travel-friendly; foam is looser and it takes the most effort.
Small habits that improve every froth
A few tiny habits make a big difference. Start with cold milk for the jar and frother methods, since cold milk traps air more effectively before you heat it. Use a container with room to grow so the foam has space to build.
Finally, froth just before you drink. Foam is at its best in the first minute or two, so pour it over freshly brewed coffee and enjoy it right away rather than letting it sit and deflate on the counter.
Turning frothed milk into real drinks
Once you can froth milk reliably, a menu of café drinks opens up at home. A cappuccino is roughly equal parts coffee, warm milk, and thick foam. A latte uses more warm milk and just a thin layer of foam, while a flat white uses a small amount of silky, barely-foamed milk.
Start from strong coffee, such as a concentrated pour-over, moka pot, or AeroPress brew, then add your frothed milk to taste. You control the strength, the sweetness, and the foam, which is something even a pricey machine cannot promise on autopilot.
Your next step
Pick the method that matches what you already own, most likely the jar shake, and try it with cold whole milk tomorrow morning. Shake, heat, and pour, and you will have café-style foam in under two minutes.
According to the National Coffee Association, milk-based drinks are among the most popular ways people enjoy coffee, and now you can make them at home for pennies a cup. Once frothing feels natural, you are only one small step away from trying your first simple latte art.

Maria Peixoto writes about making great coffee at home — no expensive machines, no barista jargon, just better cups every morning. Based in Portland, Oregon.