There’s a specific kind of disappointment that comes from waking up in a tent, surrounded by pine trees and cool morning air, and realizing your only option is a packet of instant crystals stirred into lukewarm water. The good news: you can brew coffee while camping that tastes nearly as good as what you make at home, with gear that fits in a jacket pocket.
Whether you’re backpacking miles into the woods or just driving to a cabin, a little planning turns that first cup into the best part of the morning. This guide covers the methods, the gear, and the small tricks that make outdoor coffee genuinely good.
What Makes Camping Coffee Different
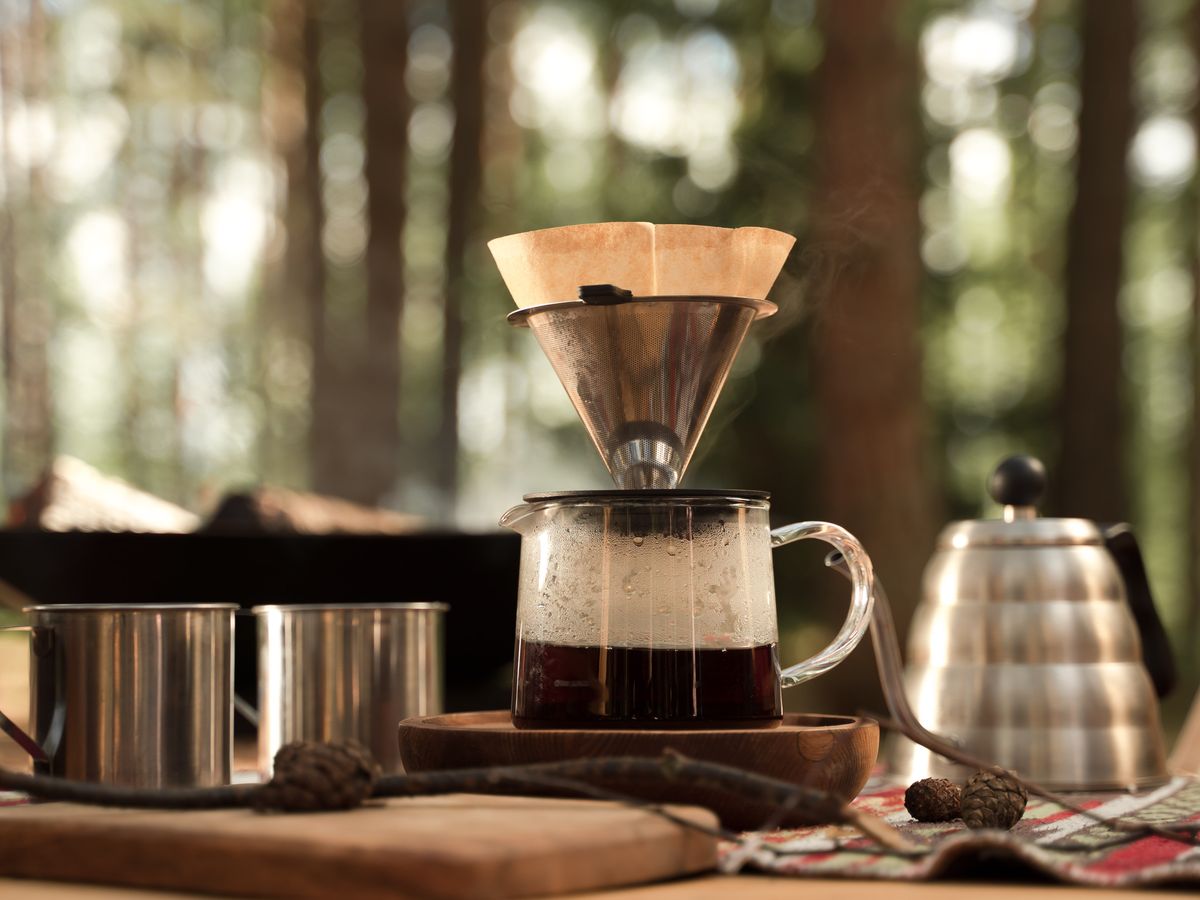
At home you have a grinder, a scale, a kettle, and a steady power source. On the trail you have none of that, so the goal shifts from perfection to reliability. You want a method that’s hard to mess up, light to carry, and easy to clean with limited water.
The three things that matter most outdoors are your coffee-to-water ratio, your water temperature, and keeping grounds out of your cup. Nail those and almost any method will reward you. A solid starting point is a 1:16 coffee-to-water ratio — about 1 gram of coffee for every 16 grams of water, or roughly two tablespoons per 8 ounces.
Because you’re often working without a scale, memorize what your scoop looks like at home first. Consistency is what separates a good camp cup from a muddy one, and it costs you nothing but a little attention.
Choosing a Brew Method for the Outdoors
Not every brewer belongs in a backpack. The best options for camping trade a little control for a lot of durability and packability. Here are the methods I reach for most:
- AeroPress: lightweight, nearly unbreakable, and forgiving of grind size.
- Collapsible pour-over dripper: packs flat and makes a clean cup.
- Portable French press: no paper filters needed, though it’s bulkier.
- Steel pour-over cone: reusable filter, nothing to run out of.
- Cowboy coffee: just a pot, grounds, and water when you’re truly minimal.
If you already own an AeroPress at home, it’s the easiest crossover to the trail. The AeroPress is famously forgiving, which is exactly what you want when you’re brewing half-awake in the cold. If you love the ritual of a slow pour, a collapsible dripper keeps that experience alive.
The Gear Worth Packing
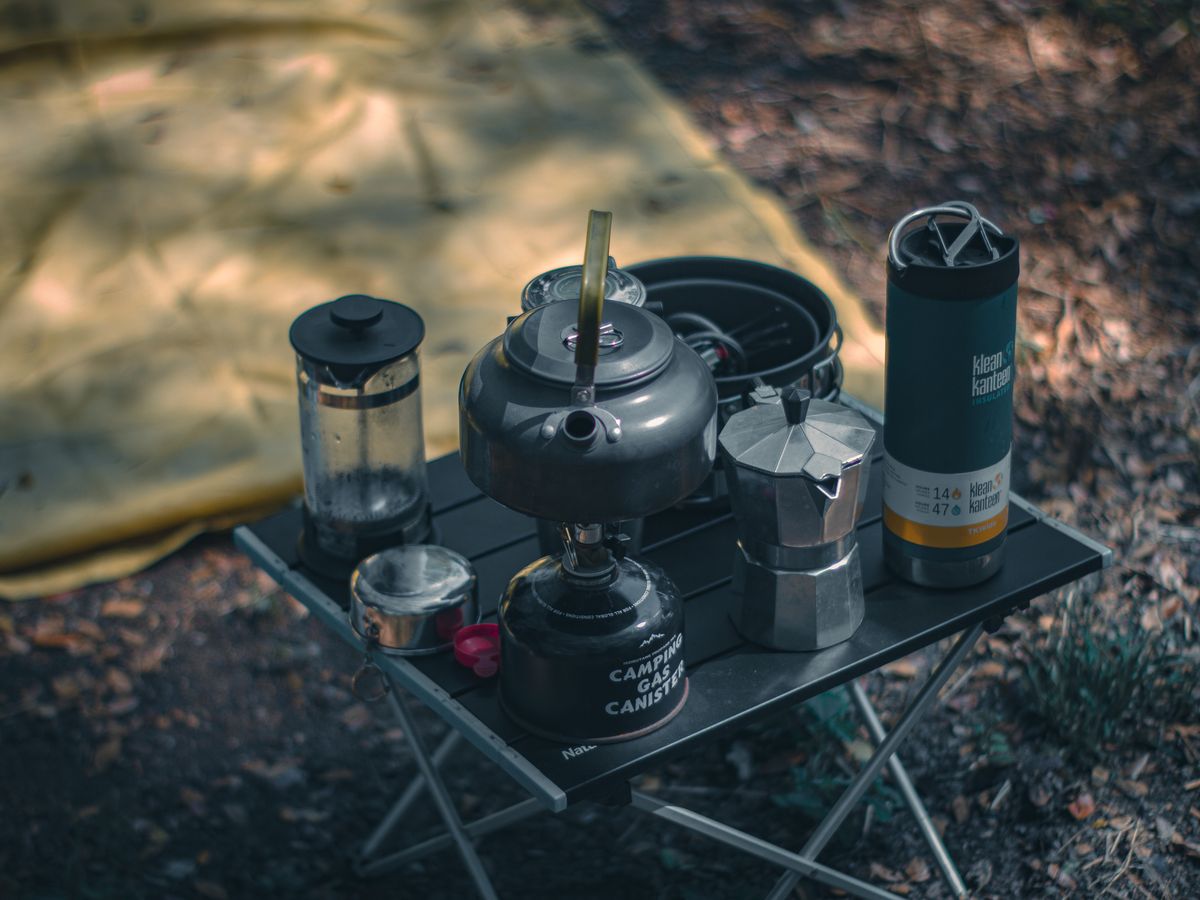
You don’t need much, but a few pieces make outdoor brewing far better. Start with a way to heat water — a small backpacking stove and a lightweight pot or kettle. A gooseneck spout helps with pour-over control, but a regular pot works if you pour slowly and carefully.
Keep the kit small enough that packing it never feels like a chore. If brewing coffee becomes a five-piece production, you’ll leave it home on the trips when you most want a good cup.
Grinding on the Go
Fresh grounds taste dramatically better than pre-ground coffee that’s been sitting in a bag for days. A hand grinder adds a few ounces to your pack but pays off in flavor. If you’d rather skip it, grind at home right before you leave and seal the grounds in an airtight bag, using them within three or four days.
Managing Water and Temperature
You can’t measure temperature without a thermometer, so use a simple rule: bring the water to a boil, then take it off the heat for about 30 seconds before pouring. That drops it into the ideal 195°F to 205°F range. Water that’s too hot scorches the grounds and turns your cup bitter, while water that’s too cool leaves it weak and sour.
Step-by-Step: A Great Cup at the Campsite
Here’s the routine I use to brew coffee while camping with a collapsible pour-over or AeroPress:
- Measure your coffee — two tablespoons per 8-ounce cup.
- Heat water to a boil, then rest it off the flame for 30 seconds.
- Rinse the paper filter if you have spare water; it removes papery taste.
- Add grounds, pour just enough water to wet them, and wait 30 seconds for the bloom.
- Pour the rest slowly in circles, keeping the water level steady.
- Let it finish dripping, then enjoy before it cools in the mountain air.
The bloom step matters even outdoors. That first splash releases trapped gases from fresh coffee and sets up a more even extraction, which is the difference between flat and flavorful.
The No-Gear Backup: Cowboy Coffee
When you’ve forgotten your brewer or want to travel truly light, cowboy coffee is the fallback. Add coarse grounds directly to your pot — about two tablespoons per cup — pour in hot (not boiling) water, and let it steep for four minutes.
To settle the grounds, sprinkle a few drops of cold water on top or gently tap the side of the pot; the grounds sink to the bottom. Pour slowly and stop before you reach the sludge. It’s rustic, but on a cold morning it hits just right.
Traveling With Coffee Beyond the Trail
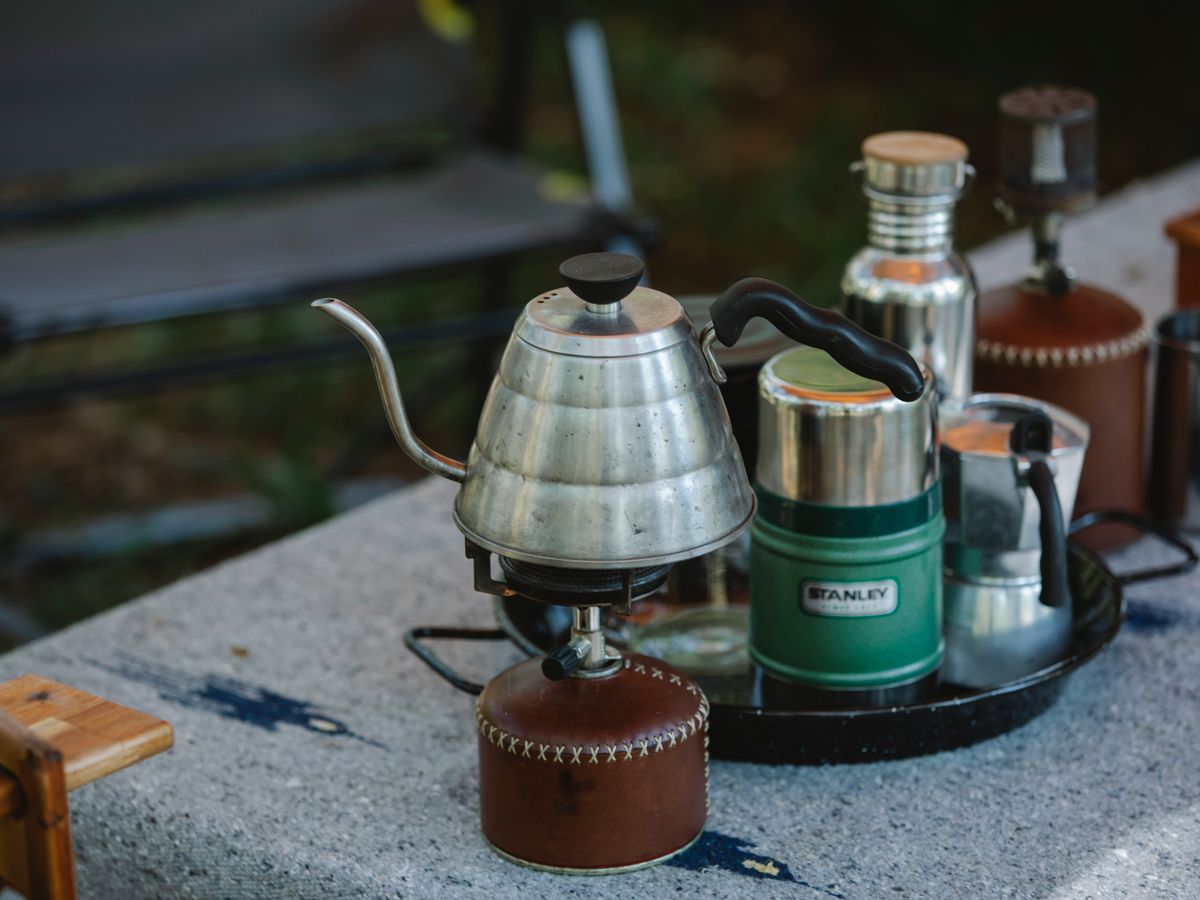
Camping isn’t the only place these skills help. Hotel rooms, road trips, and cramped apartments all benefit from the same compact tools. An AeroPress and a hand grinder fit in a carry-on and rescue you from disappointing lobby coffee.
For flavor on the road, protect your beans from air and heat. According to the National Coffee Association, exposure to oxygen and moisture stales coffee fastest, so a small airtight container beats leaving beans loose in your bag. The same rules you’d follow to store coffee beans at home apply just as much in a tent.
Common Mistakes to Avoid
The biggest outdoor mistake is pouring boiling water straight onto the grounds, which almost guarantees a bitter cup. The second is guessing your ratio; a small foldable scoop, or simply knowing that a heaping tablespoon is close to what you need, keeps things consistent. Finally, don’t skimp on cleaning — leftover oils go rancid and taint your next brew, so rinse your gear even with limited water.
One more: resist the urge to over-pack. A single reliable brewer you actually enjoy using beats a bag full of gadgets you never touch.
Choosing Beans and Roast for the Trail
Outdoor conditions can flatten subtle flavors, so a slightly bolder coffee often shines where a delicate light roast might fade. A medium or medium-dark roast holds up well to variable water temperature and gives you a forgiving, chocolatey cup even if your technique wanders.
Buy whole beans and portion them into a single airtight bag per trip so you’re not hauling a full bag into the backcountry. If you’re grinding at home before you leave, aim for a medium grind for pour-over and AeroPress, or a coarse grind for French press and cowboy coffee. Matching grind to method matters just as much outdoors as it does in your kitchen.
Making It Part of the Experience
Half the joy of camp coffee is the ritual. Brewing slowly while the sun comes up, warming your hands on the mug, sharing a pot with friends around a fire — these moments are why people bother carrying a grinder up a mountain in the first place. Lean into it rather than rushing.
Pack a proper insulated mug so your cup stays hot longer in cold air, and bring a little extra coffee for the inevitable second round. A good brew shared outdoors tastes better than almost anything you’ll make at home, and it costs you nothing but a few minutes of patience.
Your Next Step
Before your next trip, do a dry run at home: brew coffee with your camping setup on the kitchen counter so you’re not troubleshooting at 6 a.m. in the cold. Once the routine feels automatic, you’ll be able to brew coffee while camping half-asleep — and that first hot cup with a view is worth every ounce you carried.
Maria Peixoto writes about making great coffee at home — no expensive machines, no barista jargon, just better cups every morning. Based in Portland, Oregon.