The jump from plain drip coffee to a café-style flavored latte usually feels like it belongs to a barista with a shelf of pump bottles. It doesn’t. A batch of homemade coffee syrups takes about ten minutes on the stove, costs a fraction of the bottled stuff, and lets you skip the mystery ingredients you can’t pronounce.
Once you make your first jar of vanilla syrup and stir it into a morning cup, the store-bought version starts to feel silly. In this guide I’ll walk you through three classic homemade coffee syrups — vanilla, caramel, and hazelnut — plus the simple base ratio that ties them all together.
Why Make Homemade Coffee Syrups at All?

Bottled coffee syrups run about $8 to $12 for a 25-ounce bottle. The same amount made at home costs a dollar or two in sugar and a splash of flavoring. You also control the sweetness, skip the preservatives, and can tune each batch to your taste.
Homemade coffee syrups also open up your whole drink menu. Once you have a jar in the fridge, iced lattes, cold foam, and dessert drinks become a two-minute project instead of a trip to the café. And because you decide how sweet each batch is, you can dial back the sugar far below what the bottled brands use.
There’s a small pride factor too. Handing a friend a flavored latte and saying you made the syrup yourself feels a lot better than pointing at a plastic bottle from the store shelf.
The Simple Syrup Base You Always Start With
Every syrup here starts from the same place: a 1:1 simple syrup. That means equal parts sugar and water by volume. One cup of sugar to one cup of water makes roughly 12 ounces of finished syrup, enough for 10 to 12 drinks.
Here’s the base method, start to finish:
- Combine 1 cup water and 1 cup granulated sugar in a small saucepan.
- Heat over medium, stirring, until the sugar fully dissolves (about 3 to 4 minutes). Do not let it boil hard.
- Remove from heat once the liquid looks clear, not cloudy.
- Stir in your flavoring, let cool, then bottle.
For a richer, thicker syrup that clings to ice, use a 2:1 ratio (two parts sugar to one part water). It keeps longer too, which matters when you’re only using a splash at a time. Some people prefer the lighter 1:1 for hot drinks and the 2:1 for iced, since cold coffee dilutes flavor faster.
You can swap the sugar to change the character of your homemade coffee syrups. White sugar keeps the flavoring pure, brown sugar adds a molasses note that suits caramel, and a touch of honey or maple gives a rounder finish. Keep in mind that liquid sweeteners already contain water, so cut back slightly on the added water when you use them.
Vanilla Syrup: The One to Make First
Vanilla is the workhorse of homemade coffee syrups. It goes into everything from a plain latte to cold brew, and it’s the most forgiving to make.
Make the 1:1 base above, then off the heat stir in 1 tablespoon of pure vanilla extract. If you have a vanilla bean, split it lengthwise, scrape the seeds into the warm syrup, and drop the pod in too. Let it steep for 20 minutes before removing the pod. Pure extract gives a cleaner flavor than imitation, and the difference is obvious in a simple drink.
Start with about 1 tablespoon of vanilla syrup per 8-ounce coffee and adjust from there. It’s the same building block behind a good iced latte at home, and it doubles as a sweetener for oatmeal, yogurt, or a splash in your afternoon tea.
Caramel Syrup: Deeper and a Little Trickier
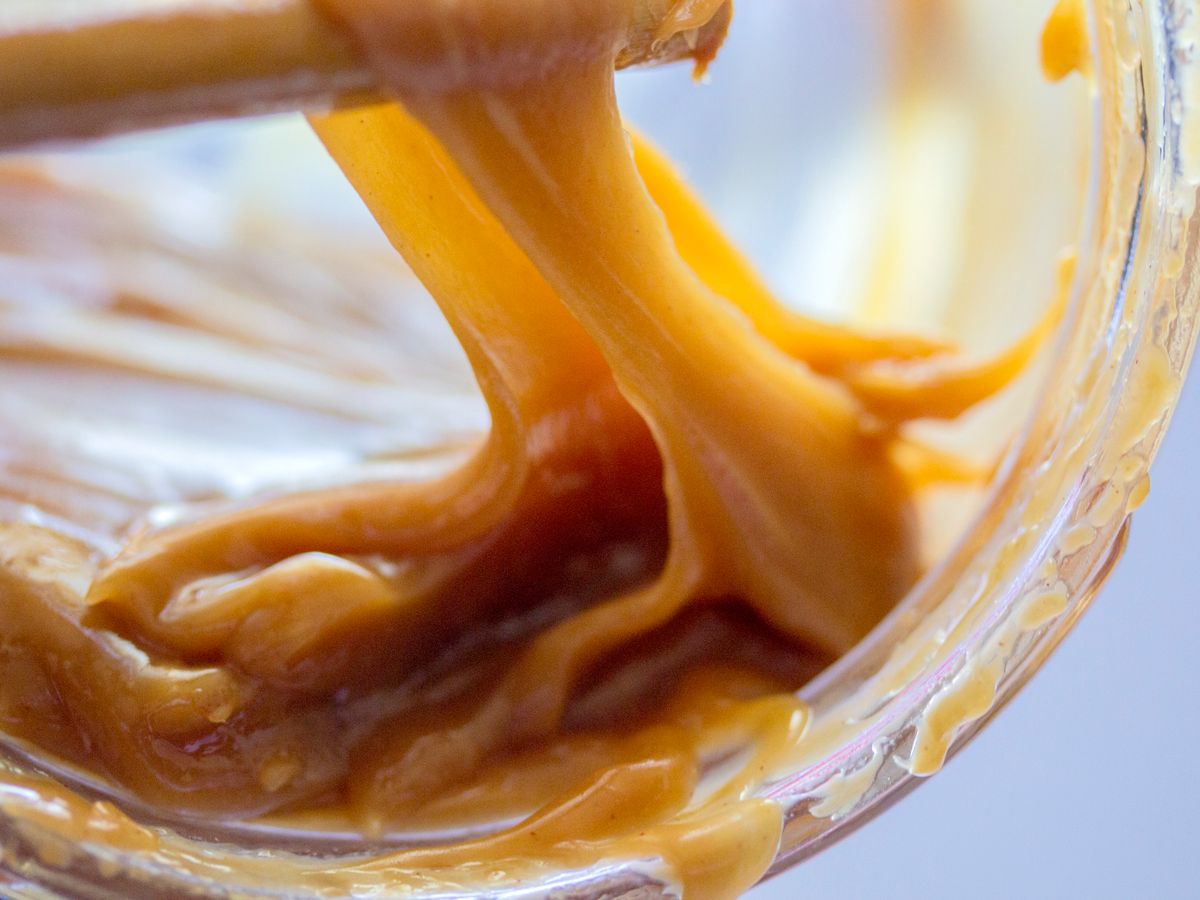
Caramel syrup asks for a bit more attention because you’re actually caramelizing the sugar first. The payoff is a warm, toasty depth that vanilla can’t match.
How to Make It Without Burning It
Heat 1 cup of sugar in a dry saucepan over medium, swirling the pan (don’t stir) until it melts into an amber liquid, around 5 to 7 minutes. The moment it turns a deep golden color, carefully add 1 cup of hot water — it will bubble aggressively, so stand back. Stir until smooth, then add a pinch of salt and 1 teaspoon of vanilla for balance.
The window between “perfect amber” and “burnt” is short, maybe 30 seconds. Pull it off the heat a touch early, because the residual heat keeps cooking it. A little patience here beats starting over with a scorched pan.
Turning It Into Salted Caramel
For a salted caramel version, double the salt to a scant quarter teaspoon and taste as you go. That savory edge cuts the sweetness and makes it taste far more like a specialty-shop drink. A tablespoon in a hot latte, finished with a little foam, is hard to beat on a cold morning.
Hazelnut Syrup: Nutty Warmth Without the Nuts
Most café hazelnut syrup is flavored with extract rather than actual nuts, which makes it easy to replicate at home and safe if you’re avoiding nut pieces.
Make the 1:1 base, then stir in 2 teaspoons of hazelnut extract off the heat. For a toastier version, add half a teaspoon of vanilla and a small pinch of cinnamon. If you want the real-nut route, steep a quarter cup of toasted, chopped hazelnuts in the warm syrup for 30 minutes, then strain them out completely so nothing is left to spoil.
Hazelnut pairs beautifully with milk drinks. Try a spoonful under the milk when you’re practicing your flat white at home for a subtle nutty finish, or stir it into cold brew with a splash of cream.
Easy Flavor Variations to Try Next
Once the three classics feel routine, the base recipe becomes a playground. A few of my favorites:
- Cinnamon: simmer two cinnamon sticks in the base for 15 minutes, then remove.
- Mocha: whisk 2 tablespoons of cocoa powder into the hot base until smooth.
- Peppermint: add a quarter teaspoon of peppermint extract — a little goes a long way.
- Lavender: steep a teaspoon of dried culinary lavender for 10 minutes and strain.
Keep the flavoring subtle at first. You can always add more to the cup, but you can’t pull it back out of the jar.
Storing and Using Your Syrups
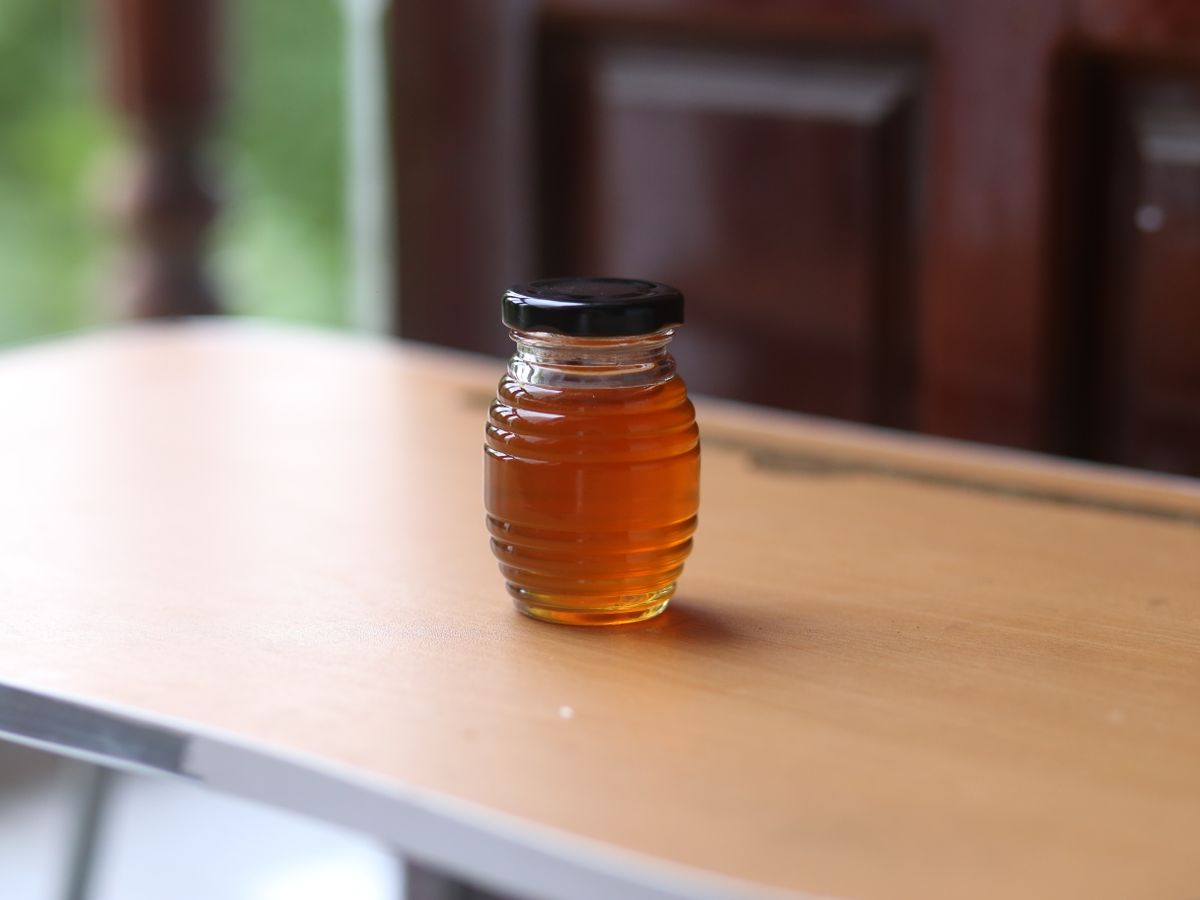
Pour cooled syrup into a clean glass bottle or jar and keep it in the fridge. A 1:1 syrup lasts about 2 to 3 weeks; a 2:1 syrup stretches to about a month. If you ever see cloudiness or smell fermentation, toss it and make a fresh batch.
Label each jar with the flavor and the date. According to the National Coffee Association, the quality of what you add matters as much as the coffee itself, so use good vanilla and fresh extracts. Freshly brewed coffee also makes the flavors pop, which is why storing your beans well pays off — see how coffee freshness really works if your cups have tasted flat lately.
To use them, start with a tablespoon per cup and adjust. For iced drinks, stir the syrup into the coffee while it’s still warm so it blends evenly instead of sinking to the bottom of the glass.
Common Mistakes to Avoid
The most frequent slip-up is boiling the base too hard, which drives off water and leaves you with an overly thick, grainy syrup. A gentle simmer just until the sugar dissolves is all you need. Another common mistake is adding delicate extracts like vanilla or peppermint while the pan is still on the heat — high heat cooks off the aroma, so always stir them in after you pull the pan off the burner.
Finally, resist the urge to skip the cooling step. Pouring hot syrup straight into a plastic bottle can warp it, and adding scalding syrup to a cold drink can crack a glass. Let everything reach room temperature first, and your homemade coffee syrups will pour clean and last longer.
Your Next Step
Start with a single jar of vanilla syrup this weekend. It’s the easiest of the homemade coffee syrups, it goes with everything, and it’ll show you just how much money and flavor you’ve been leaving on the table. Once vanilla feels routine, make a caramel batch — and your kitchen will start to feel a lot like your favorite café.

Maria Peixoto writes about making great coffee at home — no expensive machines, no barista jargon, just better cups every morning. Based in Portland, Oregon.