My early latte art looked less like a leaf and more like a coffee stain someone tried to apologize for. I had watched a hundred videos and still could not float a single clean heart, until I realized my problem was not the pour at all, it was three small mistakes happening before I ever tilted the pitcher.
Latte art looks like magic, but almost every failed attempt traces back to a handful of fixable errors. This guide covers the most common latte art mistakes and exactly how to fix each one, so your designs stop dissolving and start holding their shape.
Why Most Latte Art Fails

Before the specific fixes, understand this: latte art is 80 percent milk texture and setup, and only 20 percent the actual pour. Most latte art mistakes are decided before the milk ever touches the espresso, which is why beginners who obsess over the pour keep struggling.
Get the foundations right, milk texture, cup angle, and pour height, and clean designs start appearing almost on their own. The errors below are ordered roughly by how much damage they do, starting with the biggest.
Mistake 1: Foam That Is Too Thick or Too Thin
The number one of all latte art mistakes is bad milk texture. Foam that is stiff and bubbly sits on top and will not flow into a design, while foam that is too thin has no white contrast and disappears into the coffee. You need glossy microfoam that looks like wet paint.
Fix it by introducing only a brief second of air when steaming, then submerging the tip to create a whirlpool that folds the foam smooth. My full walkthrough on steaming milk for the perfect microfoam covers the technique in detail; nail this and half your latte art mistakes vanish.
Mistake 2: Pouring From Too High
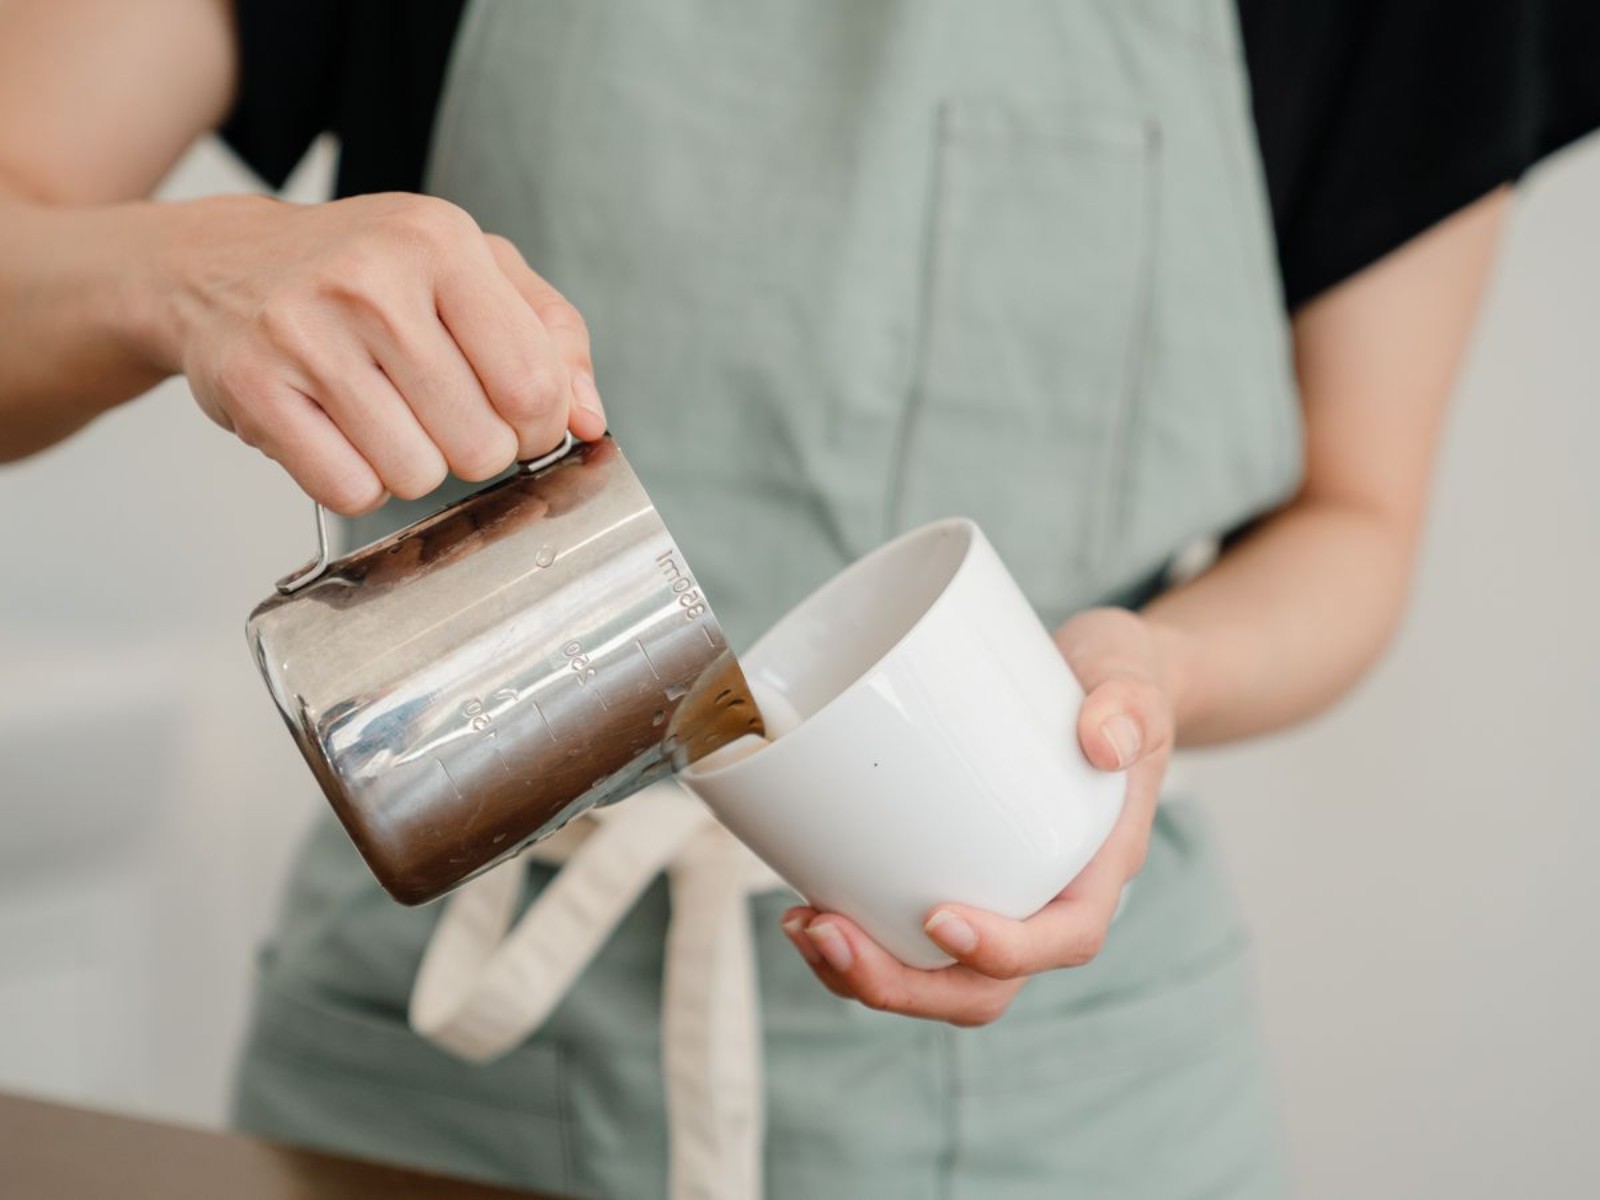
Pouring from high up is one of the most common latte art mistakes because it feels natural. But a high pour drives the milk deep under the surface, so the white foam never floats up to form a pattern. You end up with a plain brown cup.
The fix is a two-stage pour: start higher to mix the milk and espresso when the cup is nearly empty, then drop the pitcher spout close to the surface once the cup is about half full. That closeness is what lets the foam sit on top and paint your design.
Mistake 3: Wrong Cup Angle
Holding the cup flat on the counter is a quiet saboteur among latte art mistakes. A flat cup gives the milk nowhere to pool, so patterns smear. Tilting the cup toward the pitcher creates a deeper well of crema to pour into and float foam on.
Tilt the cup about 20 degrees as you begin, then slowly level it as it fills. This single adjustment gives you far more control and is one of the easiest latte art mistakes to correct once someone points it out.
Mistake 4: Rushing or Hesitating
Pour speed causes two opposite latte art mistakes. Pour too fast and the milk overwhelms the crema, drowning any pattern; pour too slowly or hesitantly and the foam breaks up before it can form a clean shape. Both leave you with a muddy result.
Aim for a steady, confident flow. Think of it as a smooth, continuous stream rather than a trickle or a dump. Confidence genuinely matters here, which is why practicing the basic first heart pour repeatedly builds the muscle memory that fixes hesitation.
Mistake 5: Skipping the Swirl and Tap

Forgetting to prepare your milk and espresso is one of the sneakiest latte art mistakes. After steaming, big bubbles rise to the surface of the milk, and they will pockmark your design. A firm tap of the pitcher on the counter and a gentle swirl knock those bubbles out.
Do the same with the espresso: give the cup a light swirl so the crema is glossy and even before you pour. Ten seconds of prep dramatically improves your canvas, and it costs you nothing but the habit of remembering.
A quick tip on diagnosing your own pours: take a photo of each cup. Reviewing the pictures later makes it far easier to spot which of these latte art mistakes you are repeating, because in the moment you are too focused on pouring to notice your cup angle or pitcher height.
Mistake 6: Practicing With the Wrong Setup
Some latte art mistakes come from the equipment, not the technique. A wide, shallow cup makes designs easier, while a narrow mug fights you. A pitcher with a sharp spout gives control that a round-lipped jug never will, so beginners often struggle with gear that works against them.
Whole milk or a barista oat milk foams best, and the design shows most clearly on a strong espresso base. If you are refining your base drink too, my guide to making a flat white at home uses the exact milk and espresso balance that latte art loves.
Practice Without Wasting Coffee
One reason people repeat the same latte art mistakes is that they only get one or two attempts per morning before running out of coffee and patience. You can practice the pour far more cheaply by filling your pitcher with water and a drop of dish soap, then frothing that to mimic milk texture.
Pour the soapy foam into a cup of plain water and practice your height, angle, and flow as many times as you like. It is not identical to real milk, but it trains the physical motion for pennies. Ten minutes of this drill fixes more latte art mistakes than a week of one-shot morning attempts.
Keep Your Expectations Realistic
Finally, remember that even professional baristas poured a lot of ugly cups before their first clean rosetta. Comparing your day-three attempts to a competition pour is itself one of the quieter latte art mistakes, because it leads people to quit right before it clicks. Progress in latte art is bumpy, not linear.
Celebrate small wins: a foam that finally looks glossy, a blob that vaguely resembles a heart, a pour that stays centered. Each of those means a fundamental has locked in. Drink every practice cup regardless of how it looks, and let the pretty ones be a bonus rather than the whole point.
Turn Mistakes Into Muscle Memory
Every one of these latte art mistakes is a habit, which means every one can be unlearned with a little focused practice. According to the Specialty Coffee Association, milk texturing is a core barista skill, and it is absolutely learnable at home. Fix your foam first, then your pour height, angle, and speed, one at a time. Steam a pitcher today, pour slowly and close to the surface, and watch your first clean heart finally appear.

Maria Peixoto writes about making great coffee at home — no expensive machines, no barista jargon, just better cups every morning. Based in Portland, Oregon.