The first time I brewed with an AeroPress, I made three “mistakes” that would ruin most methods, and the cup still came out great. That forgiveness is exactly why it lives permanently on my kitchen counter.
If you want café-quality coffee without babysitting every variable, AeroPress coffee is the easiest place to start. This guide covers what it is, how to brew it step by step, and the small tweaks that turn a good cup into a great one.
What is an AeroPress and why it is so forgiving
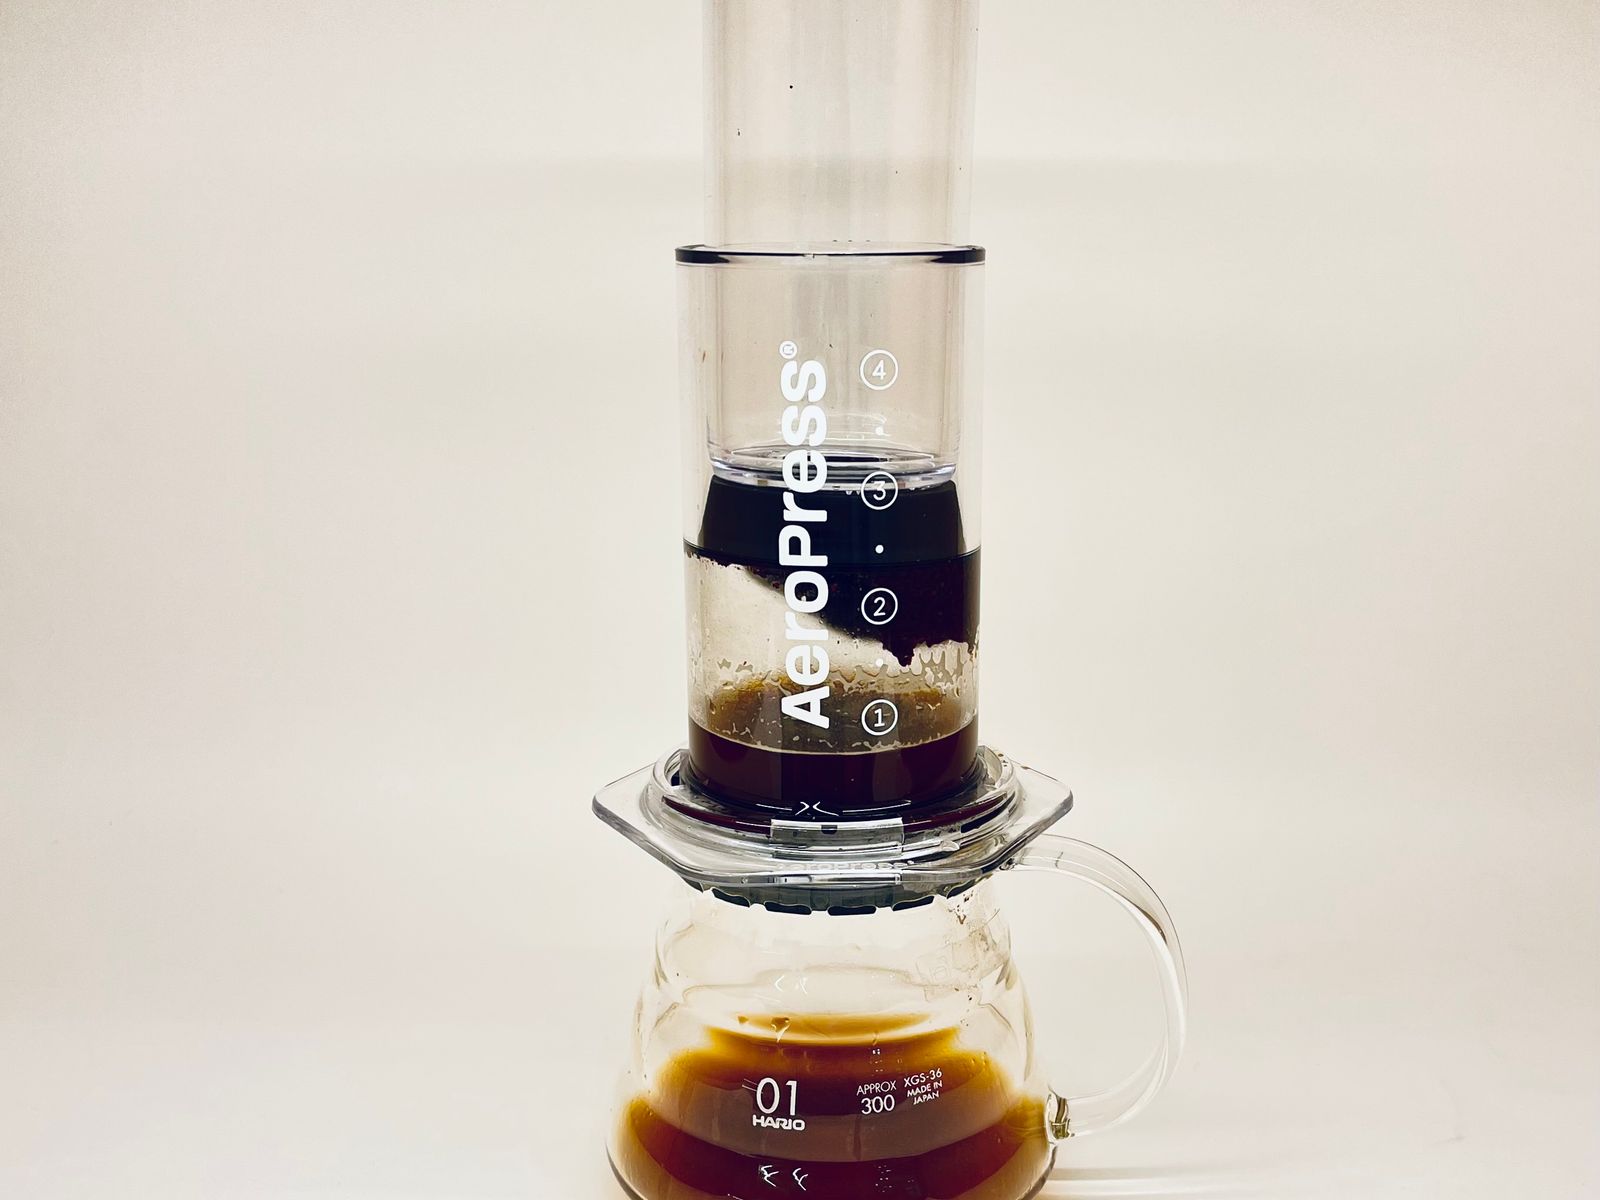
An AeroPress is a plastic brewing device that works like a syringe: coffee and hot water steep in a chamber, then you press the mixture through a paper filter using gentle air pressure. The whole thing costs around $35 and weighs almost nothing.
What makes AeroPress coffee so forgiving is the short contact time and the physical press. Even if your grind or temperature is slightly off, the fast extraction and filter keep the cup clean and rarely bitter. It is very hard to brew something undrinkable.
What you need to get started
Part of the appeal is how little gear you need. Here is the short list to make consistently good AeroPress coffee at home.
- An AeroPress and its paper filters (a pack of 350 costs a few dollars).
- A burr grinder for an even, medium-fine grind. Consistency matters more here than with most methods, as explained in this grind size guide.
- A kettle, ideally one you can set to around 175 to 185°F.
- A scale to weigh your dose. Aim for 15 to 17 grams of coffee.
You do not strictly need a scale, but it takes the guesswork out and makes every cup repeatable.
The standard AeroPress recipe, step by step
This is the recipe I hand to every beginner. It uses a 1:15 ratio and lands somewhere between a rich drip coffee and a light espresso.
- Insert a paper filter in the cap and rinse it with hot water.
- Add 16 grams of medium-fine coffee to the chamber.
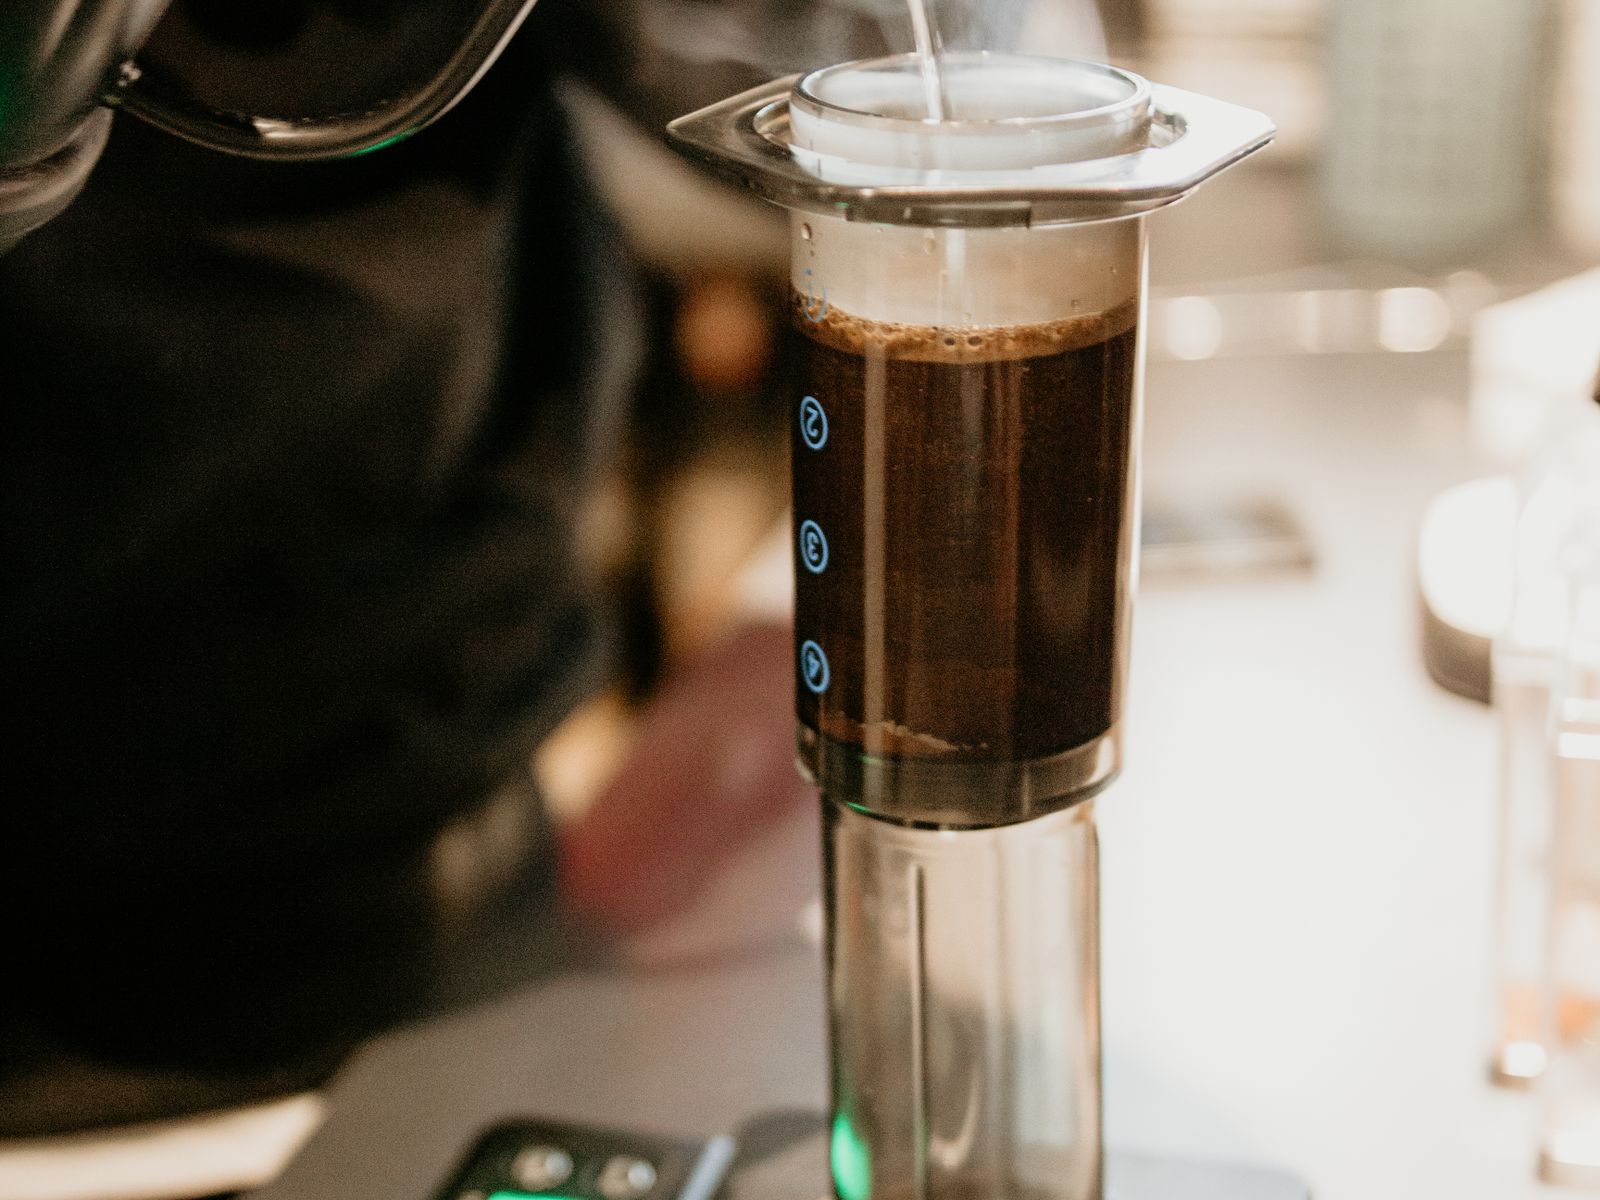
- Pour in 240 grams of water at about 180°F.
- Stir gently for 10 seconds.
- Attach the cap, wait until 1 minute 30 seconds total, then press down slowly for 20 to 30 seconds.
Stop pressing the moment you hear a hiss. Pushing past that point pulls bitter notes into the cup.
Standard vs inverted method
The standard method
The standard method, described above, sits the AeroPress on top of your mug from the start. It is simpler and safer for beginners because there is no flipping involved.
The inverted method
The inverted method flips the AeroPress upside down so no water drips through during the steep. It gives you more control over steep time, which fans of stronger coffee prefer. Once you are comfortable with the basics, it is worth trying.
Dialing in your grind and temperature
If your AeroPress coffee tastes sour or weak, grind a little finer or steep a little longer. If it tastes harsh or bitter, grind coarser or drop the water temperature a few degrees.
Lower temperatures around 175°F suit lighter roasts and reduce bitterness, an approach the National Coffee Association notes is central to balanced extraction. Make one change at a time so you can taste what each adjustment does.
Choosing beans for AeroPress
The AeroPress flatters almost any bean, but it truly shines with medium roasts that have clear flavor notes. Because the paper filter strips out oils, fruity and floral characteristics come through cleanly, so a bright single-origin coffee is a treat here.
Buy whole beans with a visible roast date and grind them right before brewing. Coffee begins losing aroma within minutes of grinding, so a fresh grind is the single biggest upgrade most people can make to their AeroPress coffee. A medium roast bought within two weeks of its roast date will give you the most consistent results while you learn.
Five common AeroPress mistakes
Even a forgiving method has a few habits worth avoiding. These are the ones I see most often from new users.
- Pressing too hard: forcing the plunger squeezes out bitter compounds. Let gentle pressure do the work over 20 to 30 seconds.
- Water that is too hot: boiling water scorches the grounds. Let it rest 30 seconds off the boil, or aim for 175 to 185°F.
- Skipping the filter rinse: an unrinsed paper filter can add a faint cardboard taste. A quick hot-water rinse fixes it.
- Guessing the dose: eyeballing grounds leads to wildly different cups. Weigh your coffee for repeatable results.
- Using stale, pre-ground coffee: it works, but you lose most of what makes the AeroPress special.
Fix these five things and your AeroPress coffee will be more consistent than most café pour-overs.
Scaling up for two cups
The AeroPress makes one generous mug or two small cups at a time. To serve two, brew a stronger concentrate by keeping the coffee dose the same but using slightly less water, then dilute the pressed coffee with hot water in the mugs. This bypass method keeps the flavor balanced while stretching a single brew.
How it compares to other methods
Compared with a pour-over, the AeroPress is faster and far more forgiving of technique, though pour-over gives a more delicate, tea-like cup. Compared with a French press, the AeroPress produces a cleaner cup with almost no sediment because it uses a paper filter.
For travel, small kitchens, or anyone still finding their footing, the AeroPress is the method I recommend most often. It is nearly unbreakable and cleans up in seconds.
Why the AeroPress is perfect for travel
Because it is made of tough plastic and weighs only a few ounces, the AeroPress travels better than any other brewer I own. It survives being tossed in a backpack, packs neatly with the filters stored inside the cap, and needs nothing but hot water and a mug to work.
On camping trips I brew straight into an insulated mug, and in hotel rooms I use the in-room kettle. There is no glass to shatter and no fragile parts to bend, which is why so many people who care about their morning coffee refuse to leave home without one. If you have ever been disappointed by hotel-room coffee, this alone justifies the small price.
Adjusting strength to taste
The recipe above is a balanced starting point, but the AeroPress rewards experimentation. For a bolder cup, add two extra grams of coffee rather than pressing harder or brewing longer, both of which risk bitterness. For something lighter and more tea-like, dilute the finished brew with a splash of hot water.
Keep a small notebook or a note on your phone for the first week, jotting down your dose, water amount, and how the cup tasted. Within a few days you will spot the pattern that produces your ideal cup, and from then on great coffee becomes a two-minute routine rather than a lucky accident.
Cleaning and maintenance
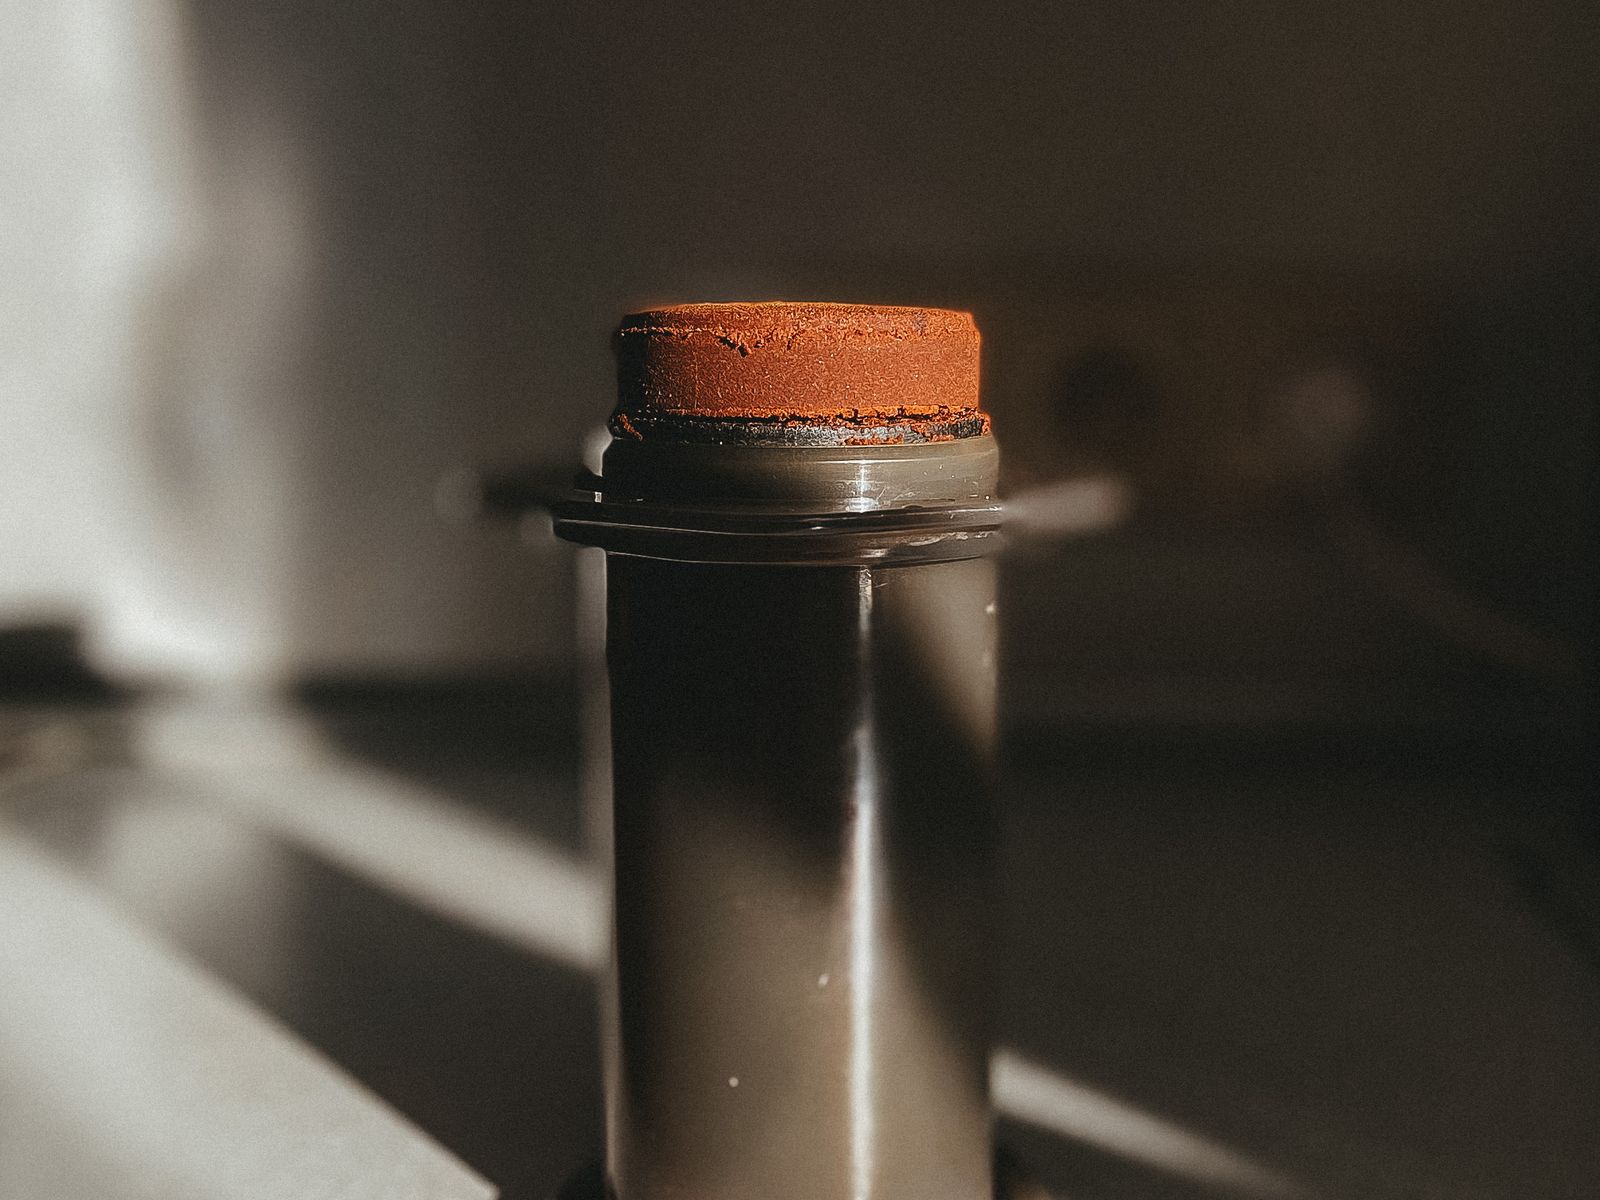
Cleanup is genuinely the best part. Unscrew the cap, push the plunger all the way through to eject the puck of grounds into the trash, and rinse the rubber seal under the tap. The whole process takes about ten seconds.
Every few weeks, pull the plunger fully out and wash the seal with a little soap to keep it from picking up stale oils. That is the entire maintenance routine.
The bottom line
If you have been intimidated by pour-over or espresso, AeroPress coffee is the low-stress on-ramp to brewing better at home. Grab one, start with the 16-gram recipe above, and make one small tweak tomorrow. Within a week you will have a cup dialed in to your taste.

Maria Peixoto writes about making great coffee at home — no expensive machines, no barista jargon, just better cups every morning. Based in Portland, Oregon.