The first time a small white heart blooms on top of your coffee, it feels a little like magic, even though it is really just milk, foam, and a steady hand. Latte art looks like a professional skill, but a simple heart is well within reach for an absolute beginner at home.
This guide walks you through pouring your very first latte art heart, step by step, with no fancy machine required. It is a fun, rewarding next step once you are already making better coffee at home.
What you need to pour a heart
You do not need an espresso machine to start. You need a strong coffee base, well-textured milk, a cup with a rounded bottom, and a small pitcher with a spout.
A concentrated brew like moka pot, AeroPress, or strong pour-over gives you a dark surface for the white milk to show against. The contrast is what makes the heart visible.
The cup shape matters more than beginners expect. A wide, rounded bowl lets the milk roll and fold as you pour, which helps the design form. A tall, narrow mug fights you, so start with a cappuccino-style cup if you have one.

The milk is everything
Good latte art lives or dies on milk texture. You want smooth, glossy microfoam with tiny, uniform bubbles, not stiff, dry foam full of big holes.
Stiff foam sits on top like a meringue and refuses to flow into a shape, while thin, bubbly milk will not float at all. The glossy middle ground, often called microfoam, is what pours into clean, crisp designs.
Texture your milk the right way
Whole milk is the most forgiving because its fat creates stable, silky foam. Warm the milk to about 140°F to 150°F, warm to the touch but not scalding.
If you learned to froth milk without an espresso machine, aim for that same glossy, paint-like consistency here. Give the pitcher a gentle swirl and a light tap on the counter to pop any large bubbles before you pour.
The step-by-step first heart
Here is the full sequence for your first pour. Go slowly and do not worry about perfection on the first try.
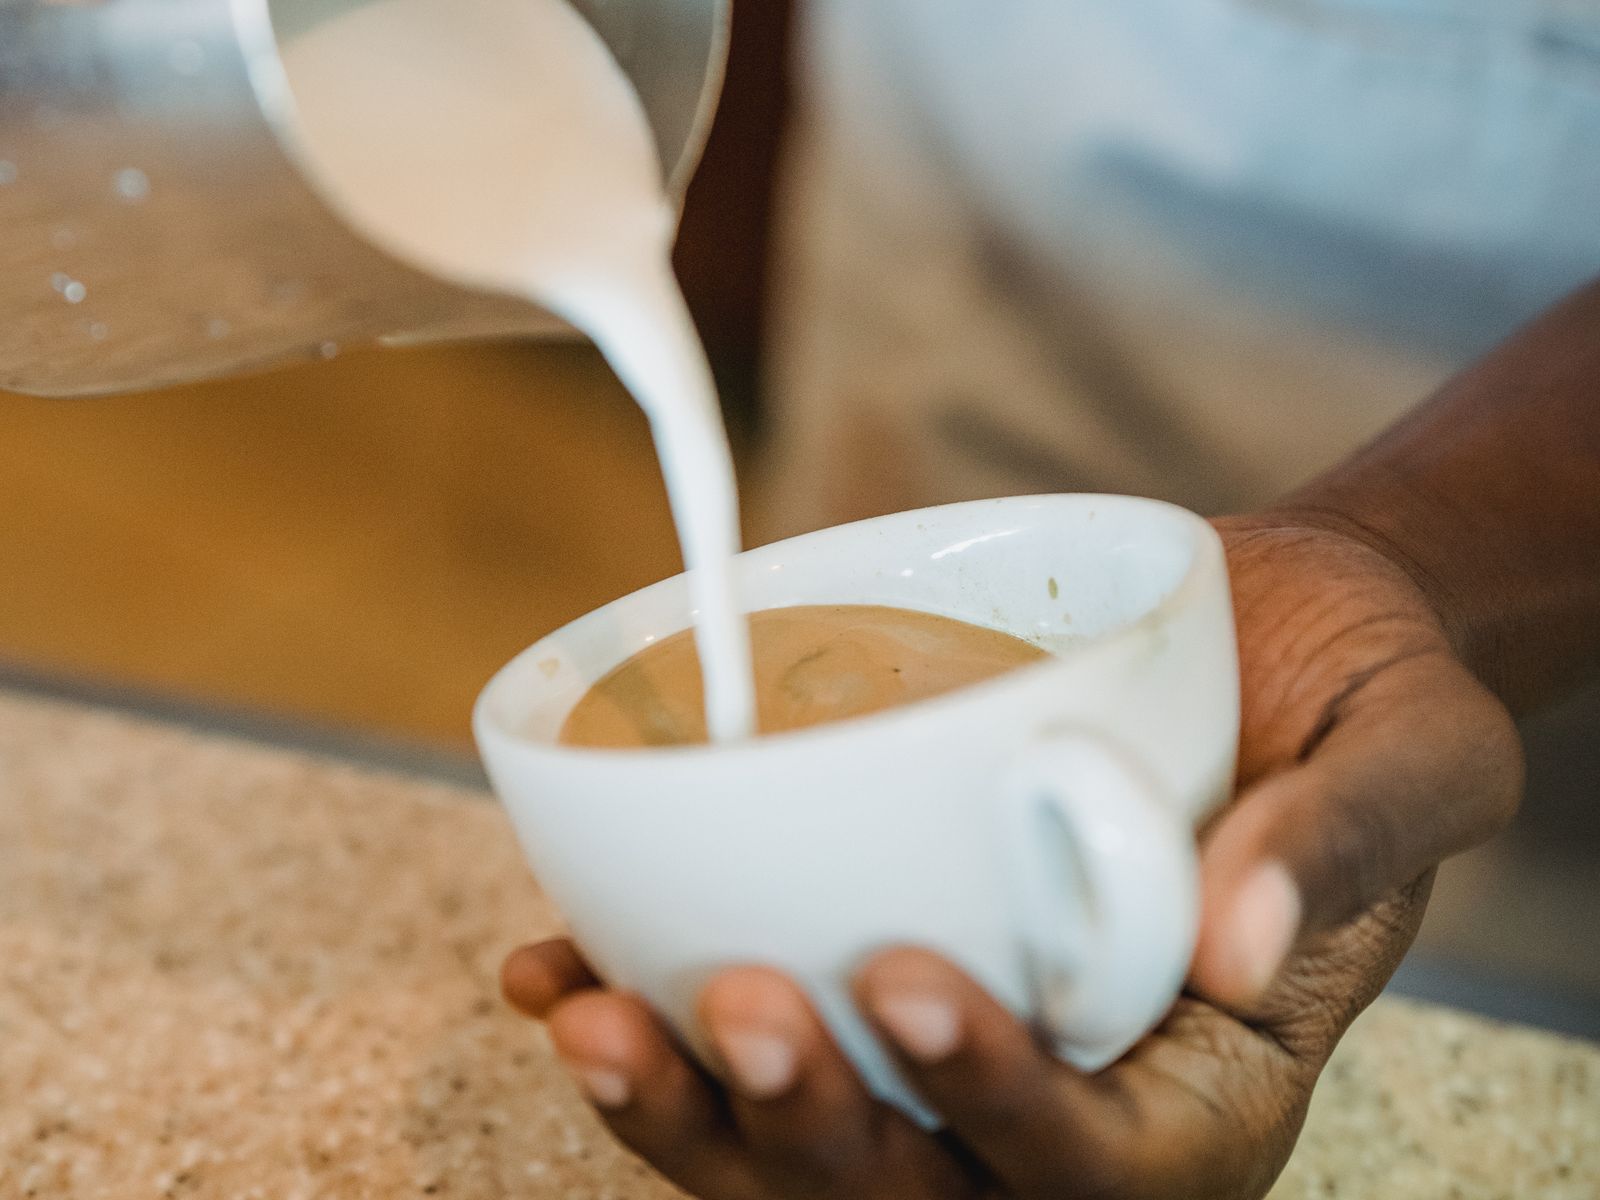
- Start high and thin. Hold the pitcher a few inches above the cup and pour a thin, steady stream into the center to mix the milk and coffee.
- Fill to about half. Keep pouring until the cup is roughly half full and the surface looks glossy.
- Drop down and close in. Lower the spout close to the surface and let a white spot of foam bloom in the center.
- Let the circle grow. Keep the pitcher steady and let the white circle expand into a round shape.
- Pull through. Lift the pitcher slightly and draw a thin line straight through the middle of the circle to form the point of the heart.
The two habits that make it work
Two things matter most for a clean heart: height and speed. Pouring from high up early on mixes the milk in without leaving white marks, while dropping low at the end lets the foam float on top and show.
Keep your pour steady and unhurried. A shaky or rushed pour scatters the foam, while a calm, consistent stream lets the shape form on its own.

Fixing common first-heart problems
If no white appears, your milk is probably too thin or you dropped down too late, so texture a bit more foam and lower the pitcher sooner. If you get a blob instead of a heart, you likely forgot the final pull-through, so remember that quick line at the end.
If the foam sinks and disappears, your milk may be under-textured or too hot. A little more practice with milk texture solves almost every early problem. Do not be discouraged by a messy first attempt, because even experienced baristas pour the occasional dud, and every pour teaches your hands something new.
Practicing without wasting coffee
You can rehearse the motion cheaply. Practice the pour with just water and a drop of dish soap, frothed to create bubbles, so you learn the hand movement without using coffee and milk each time.
The muscle memory carries straight over to the real thing. A few minutes of low-stakes practice makes your first real heart far more likely to succeed.
Why height and flow control the design
Understanding the physics makes latte art click. When you pour from high up, the thin stream punches below the surface and blends the milk into the coffee, leaving no white mark. That is why you start high to build the base.
When you lower the pitcher close to the surface, the milk no longer sinks; it floats and spreads on top, carrying the white foam with it. Learning to move between those two heights is the entire secret behind every latte art pattern, starting with the heart.
Choosing your coffee base at home
Without an espresso machine, you simply need coffee that is strong and dark enough to contrast with the milk. A moka pot makes a rich, espresso-like base for just a few dollars, and an AeroPress can produce a concentrated shot with the right recipe.
Even a very strong pour-over or French press brew can work in a pinch. The milk technique stays exactly the same regardless of how you brew the coffee, so use whatever concentrated base you already own and focus your energy on the pour.
The right pitcher makes a difference
A small milk pitcher with a pointed spout is the one tool truly worth buying, and it costs only about $10 to $15. The spout channels the milk into a controlled stream and gives you the precision a mug or measuring cup simply cannot.
Choose a pitcher sized close to your drink, since a pitcher that is too large leaves the milk sloshing and hard to control. A 12-ounce pitcher is a versatile starting size for single home drinks, and it will serve you well as you move on to more advanced patterns later.
Setting realistic expectations
Your first few hearts will probably look more like blobs, splashes, or lopsided circles, and that is completely normal. Latte art is a physical skill built through repetition, not something you read once and master.
Most beginners start seeing recognizable hearts within a week or two of daily practice. Treat each pour as a low-pressure experiment, notice what changed, and adjust one thing next time. Progress comes surprisingly fast once your hands learn the rhythm.
A quick pre-pour checklist
Give yourself the best chance at a clean heart by lining up a few things before you pour. Have your strong coffee brewed and waiting in a warm, rounded cup, and texture your milk right before pouring so it does not separate.
- Coffee ready: a strong, dark base poured into a warm cup.
- Milk textured: glossy microfoam, swirled and tapped to remove big bubbles.
- Pitcher in hand: a small pitcher with a pointed spout for control.
- Pour promptly: work while the milk is still fluid and shiny, not sitting and stiffening.
Run through that list each time and you remove most of the variables that trip up beginners, leaving you free to focus on the pour itself.
Your next step
Brew a strong, small coffee tomorrow, texture some whole milk until it is glossy, and try the five steps above. Even a lopsided first heart is a genuine win worth celebrating.
According to the National Coffee Association, milk-based drinks are among the most popular ways to enjoy coffee, and latte art makes them feel special. Keep pouring, and your hearts will get rounder every single day. Before long, you will be ready to pull that heart into your very first rosetta.

Maria Peixoto writes about making great coffee at home — no expensive machines, no barista jargon, just better cups every morning. Based in Portland, Oregon.