I pulled my handheld frother out of the drawer one morning, dunked it into warm milk, and got a sad puddle instead of foam. Dried milk had cemented itself around the whisk over weeks of skipped rinses. Two minutes of cleaning brought it back to life, and it foamed like new that same morning.
A frother is the cheapest path to cafe-style lattes at home, but only if you keep it clean. Milk residue kills performance, breeds bacteria, and shortens the life of the motor. Learning to clean your milk frother the right way takes just minutes and pays off in better foam for years.
Why Cleaning Your Frother Matters
Milk is the problem. It contains fats, proteins, and sugars that cling to metal and plastic, and warm milk is a perfect environment for bacteria to grow. Skip a rinse and yesterday’s residue sours in the whisk.
Beyond hygiene, buildup physically slows the whisk. A coated whisk cannot spin freely, so it drags, foams poorly, and forces the motor to work harder. Keeping it clean protects both your health and your gear.
How to Clean Your Milk Frother by Hand
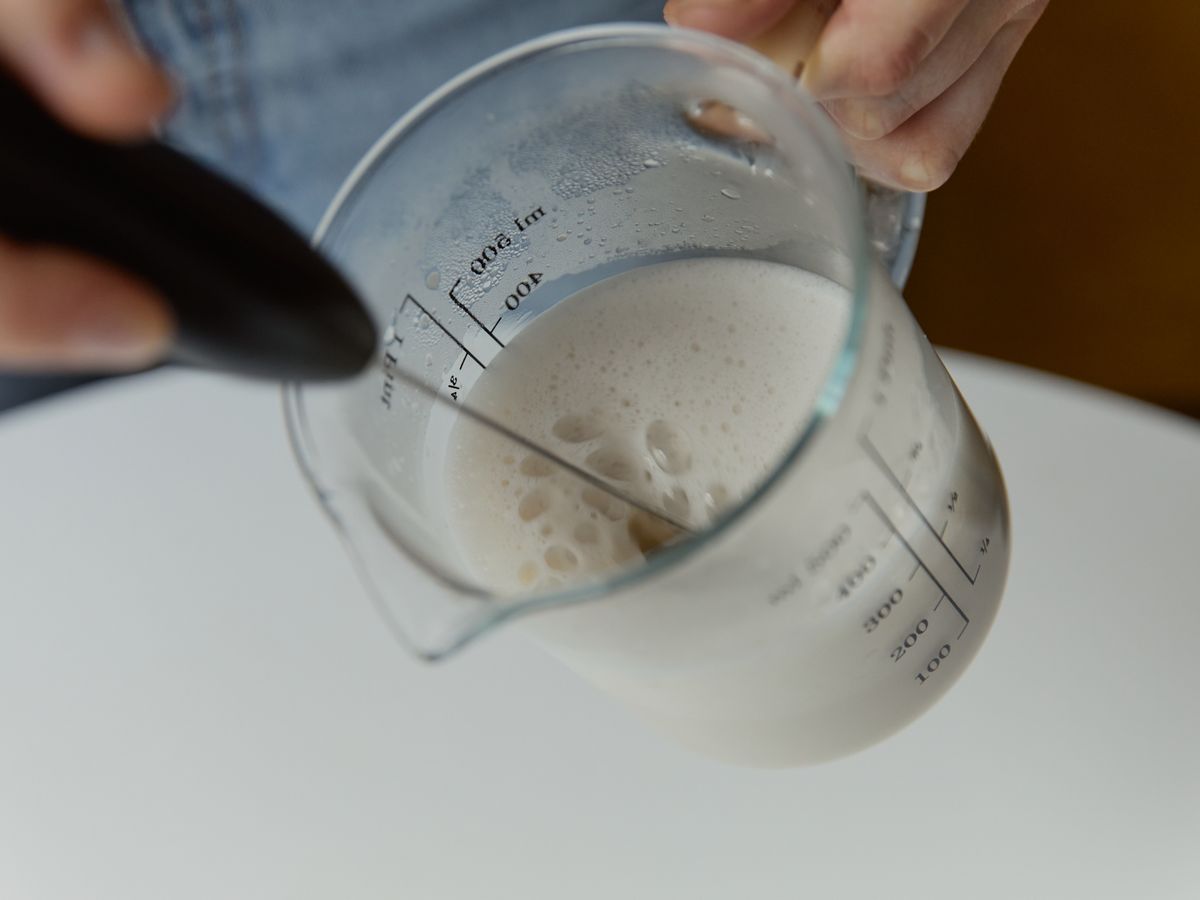
The battery-powered wand type is the easiest to clean, and the trick is to do it immediately. As soon as you finish frothing, fill a glass with warm water and a drop of dish soap, then run the frother in it for ten seconds.
Rinse the whisk under running water, wipe it with a cloth, and stand it up to air dry. Never submerge the handle or motor housing, since water in the electronics will ruin it. For stubborn dried-on milk, let the whisk soak in warm soapy water for a minute, then run it again.
Cleaning an Electric Frother Pitcher

Automatic frother jugs, the kind that heat and foam in one step, need a gentler touch because of the nonstick coating and the heating base. Empty the pitcher right after use and rinse it with warm water while it is still slightly warm, so milk lifts off easily.
Wipe the interior with a soft sponge, never anything abrasive, which would scratch the nonstick surface and cause milk to stick worse over time. Most bases are not dishwasher safe, so check your manual. If milk scorched onto the bottom, fill with warm soapy water and let it sit for ten minutes before wiping.
A Quick Daily Routine
Consistency beats deep cleaning. If you rinse every single time, you will almost never need a scrub. Build this habit into your coffee ritual:
- Rinse or run the frother in warm water immediately after every use.
- Add a single drop of dish soap once a day for a fuller clean.
- Dry the whisk or pitcher fully before storing to prevent odors.
- Wipe the handle or base with a damp cloth, never under the tap.
Deep Cleaning Once a Week
Even with daily rinsing, a weekly deep clean keeps things fresh. For a handheld, soak the whisk head in a cup of warm water with a teaspoon of white vinegar for ten minutes, then run it and rinse well. The vinegar cuts through milk film and neutralizes any sour smell.
For a pitcher, fill it partway with a mix of warm water and a splash of vinegar, run a frothing cycle, then rinse thoroughly. This lifts hidden residue from the whisk disc and spout. Dry everything completely before it goes back in the cupboard.
Descaling and Hard Water
If you have hard water, mineral scale can build up inside heated frother pitchers just as it does in a kettle. You will see chalky white spots on the base or a filmy residue that plain washing does not remove.
Descale monthly with a solution of equal parts water and white vinegar, or a store-bought descaler. Run it through a heating cycle without milk, then rinse two or three times with clean water so no vinegar taste lingers. Since water quality affects every drink you make, our guide to why water matters for coffee is worth a read.
Common Mistakes to Avoid
The number one mistake is letting milk dry on the whisk. Once it hardens, cleaning takes ten times longer and the whisk may never spin freely again. The fix is simply rinsing right away, every time.
The second mistake is submerging the electric handle or base in water, which destroys the motor. The third is using abrasive scrubbers on nonstick surfaces. Treat your frother gently and it will reward you with velvety microfoam for latte art, which pairs perfectly with our tips on steaming milk for microfoam.
Storing Your Frother Properly
Storage matters more than people think. A whisk put away damp can grow mildew and develop a musty smell that transfers straight into your next latte. Always let every part air dry completely before it goes in the drawer.
Store handheld frothers standing upright in a cup or on a small stand so the whisk does not bend against other utensils. A bent whisk wobbles, foams unevenly, and strains the motor. If you froth daily, keeping it on the counter in a small holder makes the rinse-and-go habit effortless, and good foam is the foundation of the pours in our beginner latte art guide.
When to Replace It
Frothers are cheap, so know when to let go. If the whisk is visibly bent, the motor whines or slows, or the foam never recovers after a deep clean, it is time. A basic handheld costs 10 to 15 dollars, and a quality electric pitcher runs 40 to 100.
With good care, a handheld easily lasts a couple of years and a pitcher much longer. The single biggest factor in that lifespan is not the price you paid, but whether you rinse it right after every use. Milk itself is safe to drink, but as the National Coffee Association notes about coffee gear generally, clean equipment is the quiet secret behind consistently great drinks.
Your Two-Minute Habit
Right now, wherever your frother lives, give it the ten-second warm-water test. If the foam has been weak lately, a quick soak and vinegar run will likely fix it today. Then make rinsing part of the ritual, the same moment you rinse your cup, and you will never fight a crusty whisk again.
Frothing Milks That Are Harder to Clean
Not all milk cleans up the same way. Whole dairy leaves the most fat residue, while plant milks like oat and soy contain gums and starches that can leave a sticky film. Barista-style oat milk in particular foams beautifully but glues itself to the whisk if left to dry.
The rule is the same across every milk: rinse immediately. With plant milks, a drop of soap in the rinse water helps break down the gums that plain water leaves behind. If you switch between milks often, a quick soapy run after each session keeps flavors from carrying over into the next cup.
Troubleshooting Weak Foam
If your foam suddenly turns flat, cleanliness is the first suspect long before you blame the milk or the machine. A film of dried milk on the whisk stops it from whipping air in efficiently, so the foam comes out thin and large-bubbled instead of silky.
Give the whisk a vinegar soak and a good run in hot water, then test again with fresh cold milk. Nine times out of ten the foam returns. If it still struggles after a thorough clean, the whisk or motor is likely worn, and it is time to consider a replacement rather than more scrubbing.
Cleaning the Steam Wand Type

If your frother is actually the steam wand on an espresso machine, the care is slightly different but just as important. Purge a short burst of steam right after frothing to blow milk out of the tip, then wipe the wand with a damp cloth while it is still warm and the milk lifts off in one pass.
Once a week, soak the wand tip in warm water to loosen milk trapped in the steam holes, and use a pin to clear any blocked ones. A clogged tip produces weak, spitting steam and ruins your microfoam, so this small ritual keeps every latte pouring smoothly.

Maria Peixoto writes about making great coffee at home — no expensive machines, no barista jargon, just better cups every morning. Based in Portland, Oregon.