The first time someone told me I could get café-style frothed milk from the French press already sitting in my cupboard, I didn’t believe it. Then I tried it, and my latte habit got a lot cheaper. Learning to make French press milk foam takes about a minute and turns plain coffee into something that feels like a treat.
No steam wand, no electric frother, no special gadget. Just the plunger you already own and a splash of milk. Here’s exactly how to do it, plus the small details that separate flat, bubbly milk from silky foam.
Why French Press Milk Foam Works So Well
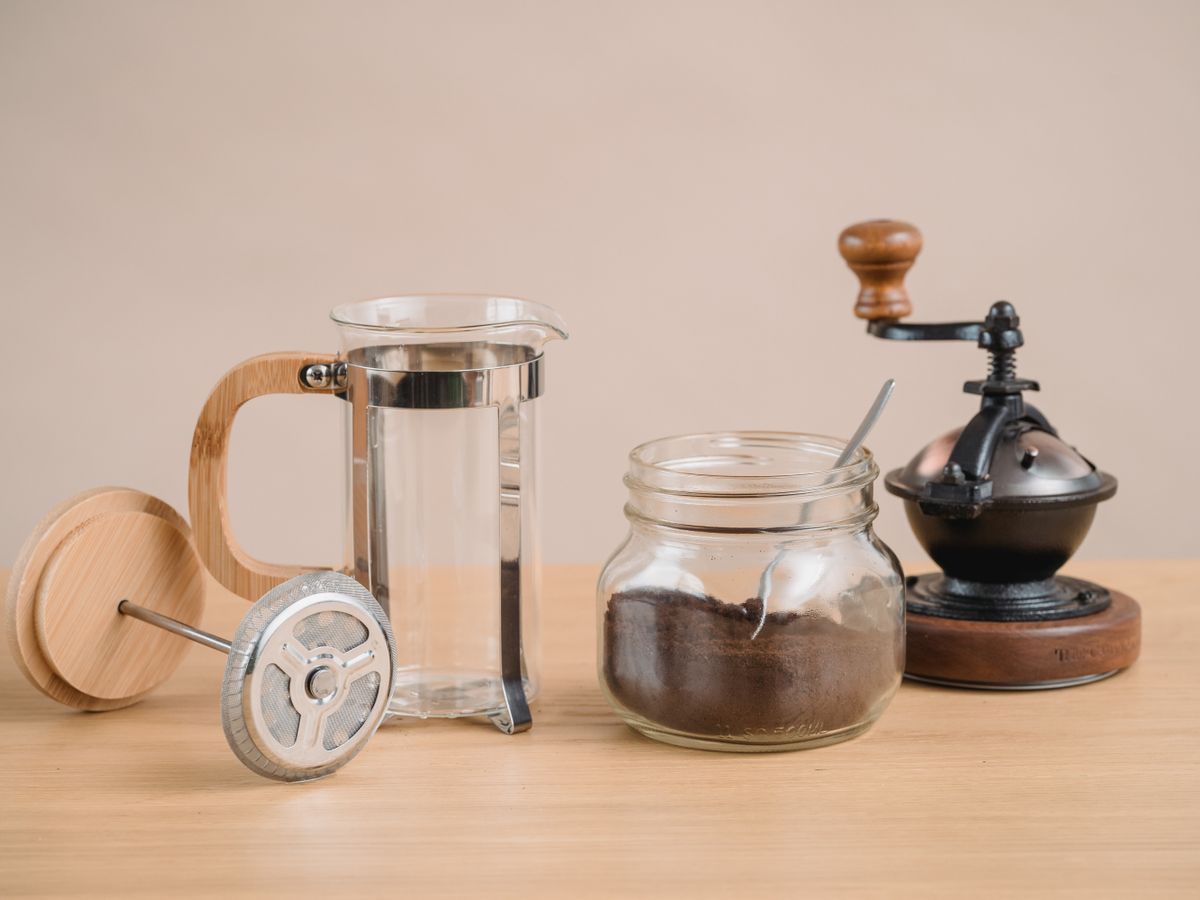
The magic is in the mesh plunger. When you pump it rapidly through warm milk, the fine screen forces air into the liquid, creating thousands of tiny bubbles. That’s the same principle a steam wand uses, just powered by your arm instead of pressure.
Because you control the speed and duration, you can dial the texture from light and frothy to thicker and more velvety. The result is a light, airy foam that sits beautifully on top of coffee. It won’t be quite as dense as professional microfoam, but for cappuccino-style drinks at home, French press milk foam is genuinely impressive.
What You’ll Need
The whole point is that you don’t need much. Here’s the short list:
- A clean French press (any size works).
- Milk — whole milk foams richest, but 2% works well too.
- A way to warm the milk (microwave or stovetop).
- Your brewed coffee, ready to go.
Make sure the press is free of coffee grounds and oils first. Any leftover residue will taint the milk and cloud your foam, so give it a quick rinse before you start.
Step-by-Step: Frothing Milk in a French Press
Follow these steps and you’ll have foam in under two minutes:
- Warm your milk to about 150°F — hot but not boiling. Roughly 30–45 seconds in the microwave for a cup.
- Pour the warm milk into the French press, filling it no more than a third full (milk expands a lot).
- Insert the plunger and pump it up and down rapidly for 20 to 30 seconds.
- You’ll feel the milk thicken and see it grow. Stop when it doubles in volume.
- Tap the press gently on the counter to pop large bubbles, then swirl to smooth it out.
- Pour the foam over your coffee, holding back the liquid with a spoon if you want extra foam on top.
That’s it. The tap-and-swirl step at the end is what turns coarse bubbles into a smoother texture, so don’t skip it. It only takes a few seconds but makes a visible difference in how professional your foam looks.
Hot vs Cold Foam
The same method works for cold foam, which is perfect for iced drinks. Use cold milk straight from the fridge and pump a little longer — cold milk takes more effort to aerate but holds its shape well on top of iced coffee.
Getting the Temperature Right
For hot foam, don’t let the milk boil. Overheated milk scalds, tastes flat, and won’t foam properly because the proteins that trap air break down above about 160°F. If you don’t have a thermometer, aim for milk that’s steaming but comfortable to hold the cup.
Which Milk Foams Best?
Fat and protein both help milk foam, so whole milk gives the richest, most stable result. Skim milk actually produces more foam but it’s drier and collapses faster. For plant-based options, barista-blend oat and soy milks foam best because they’re formulated with extra protein.
If you’re experimenting with dairy-free choices, my guide to milk alternatives for latte art covers which ones actually hold a foam. And if you eventually want that denser, pourable texture, learning to steam milk for microfoam is the natural next step.
Common Mistakes to Avoid
A few easy slip-ups can leave you with thin, bubbly milk instead of foam. Watch out for these:
- Overfilling the press: milk needs room to expand, so use no more than a third.
- Cold milk for hot drinks: warm it first or your foam will be weak.
- Boiling the milk: scalded milk won’t hold air.
- Pumping too slowly: quick, energetic strokes create the finest bubbles.
Fix those and your French press milk foam will come out consistently light and creamy. Most foam failures trace back to one of these four issues, so run through them if a batch ever disappoints you.
Drinks You Can Make

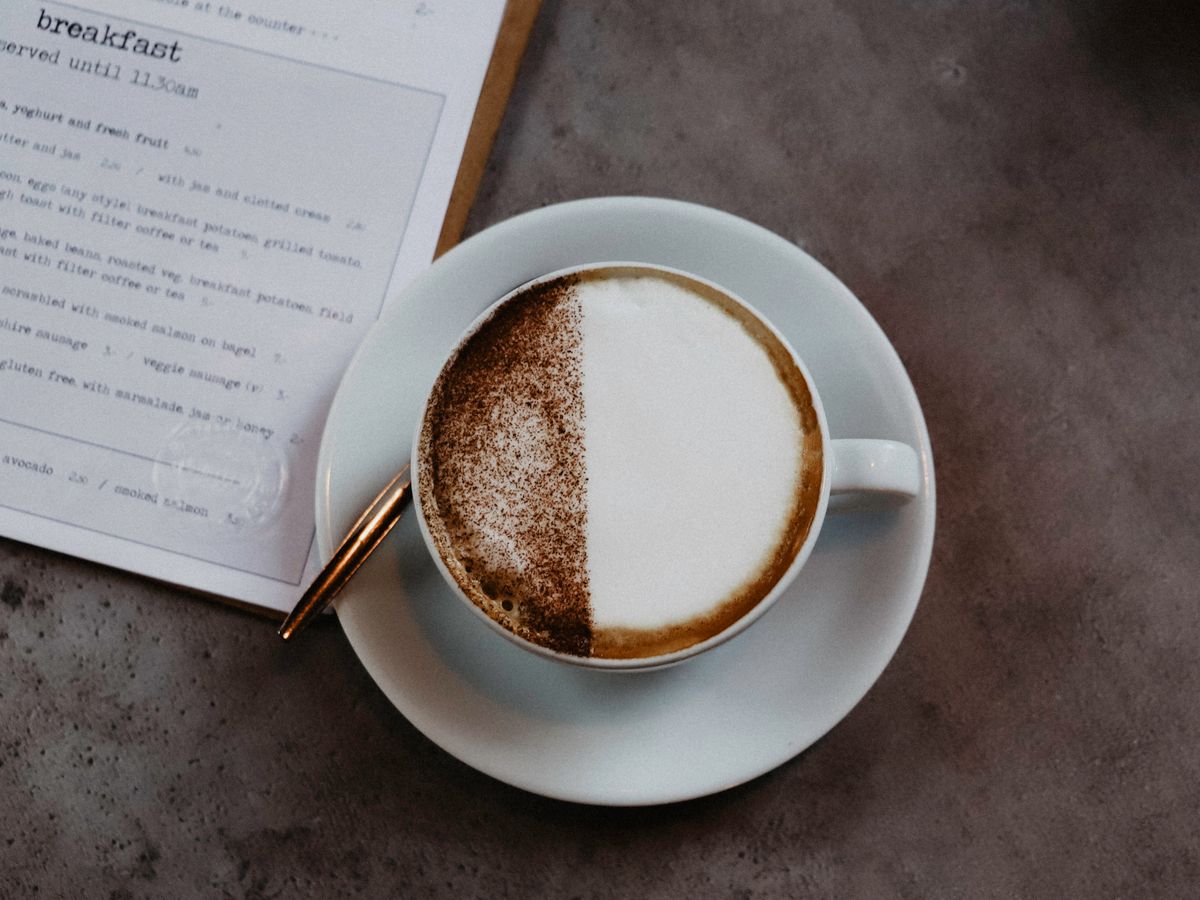
Once you can foam milk, a whole menu opens up. Spoon thick foam over a strong brew for a homemade cappuccino, or use less foam and more warm milk for a latte-style drink. Add a spoonful of cocoa for a mocha, or a little vanilla syrup for a sweeter treat. You can also dust the top with cinnamon or cocoa powder for a finishing touch that looks and smells like a proper café drink, all made in your own kitchen with nothing more than a press and a carton of milk.
Because the French press doubles as a brewer, you can even make the coffee and the foam in the same tool. If you want to sharpen the brewing side too, my French press coffee guide walks through getting the actual coffee right — just brew, pour out your coffee, rinse, and froth. It’s a genuinely brilliant use of gear you probably already own.
How to Clean Up Afterward
Milk residue can dry into the mesh and go sour if you leave it, so rinse the plunger and screen right after frothing. Warm water and a quick swirl usually do the trick, but once a week it helps to unscrew the filter assembly (most French presses come apart) and wash each piece so no milk film builds up.
A clean press foams better and keeps your milk tasting fresh. It only takes a few extra seconds, and it means your next round of French press milk foam starts from a clean slate every time.
Tips for Better Foam Every Time
Once you have the basics down, a few refinements take your foam from good to great. Chill your milk jug or use very fresh milk, since fresher dairy foams more reliably. Pump with your whole forearm rather than just your wrist so the plunger moves fast enough to whip in fine bubbles instead of big, soapy ones.
If your foam looks too bubbly, give the press a firmer tap on the counter and a longer swirl to knock the big bubbles down into a tighter texture. And pour promptly — foam is at its best in the first minute, before it starts to separate. With a little practice, you will pour foam that rivals your local café without ever turning on a machine.
The Science Behind the Foam
Foam is really just air trapped in a network of milk proteins and fat. When you pump the plunger, you fold air into the milk, and the proteins wrap around each bubble to hold it in place. Fat then adds richness and helps the foam feel creamy on the tongue rather than dry and stiff.
This is why temperature matters so much. Gentle heat helps the proteins stretch and capture air, but too much heat breaks them down and the bubbles collapse. According to the National Coffee Association, milk-based drinks are among the most popular ways people enjoy coffee, and understanding this simple chemistry is what lets you recreate them at home. Once you picture what is happening inside the press, dialing in your technique becomes intuitive rather than guesswork.
Your Next Step
Tomorrow morning, warm a third of a cup of milk, grab your press, and pump for 30 seconds before your coffee is even done brewing. That first spoonful of homemade foam over your cup is the moment French press milk foam stops being a trick and becomes part of your daily routine.

Maria Peixoto writes about making great coffee at home — no expensive machines, no barista jargon, just better cups every morning. Based in Portland, Oregon.