The first time I steamed milk that came out glossy and paint-like instead of stiff and bubbly, I actually laughed out loud at how much better my latte tasted. That silky texture, called microfoam, is what separates a café drink from a cup of coffee with foam floating on top.
Learning to steam milk properly is the skill that unlocks lattes, cappuccinos, and every bit of latte art you have admired. This guide walks through the technique step by step, the right temperature, and how to fix the mistakes that trip up almost every beginner.
What microfoam actually is
Microfoam is milk with millions of tiny, uniform bubbles blended so smoothly that it looks like wet paint and pours like liquid velvet. It is not the dry, stiff foam that sits in a separate layer; it is integrated right through the milk.
Good microfoam does two things: it sweetens the milk by breaking down proteins and fats into a glossy emulsion, and it gives you the smooth canvas needed to pour latte art. When you steam milk correctly, the sweetness and texture improve dramatically.

What you need to steam milk
- A steam wand on an espresso machine, or a standalone steam device.
- A stainless-steel pitcher, ideally 12 or 20 ounces with a pointed spout.
- Cold milk straight from the fridge, around 38°F.
- A thermometer until you can judge temperature by feel.
If you do not own an espresso machine yet, you can still practice foam texture with other tools. My guide to frothing milk without an espresso machine covers the alternatives that get you closest to microfoam.
Choosing the right milk
Whole milk is the easiest to steam because its fat and protein create stable, silky foam. Two percent works but is slightly less forgiving. Among plant milks, barista-edition oat and soy milks are formulated with extra protein and stabilizers so they steam almost like dairy.
Always start with cold milk. Cold milk gives you a longer window to introduce air before it heats up, which means more control over the final texture.

How to steam milk, step by step
Steaming milk happens in two phases: stretching (adding air) and texturing (spinning the milk to blend that air into microfoam). Here is the sequence I teach every beginner.
- Fill the pitcher to just below the spout base with cold milk.
- Purge the steam wand, then submerge the tip just under the surface.
- Open the steam fully. Keep the tip near the surface so you hear a gentle hissing or paper-tearing sound. This is the stretch phase; do it for the first few seconds.
- Once the milk has grown by about a third, sink the wand slightly deeper and angle the pitcher to create a whirlpool. This is the texturing phase.
- Stop when the pitcher is too hot to hold comfortably, around 150°F.
The whole process takes 15 to 20 seconds with a decent machine. Wipe the wand and purge it immediately after.
The right temperature
Aim for a final milk temperature of 140 to 155°F. Below that, the milk tastes flat; above 160°F, the proteins scald and the sweetness turns to a cooked, eggy flavor. The National Coffee Association notes that dairy is sensitive to overheating, which is why a thermometer is worth using while you learn.
A reliable trick: stop steaming when the pitcher becomes uncomfortable to hold for more than a second or two. Your hand is a surprisingly good thermometer once you calibrate it.
Steaming for different drinks
The amount of air you add changes the drink. A latte needs the least foam, a cappuccino the most, and a flat white sits in between with just a thin layer of microfoam.
- Latte: stretch for only 2 to 3 seconds, aiming for thin, glossy microfoam.
- Cappuccino: stretch longer, around 5 to 7 seconds, for a thicker, airier foam.
- Flat white: the least air of all, for a dense, paint-like texture.
Once your microfoam is smooth, you can start pouring patterns. My walkthrough of your first latte art heart is the natural next step.
Reading the sound and feel
Great baristas steam milk with their ears as much as their eyes. During the stretch phase you want a soft, rhythmic tearing sound, sometimes described as a kissing or paper-ripping noise, which tells you air is being folded in gently. A harsh screeching or loud gurgling means the tip is too far out of the milk and you are adding air too fast.
Once you drop into the texturing phase, that tearing sound should fade into a quiet, low hum as the milk spins into a smooth vortex. Learning to chase those two sounds, first the gentle tear, then the quiet spin, is the fastest way to make consistent microfoam without staring at a thermometer every time.
Practicing without wasting milk
Milk adds up when you are learning, so practice efficiently. A popular trick is to practice the motion with a small amount of dish soap and cold water in your pitcher, since a drop of soap foams in a way that mimics milk texture and costs almost nothing. It lets you rehearse the whirlpool and wand position freely.
When you do use real milk, steam a full pitcher and pour several practice drinks back to back rather than one at a time. And do not pour perfectly good microfoam down the drain; save your practice milk for a hot chocolate or oatmeal so nothing goes to waste while you build the skill.
Cleaning your steam wand
Milk residue bakes onto a hot steam wand fast, and dried milk is both unhygienic and a magnet for future clogs. Get into the habit of wiping the wand with a damp cloth the second you finish steaming, then purging a short burst of steam to clear the tip.
Once a week, soak the removable tip in warm water to dissolve any buildup, and clear the steam holes with a pin if they look blocked. A clean wand steams milk far better than a crusty one, so this two-minute routine directly improves your microfoam.
Common mistakes and how to fix them
If your foam is full of big bubbles, you added air too aggressively or kept the wand at the surface too long. Sink it deeper sooner. If the milk is thin with no foam at all, the wand was submerged too deep from the start, so bring it back up during the stretch.
Big bubbles that do form can often be knocked out by tapping the pitcher firmly on the counter and swirling the milk before you pour. That swirl also keeps the foam and liquid integrated.
Getting the pour ready
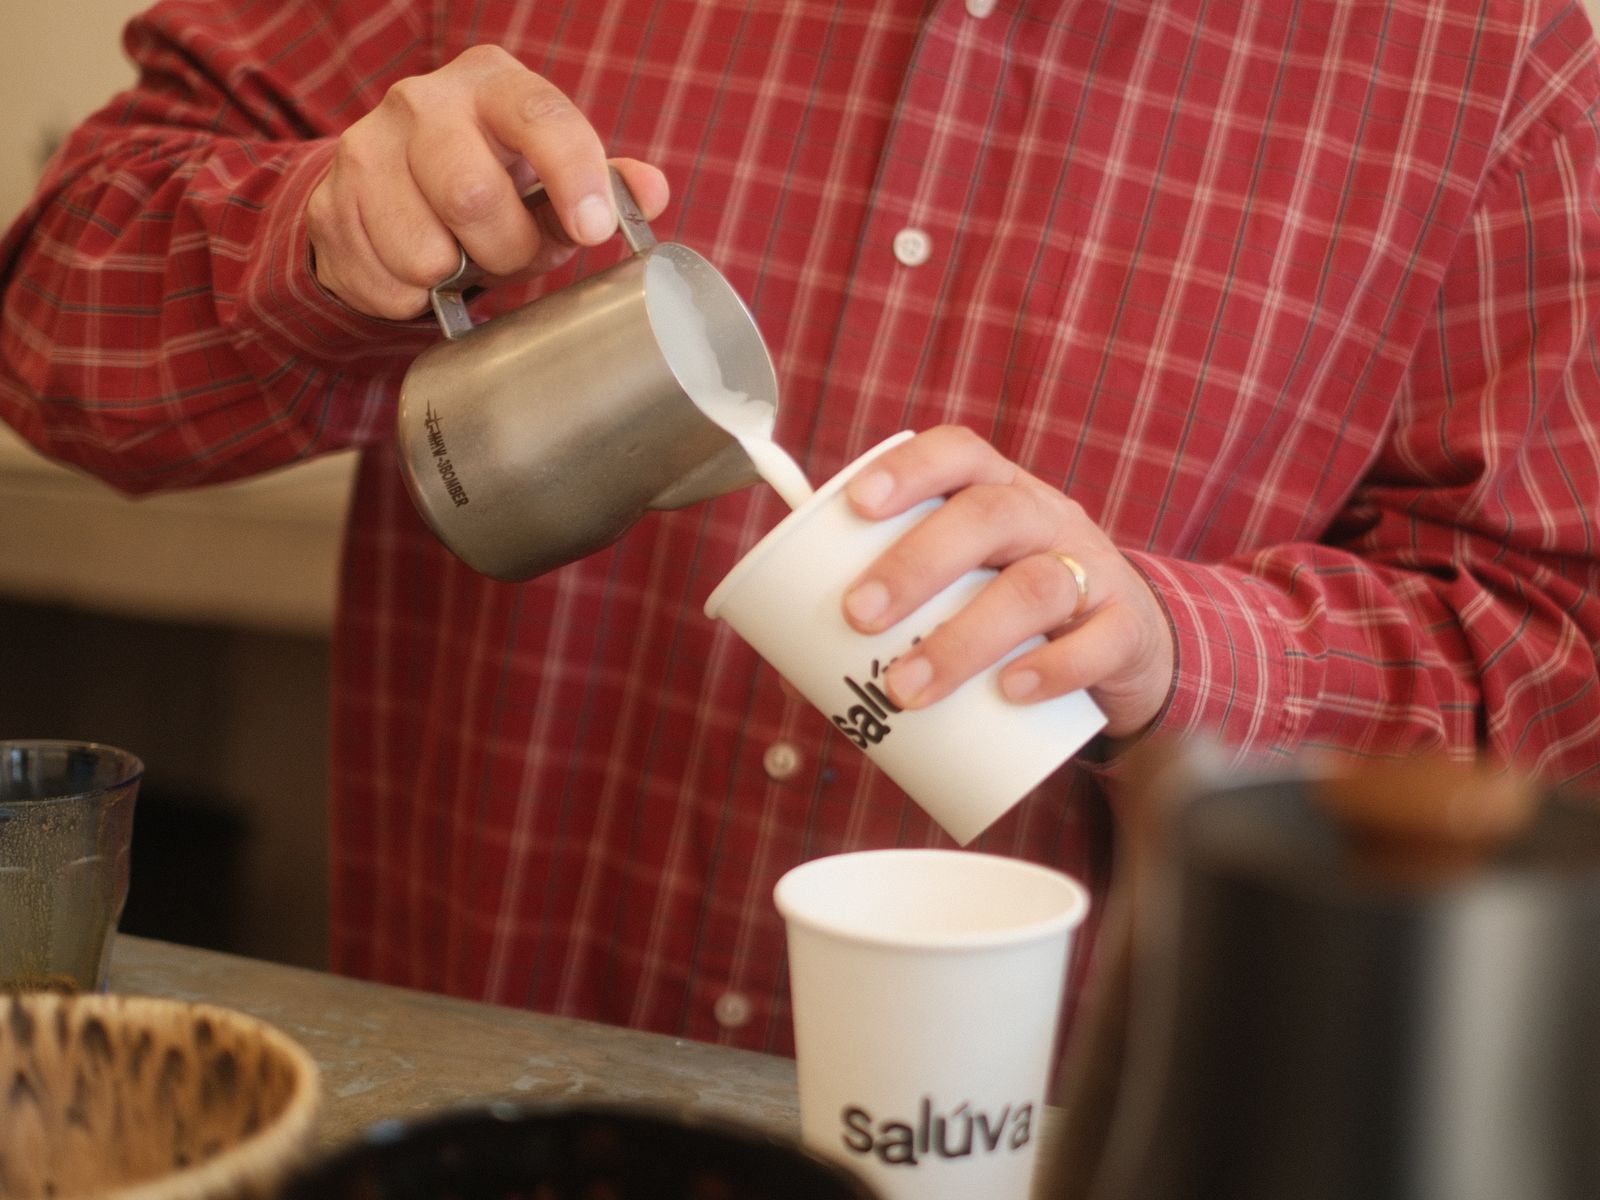
Freshly steamed milk waits for no one, so have your espresso or strong coffee ready before you steam. The moment you finish, tap the pitcher on the counter to pop any stray bubbles, then swirl it continuously until the surface looks like glossy wet paint. That swirl is not optional; it re-integrates the foam that naturally starts to separate within seconds.
Pour while the milk is still swirling and warm. If you let it sit even thirty seconds, the microfoam and liquid split into layers and you lose both the texture and your shot at latte art. Treat steaming and pouring as one continuous motion, and your drinks will look and taste noticeably more professional.
The bottom line
Learning to steam milk into silky microfoam takes a few tries, but it is the single skill that makes your home lattes taste like the café. Start with cold whole milk, keep the wand near the surface to stretch, then spin to texture, and stop around 150°F. Practice on a couple of pitchers this week and you will feel it click.

Maria Peixoto writes about making great coffee at home — no expensive machines, no barista jargon, just better cups every morning. Based in Portland, Oregon.